Terminal messages determine what the attendance terminal displays and which buttons it offers. Button labels and messages are selected from the Global Messages directory.
The list shows the Default flag, Name, Language, Note and who Changed the record. The default message serves as a template – a new message inherits its display rows, buttons and custom texts. Only one message can be the default.
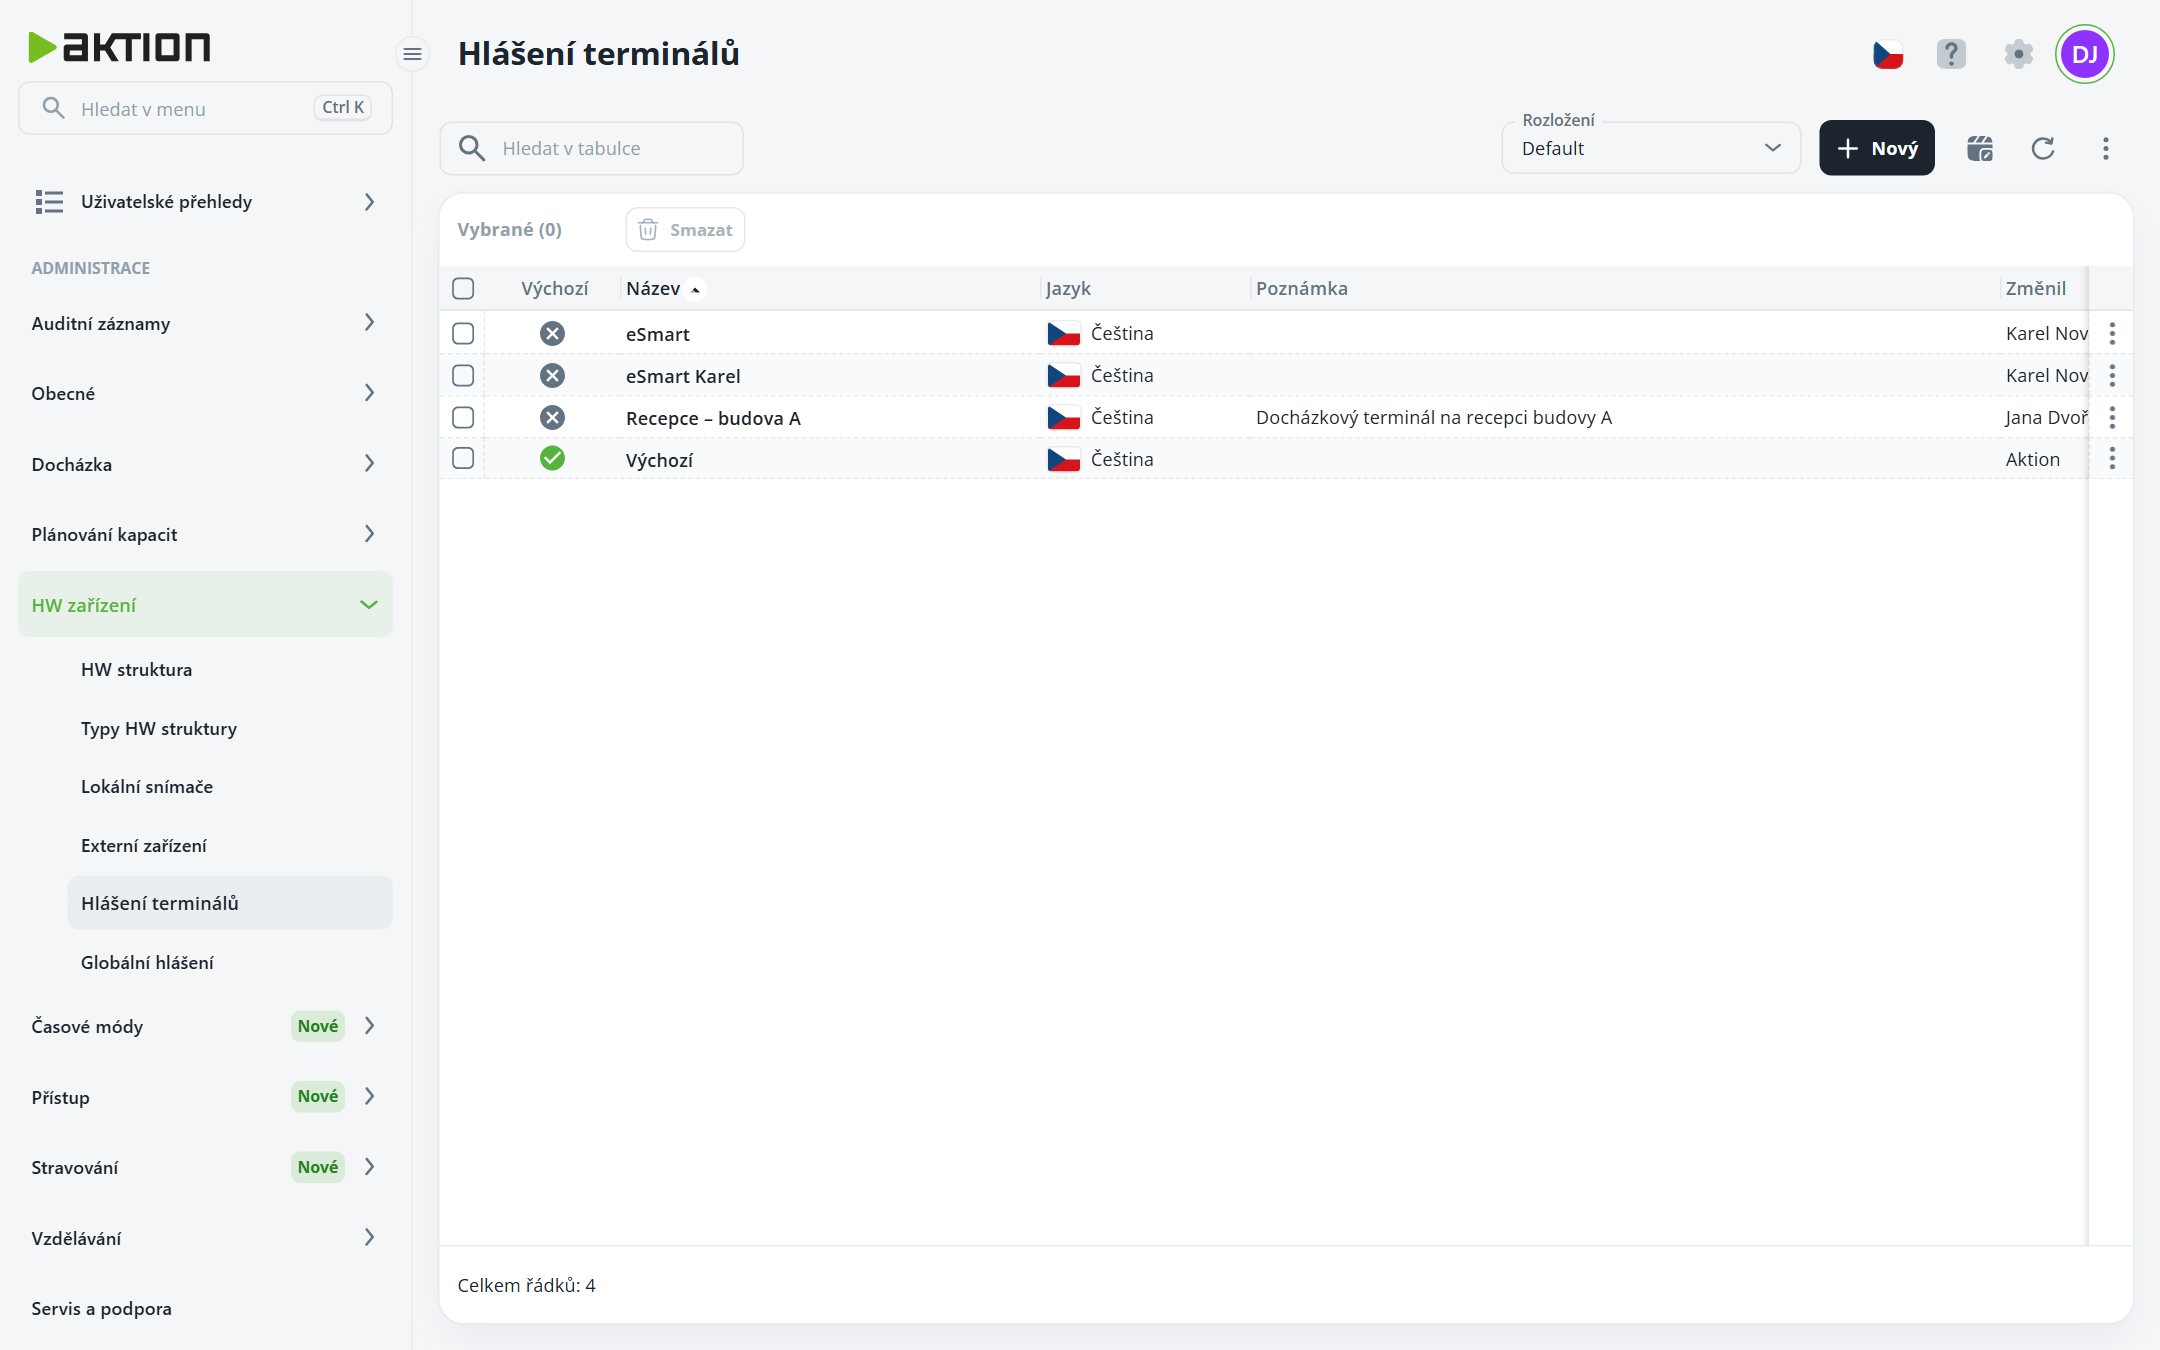
Click New.
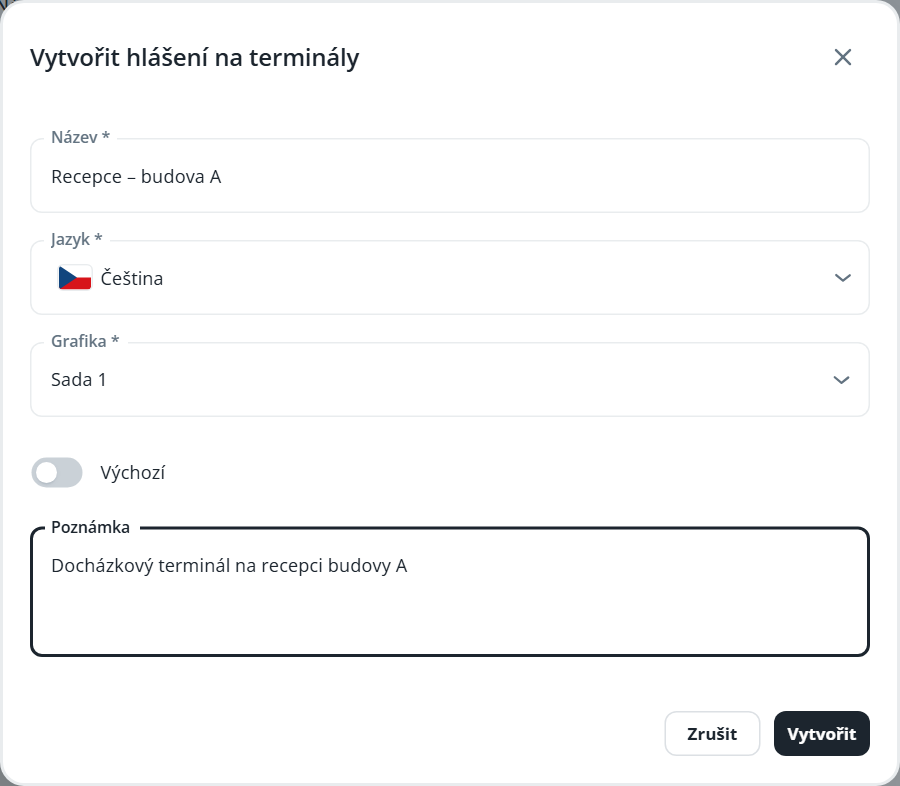
In the Create a terminal report window, enter the Name and Language (the terminal uses it to select the language version of Global Reports).
Select Graphics – an icon set for older terminals with a graphic display (Set 1 or Set 2). eSmartReader scanners do not use graphics.
Enable the Default toggle only if the report is to serve as a template for other reports; the currently default report will lose its default status.
Click Create. The report will appear in the list; click its name to open its details.
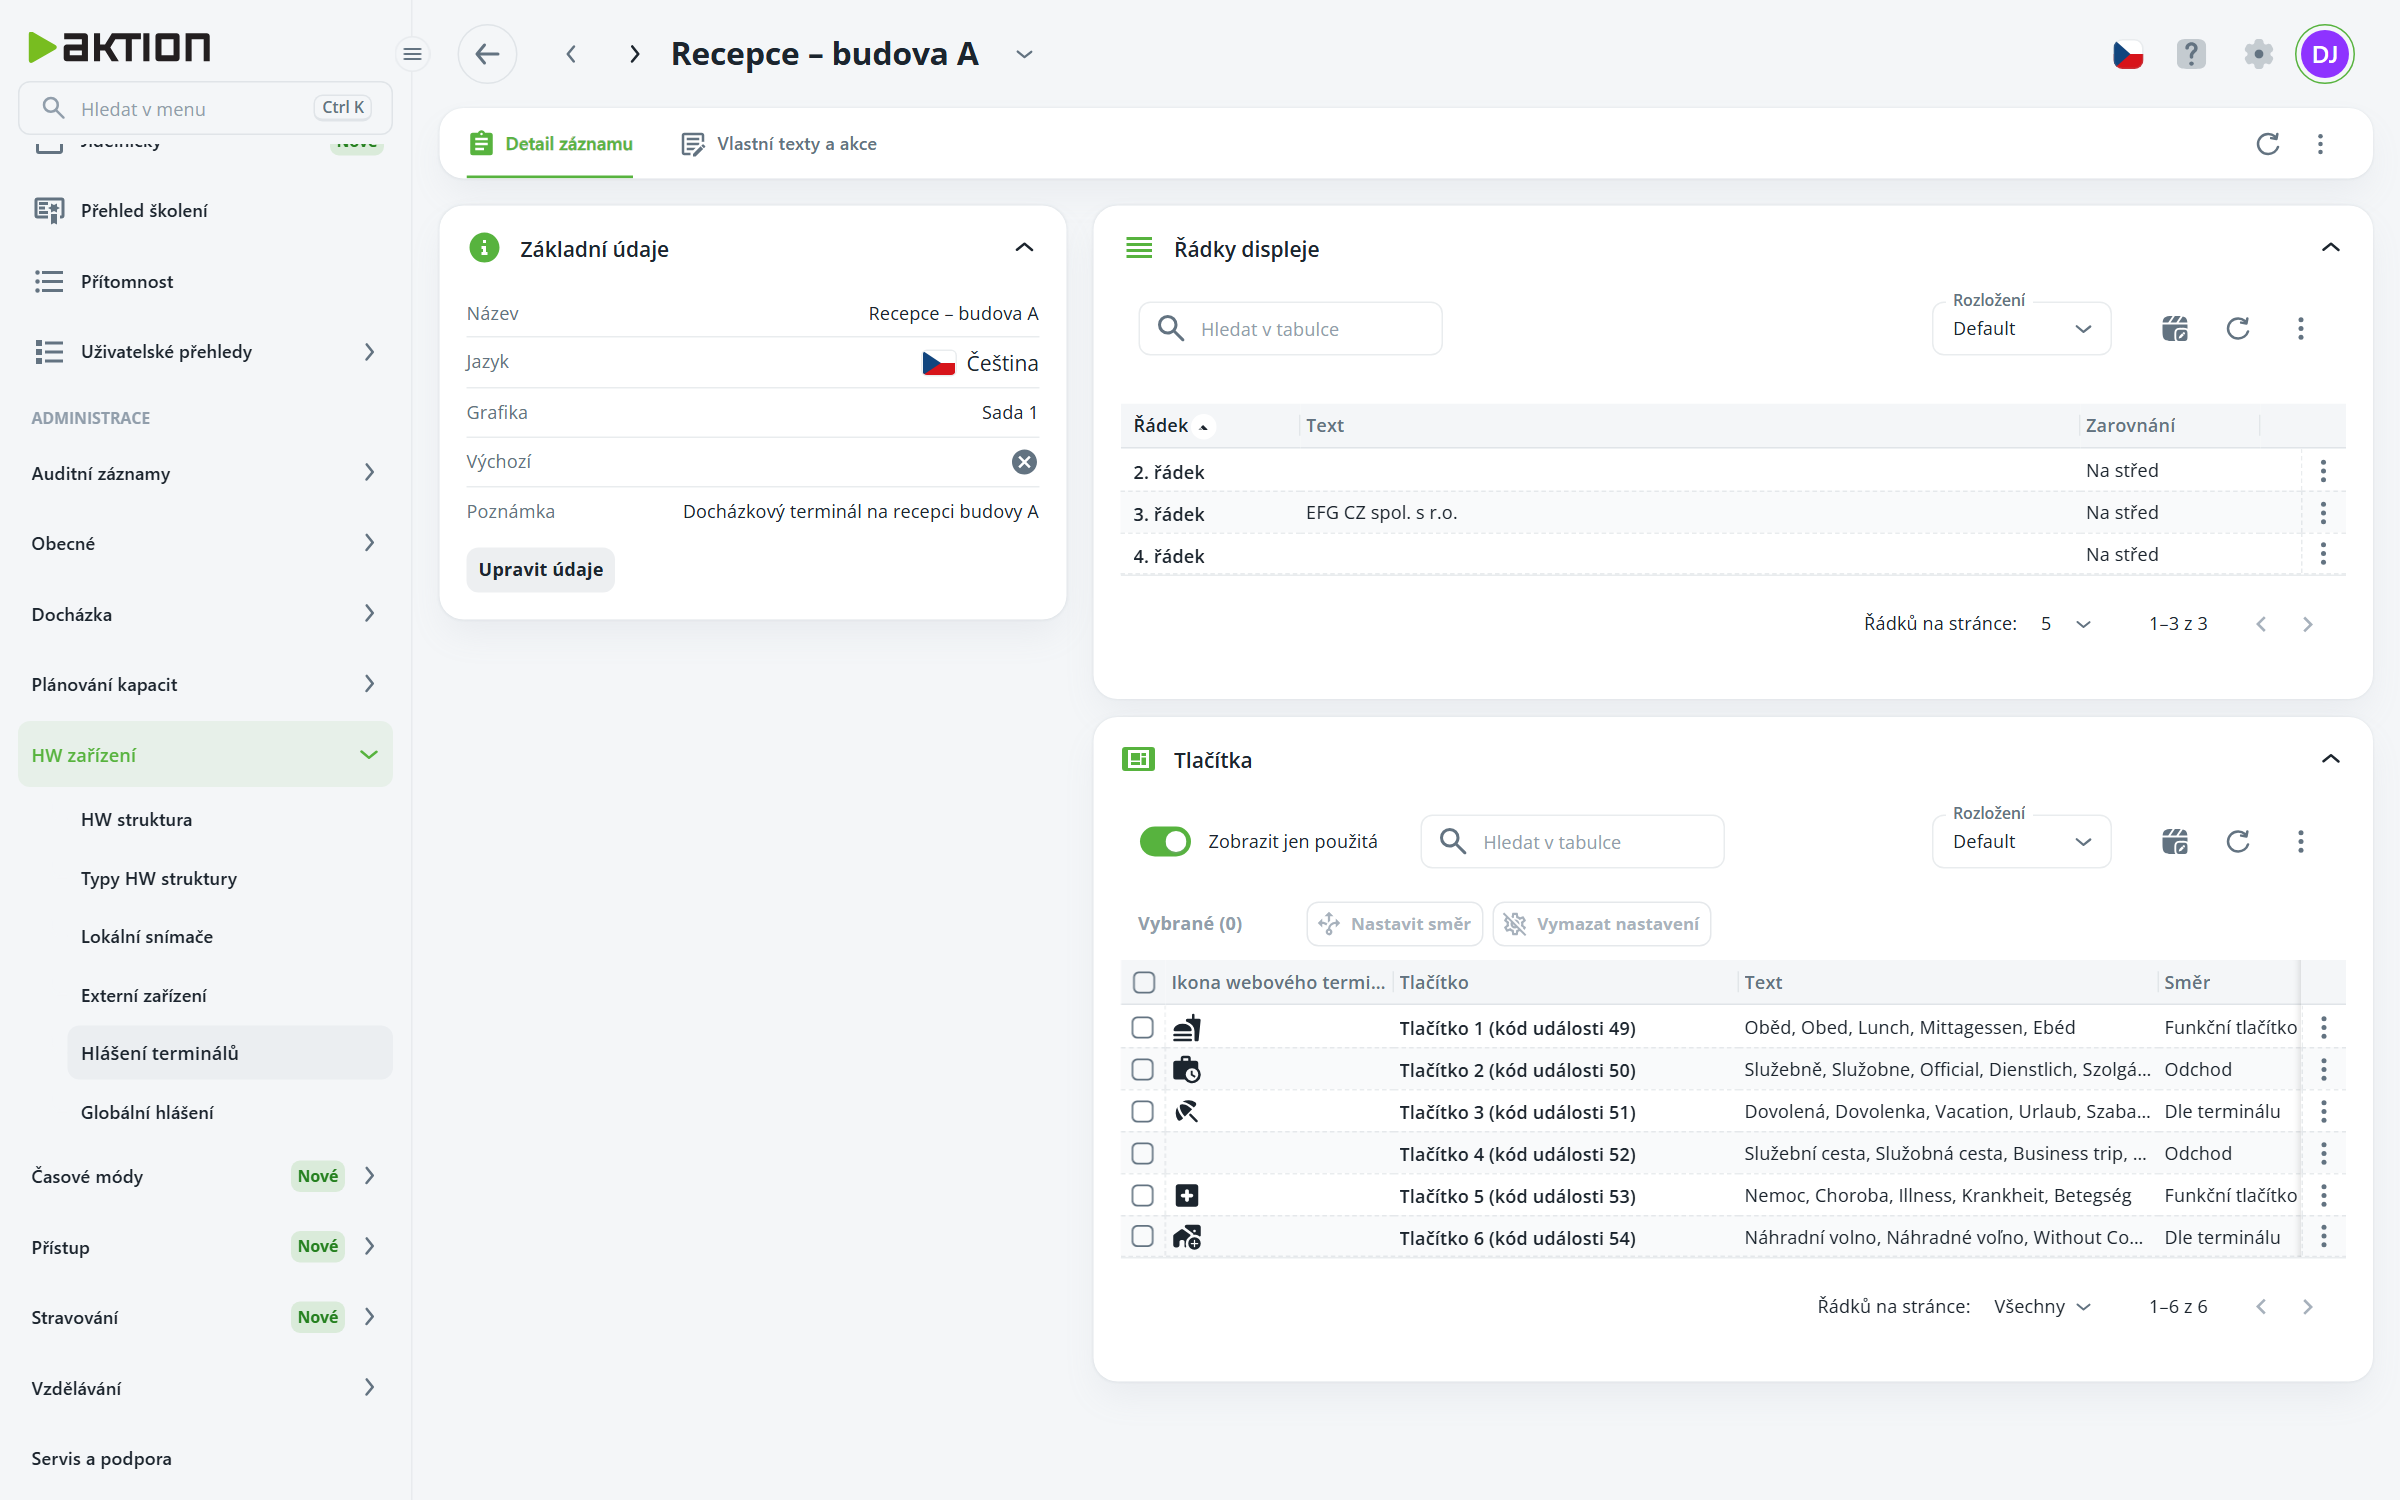
The report details on the Record details tab include the Basic information, Display lines and Buttons sections.
Display lines – select Edit from the row menu, then enter the Text and Alignment. Use the Insert macro button to insert a placeholder, which the terminal will replace with the current value, e.g. [ALL_PERSON] = number of people present, [READER_NAME] = reader name.
Buttons – for each button, set the Text (from Global reports), Direction (e.g. Arrival, Departure, Break start, Function button), Order on tablet and Web terminal icon. Change a value by double-clicking directly in the table cell; the change is saved immediately.
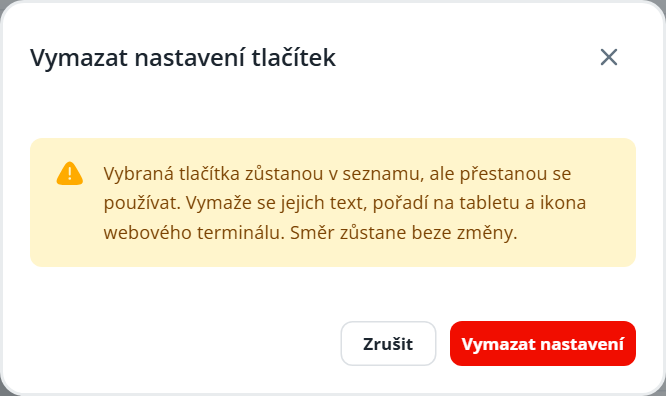
After checking multiple buttons, use Set direction, or Clear settings – the buttons remain in the list, their text, order on the tablet, and icon are cleared, while the direction remains.
The Show used only toggle hides buttons without text.
The Custom texts and actions tab has two sections:
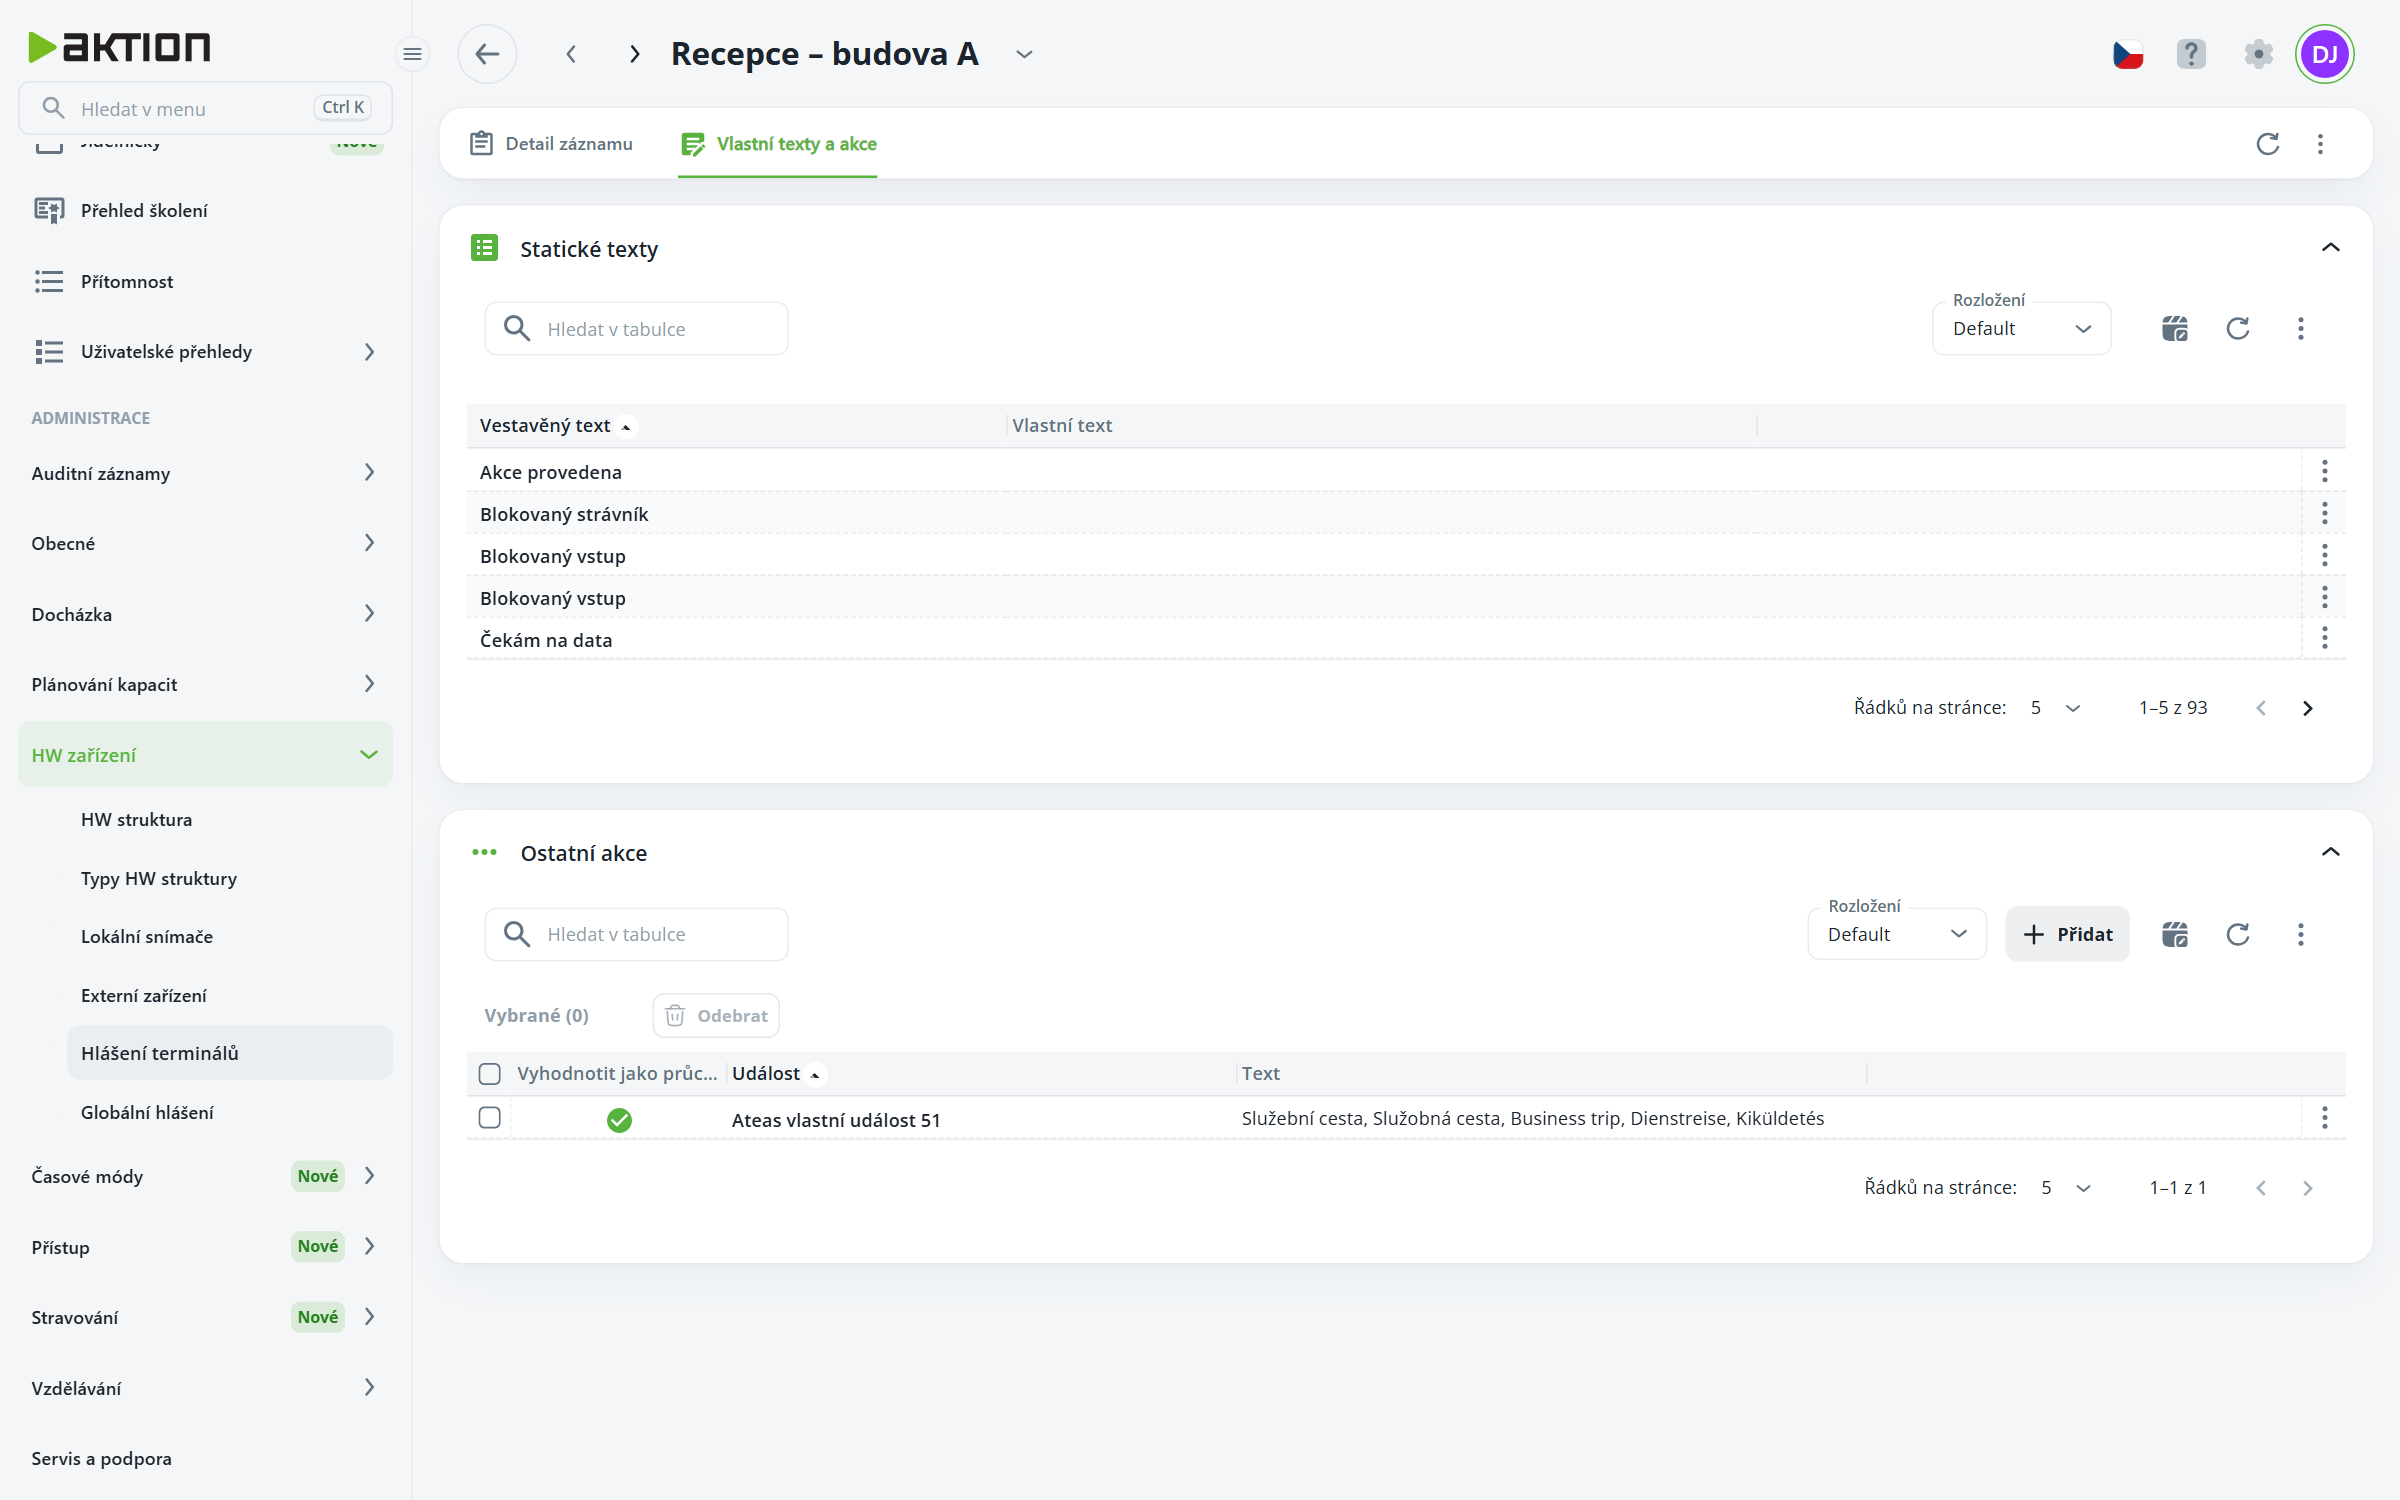
Static texts – built-in terminal texts (e.g. “Entry blocked”, “Waiting for data”). In the Custom text column, you can select a text from Global notifications for the terminal to display instead of the built-in one.
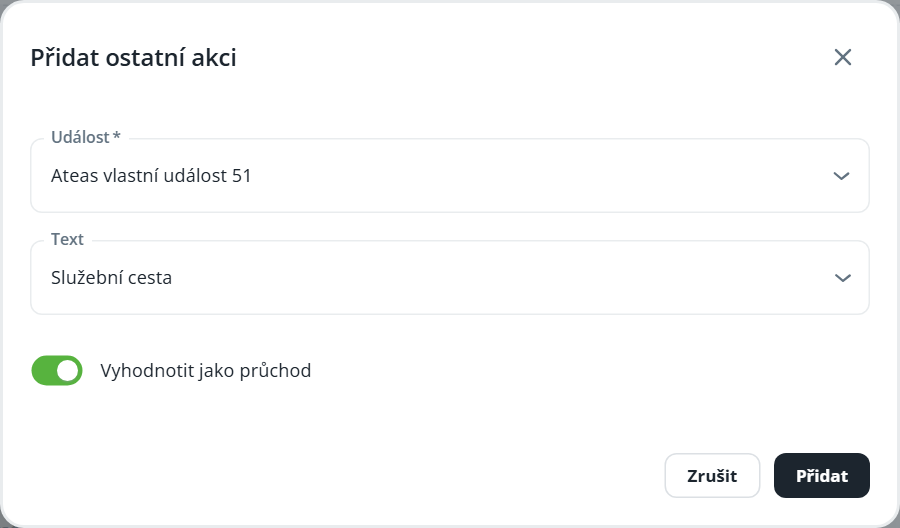
Other actions – use the Add button to assign text to an event (e.g. a custom ATEAS camera system event). The Treat as passage option processes the event as a person passing through – it is useful for events that identify a person.