Creating a new structure – how to establish a new job position and ensure that it is active and displayed in the capacity plan.
Structure configuration – step-by-step structure setup, adding positions, defining their order, and ensuring proper display in the capacity plan.
Shift settings for the capacity plan – how to assign a shift type in the Windows application so that the shift is available when defining templates.
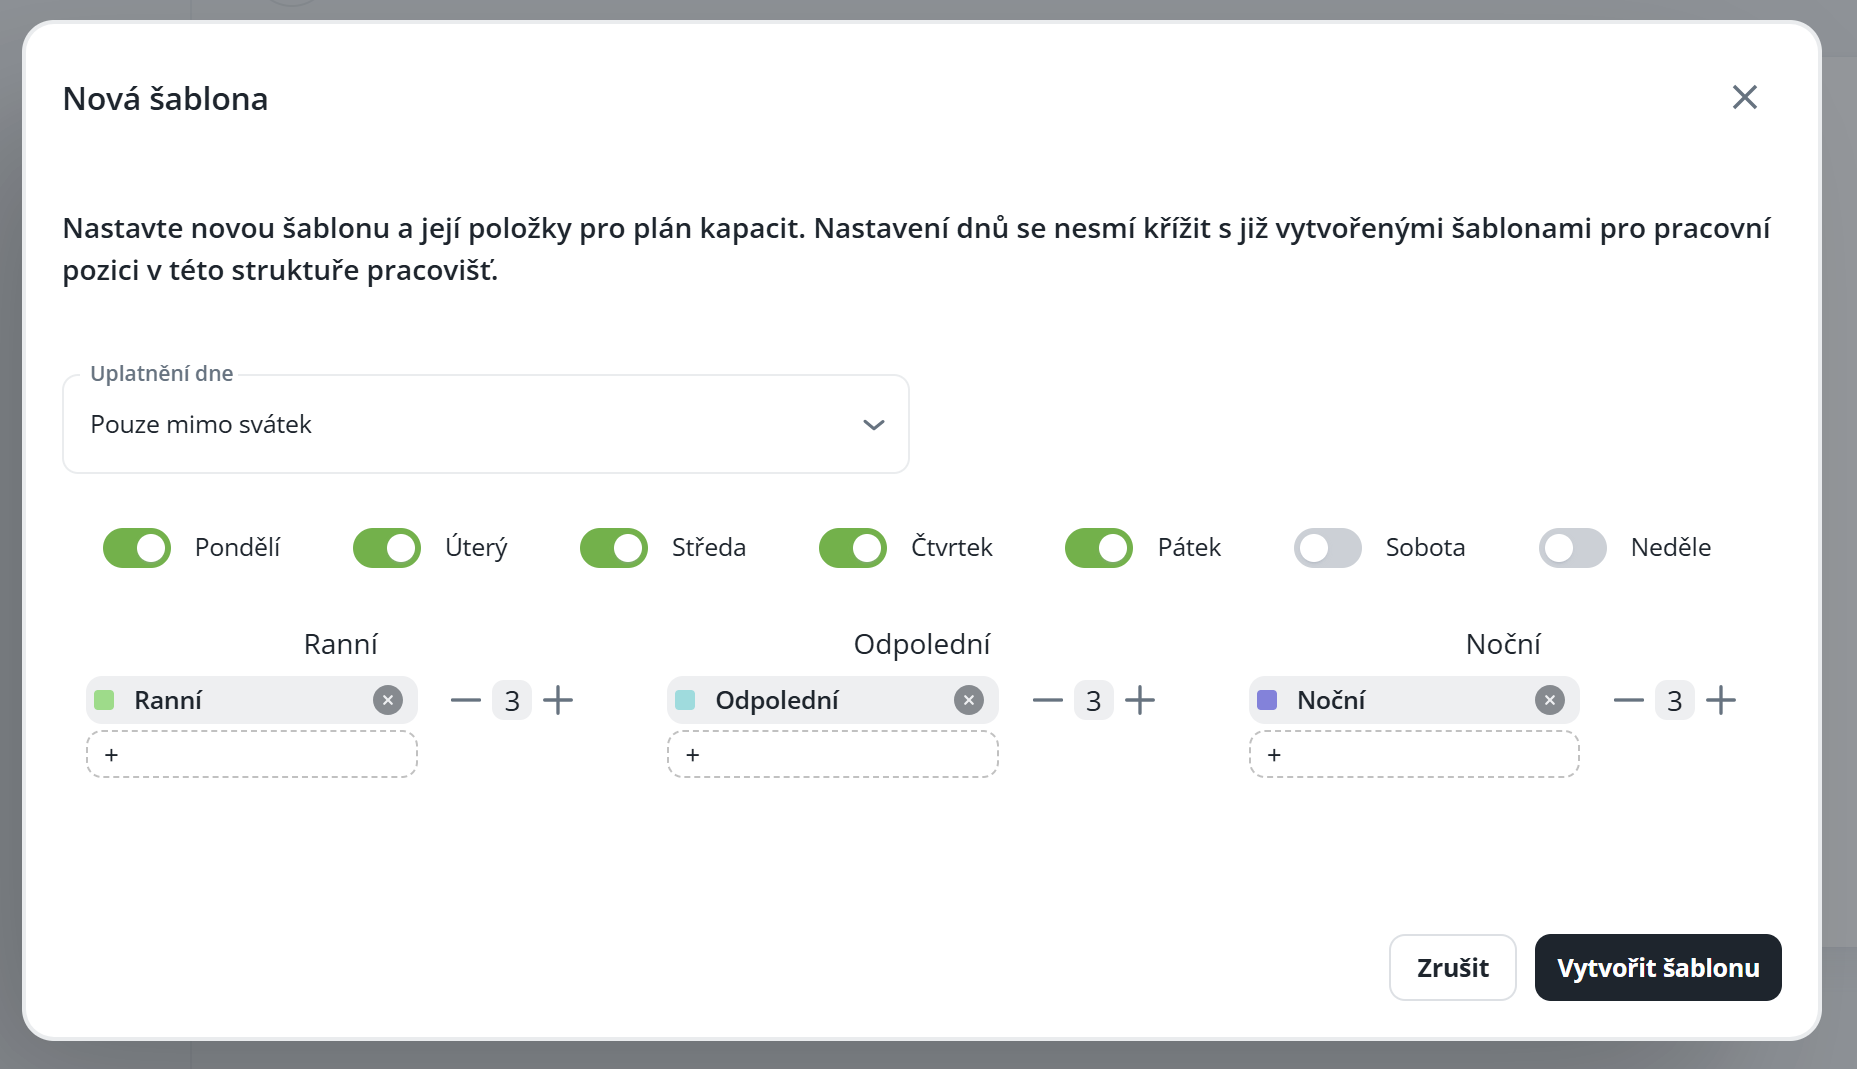
Creating a calendar template – options to create your own template or take over an existing one, setting day application, shifts, and number of staff to be assigned.
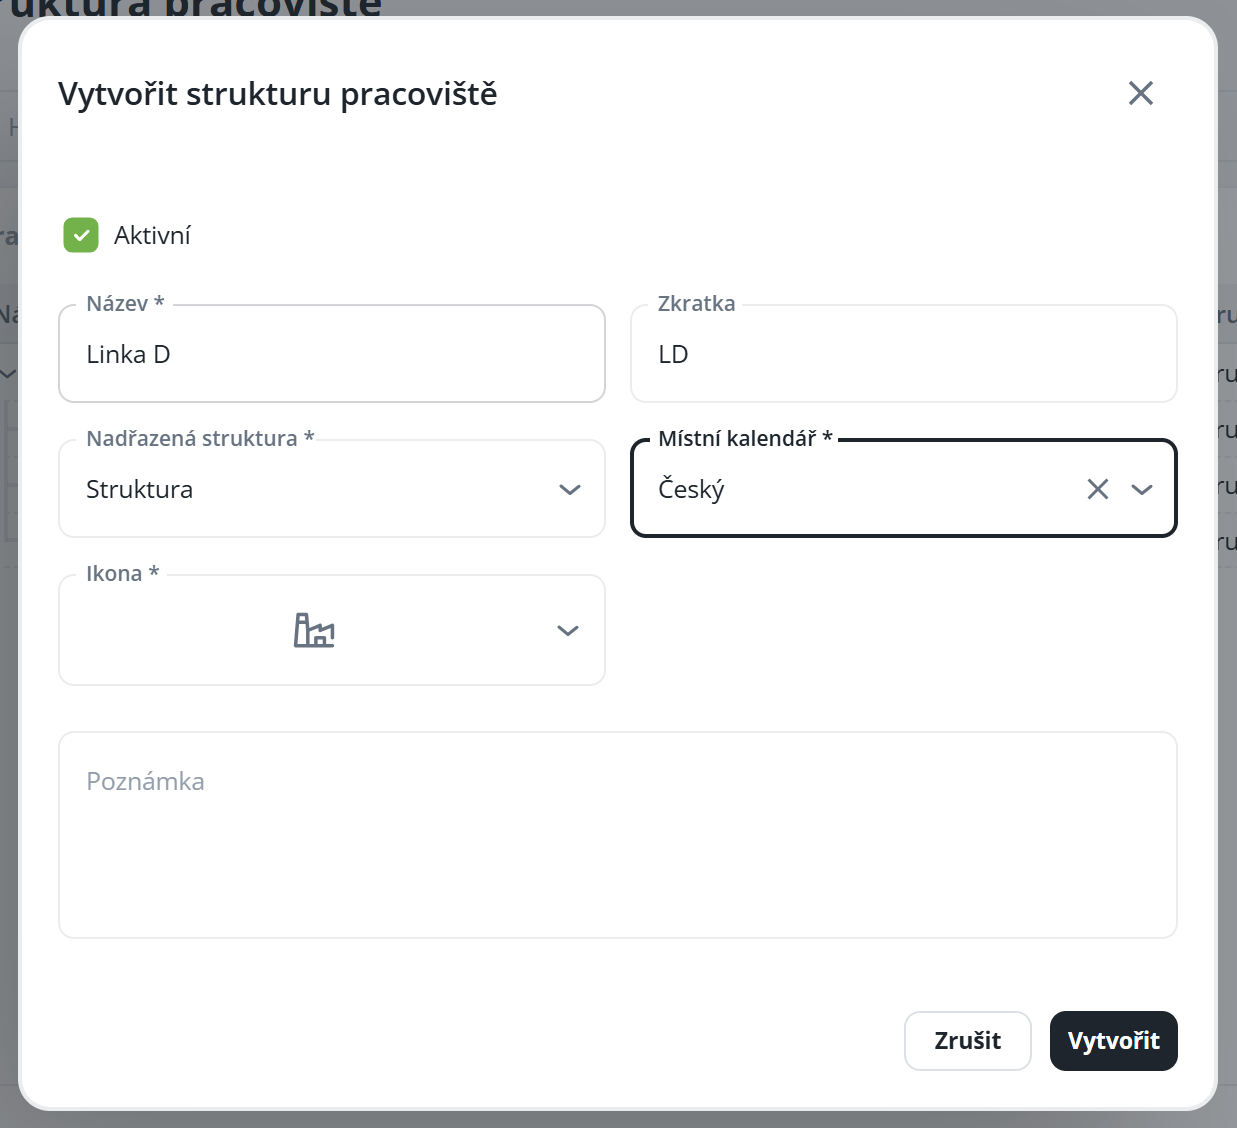
After clicking the “New” button, a dialog window opens where you can enter all necessary data to create a new job position. Always make sure to check the “Active” parameter before creation; without it, the structure will not be displayed in the capacity plan.
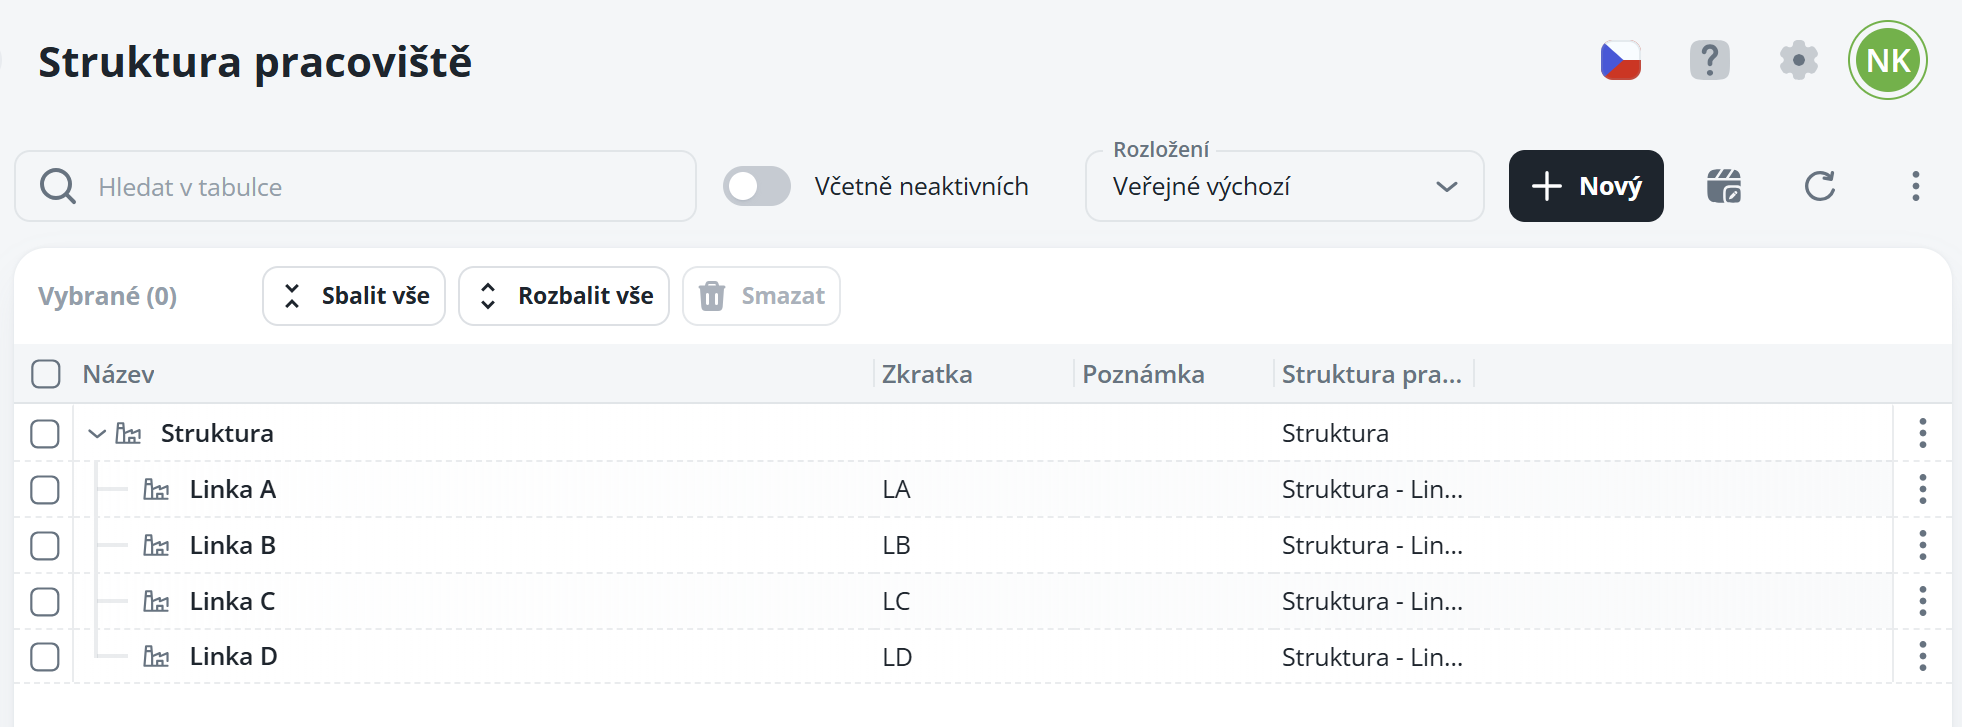
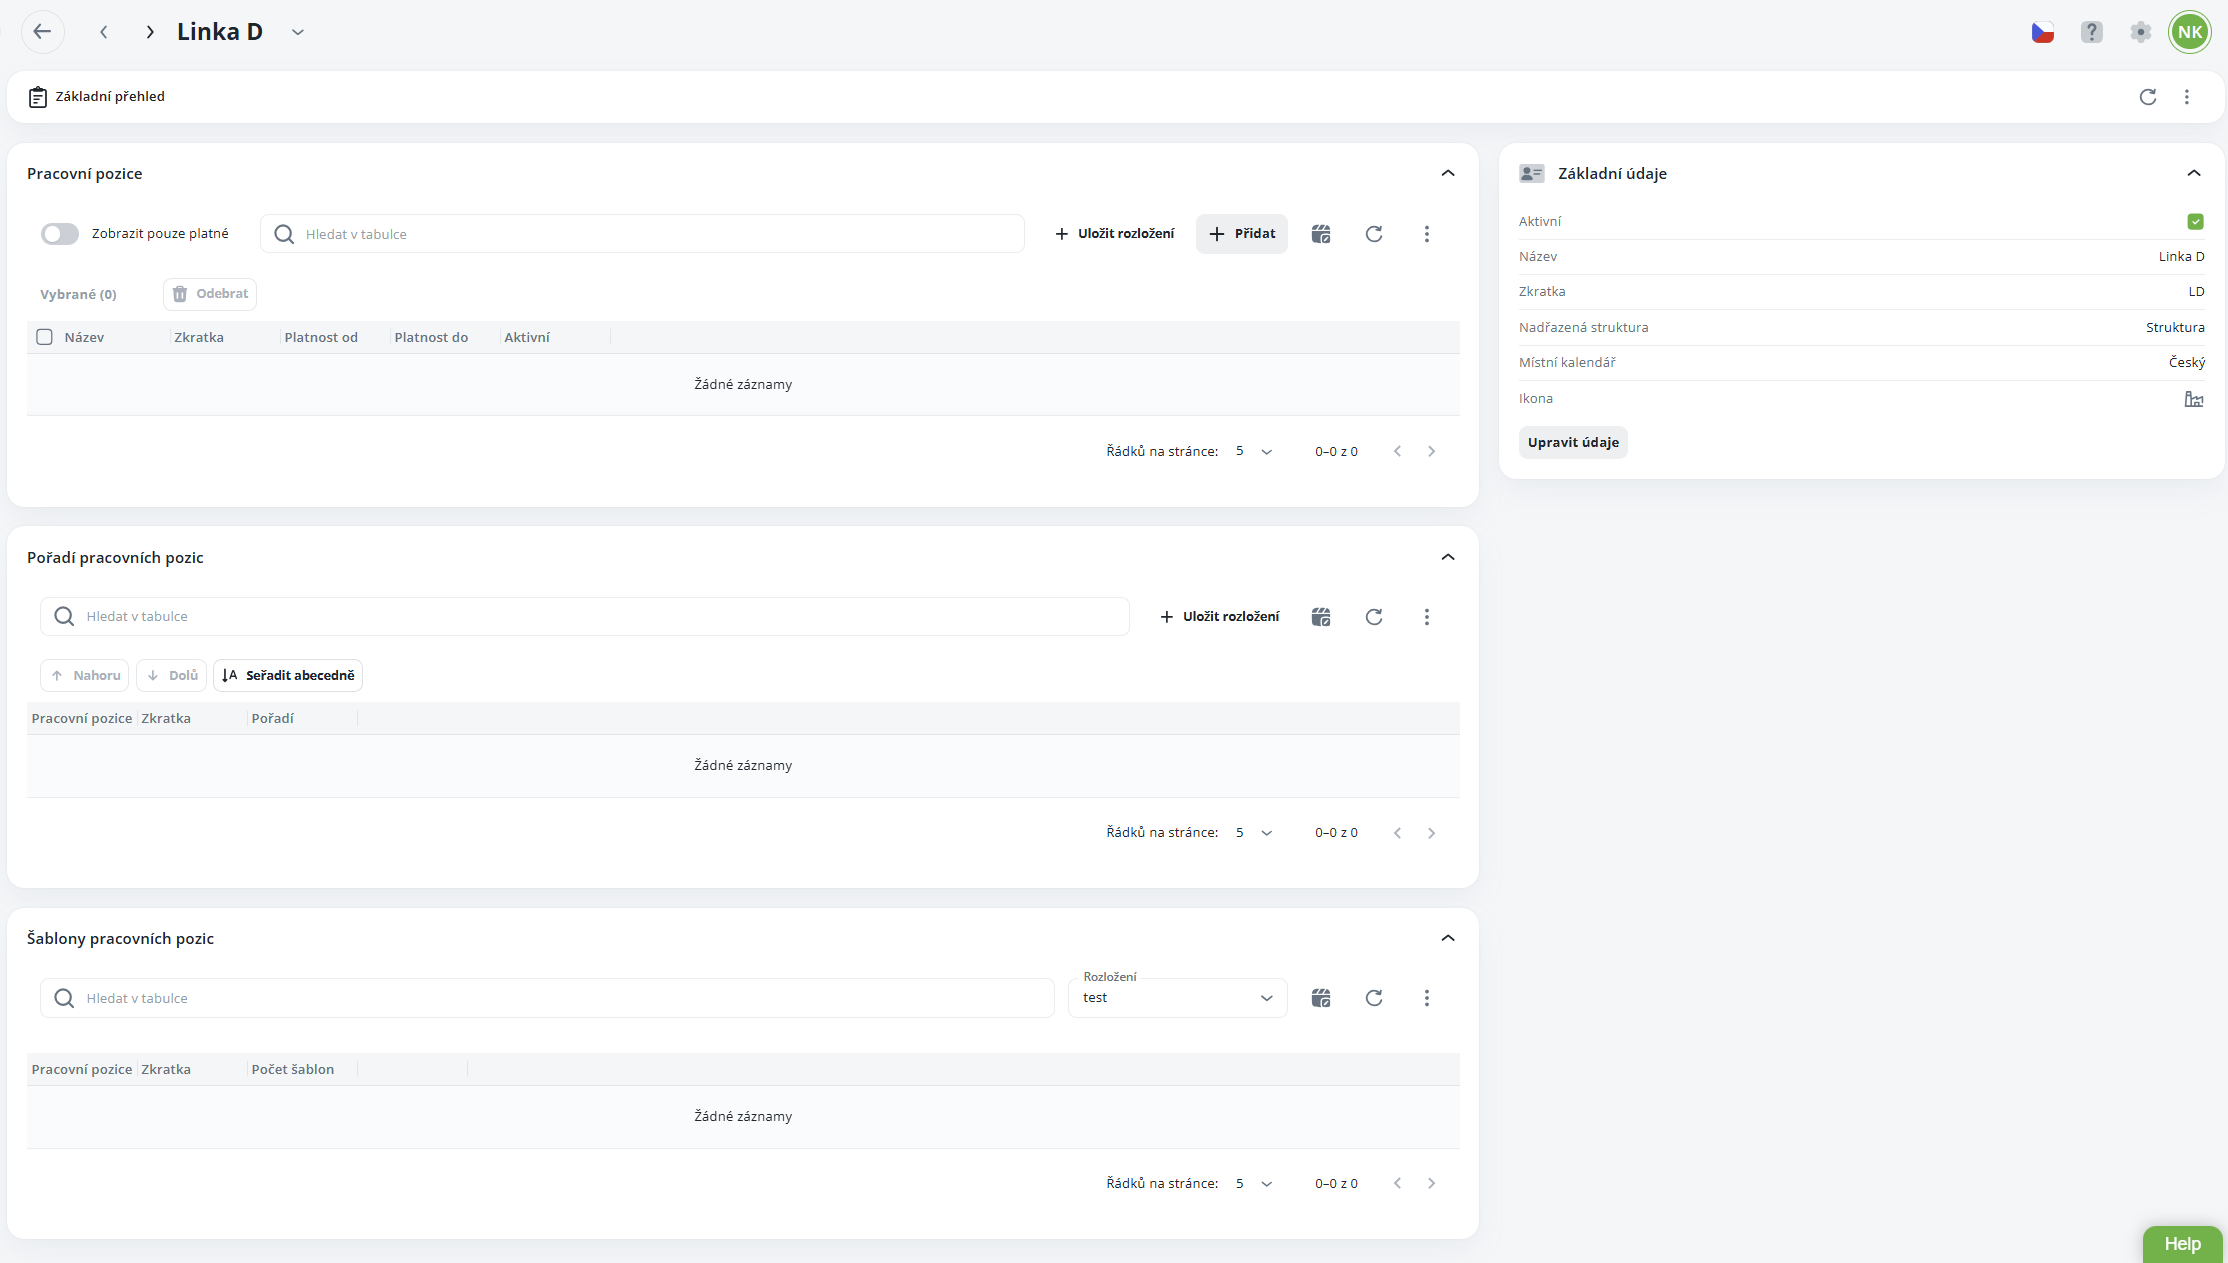
After completing the information and confirming with the "Create" option, the new structure will be automatically added to the list and its detail will be opened.
A step-by-step guide on how to correctly set up the structure so that it is displayed in the capacity plan, including the defined number of chips intended for allocation.
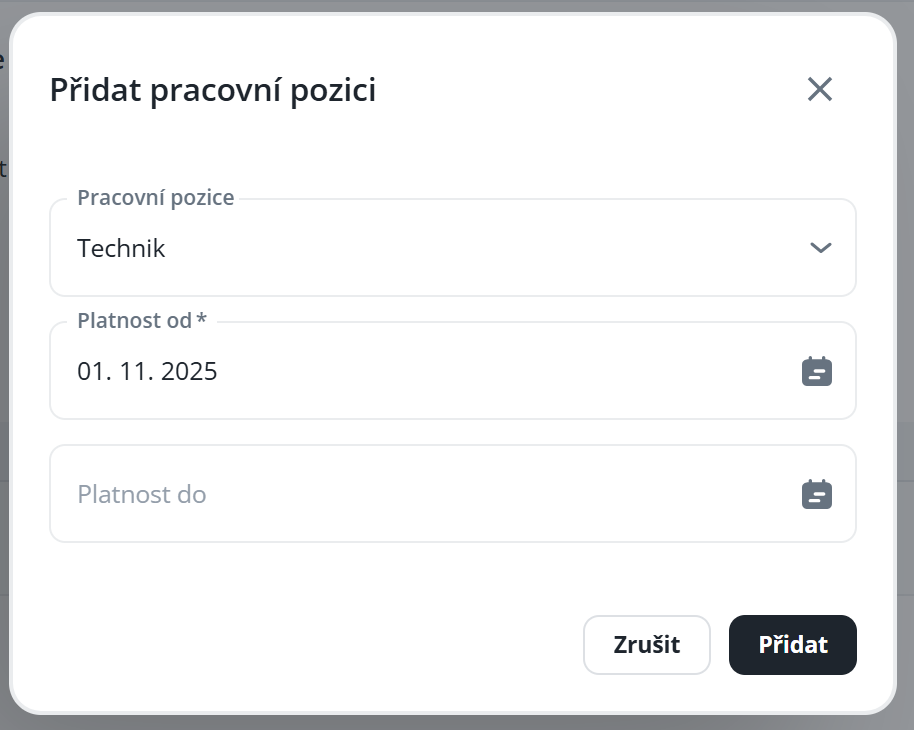
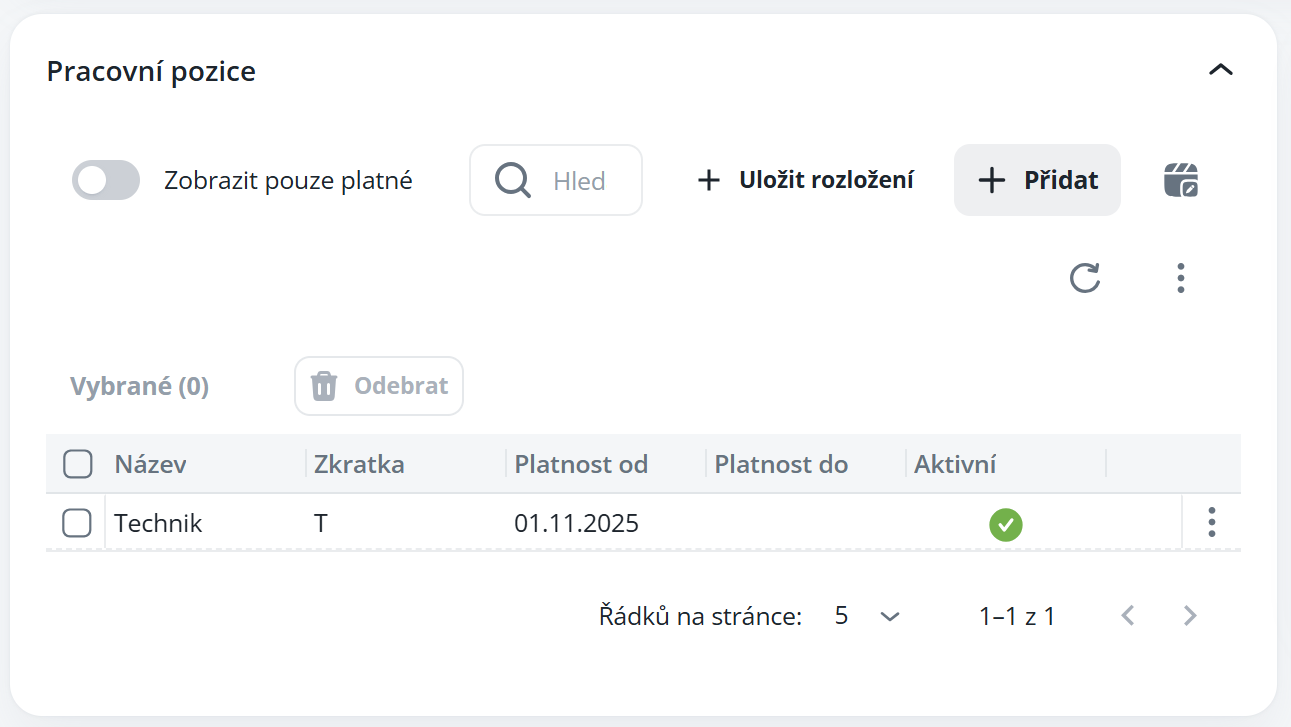
In the Job Positions section, click the "Add" button. A window with the available positions will open. Select the desired position, set the validity period (from – to) and confirm the action.
If you do not know how to create a position, follow the manual:
Job Positions
This manual serves as a clear guide for working with the job position management module. Users will learn how to create new job positions, edit existing records, delete unnecessary items, and create their copies.
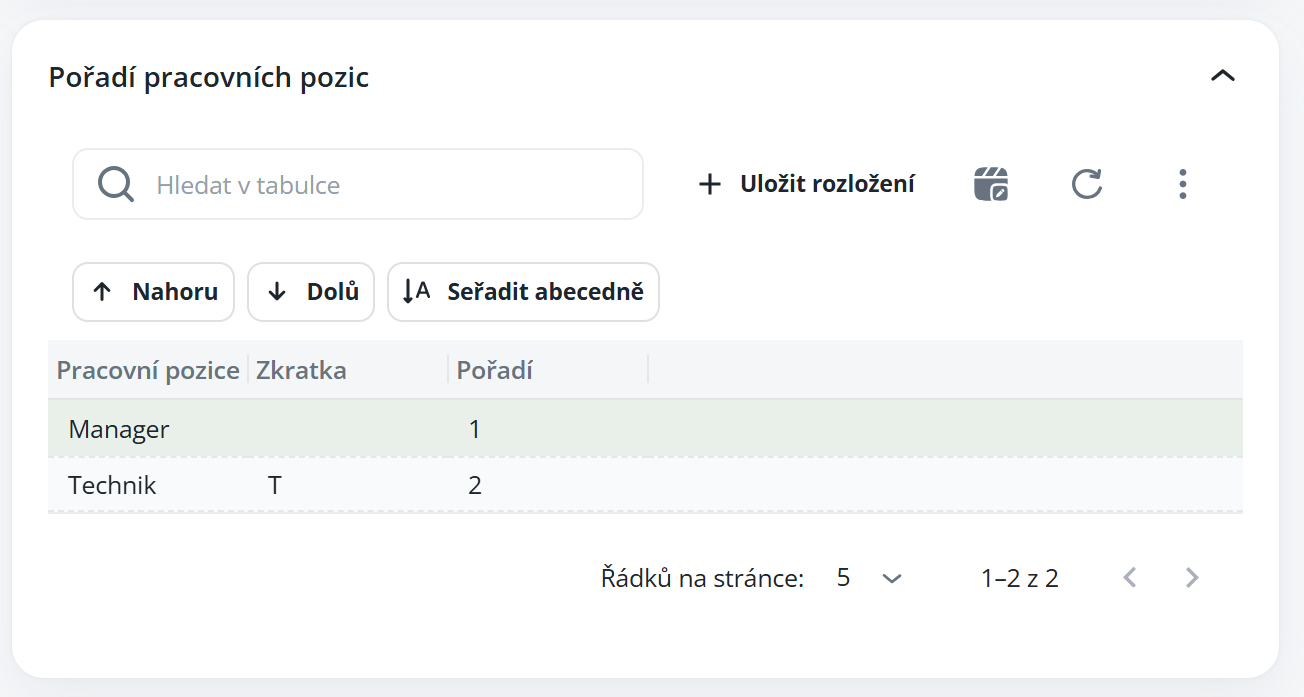
If there are multiple positions, you can set their order in which they will appear in the capacity plan. Simply select the record and use the Up or Down buttons to adjust the order of positions.
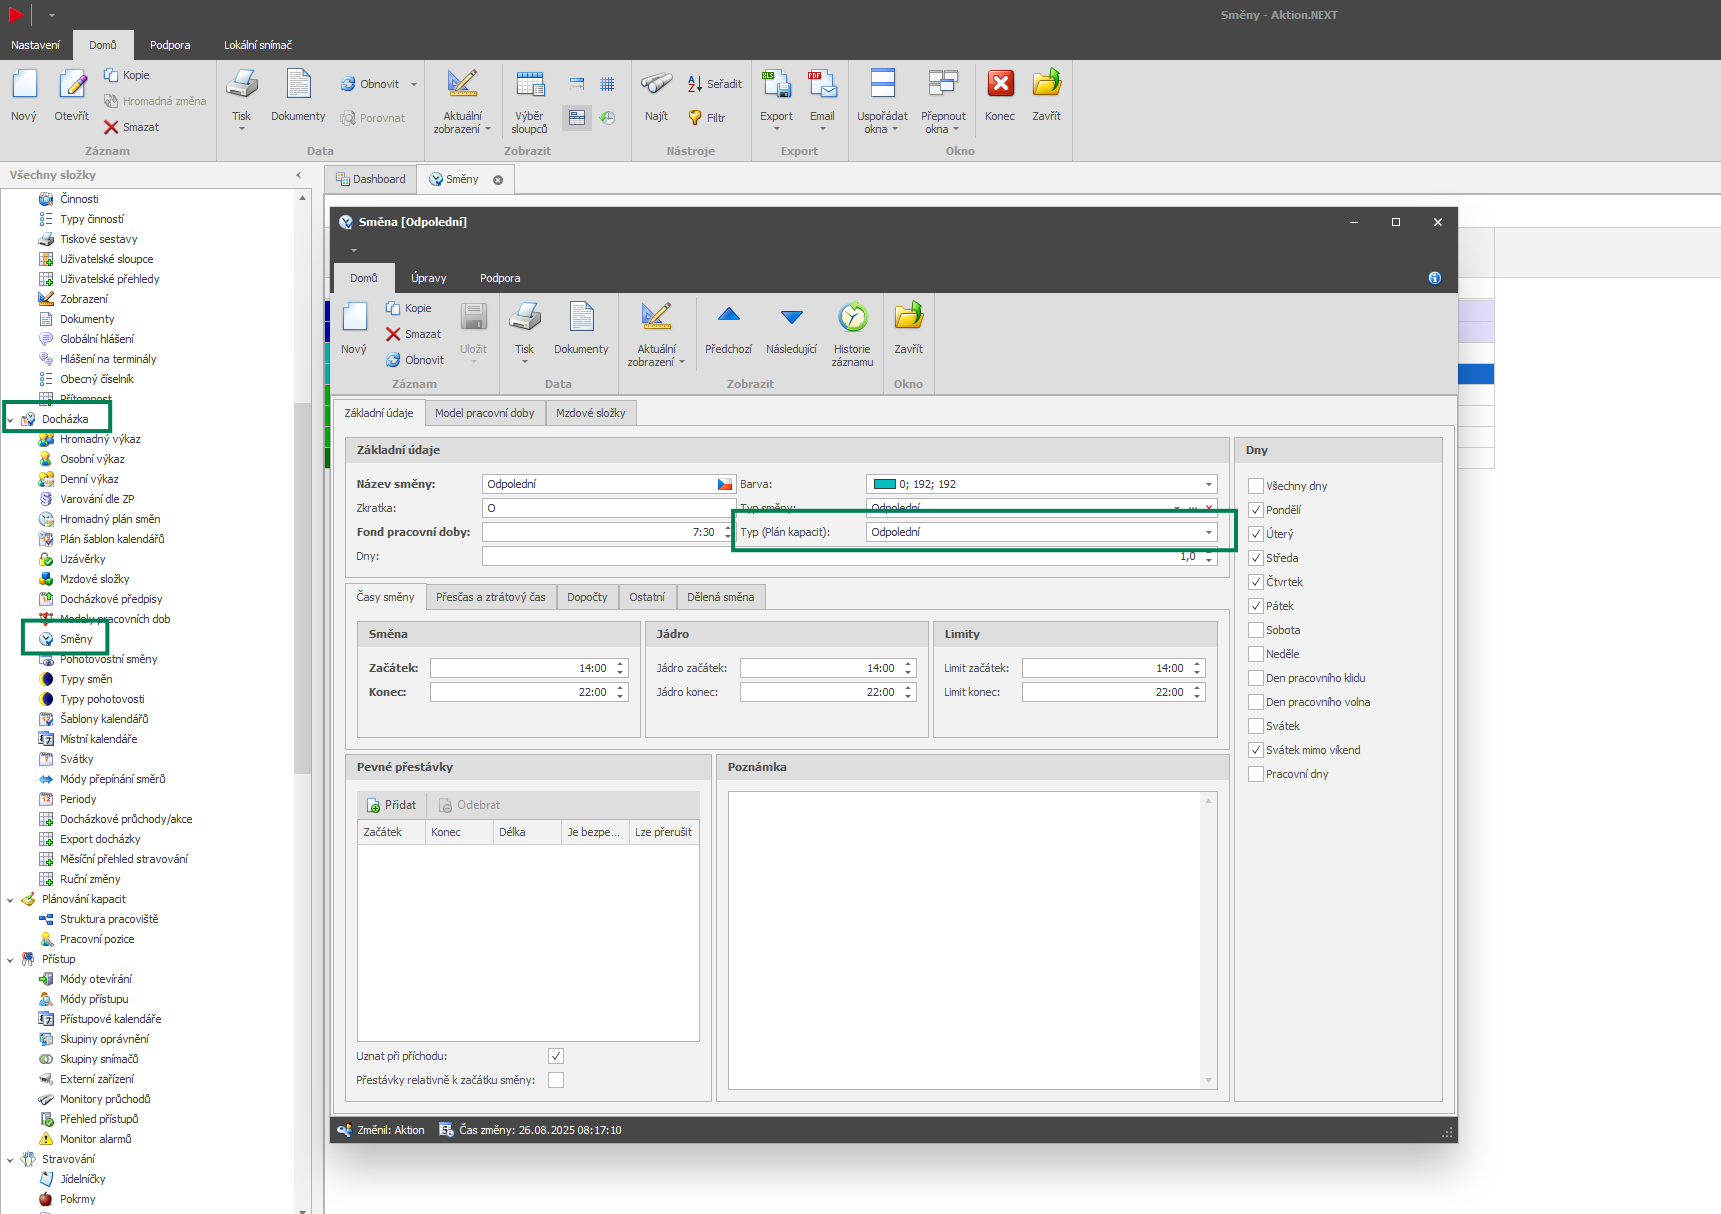
In the Windows application, go to the Attendance → Shifts → Shift Detail agenda and set the parameter Shift Type (capacity plan). This will make the shift visible when defining the template.
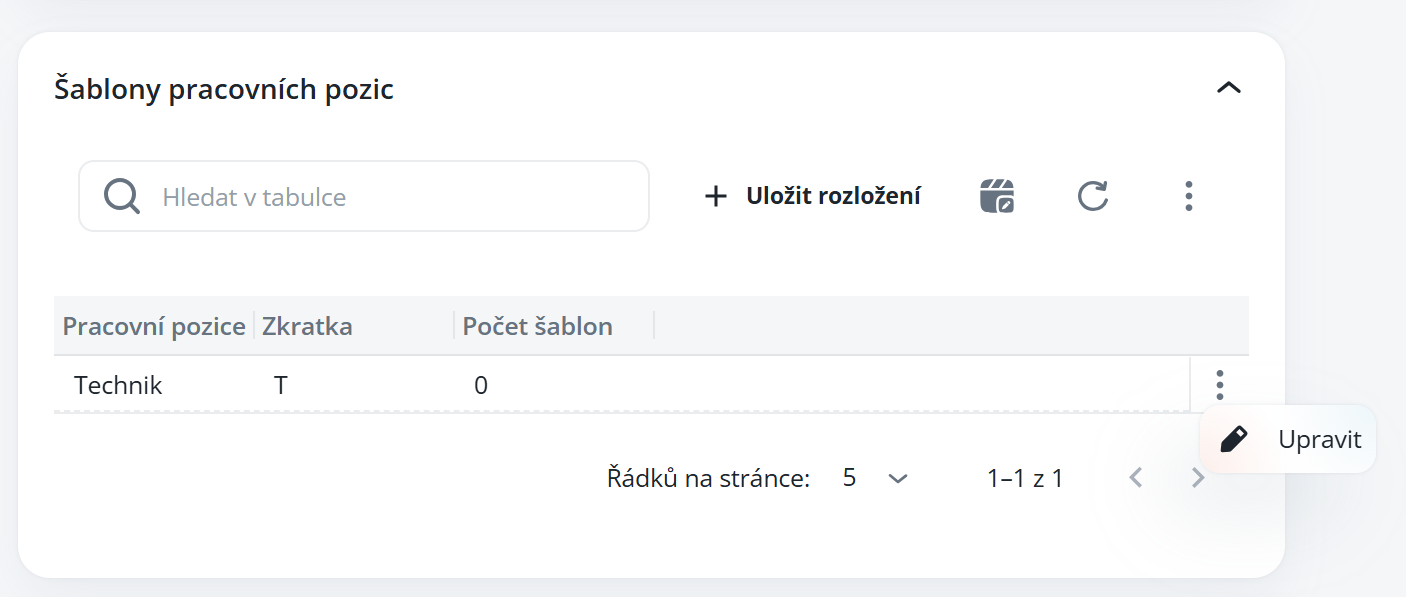
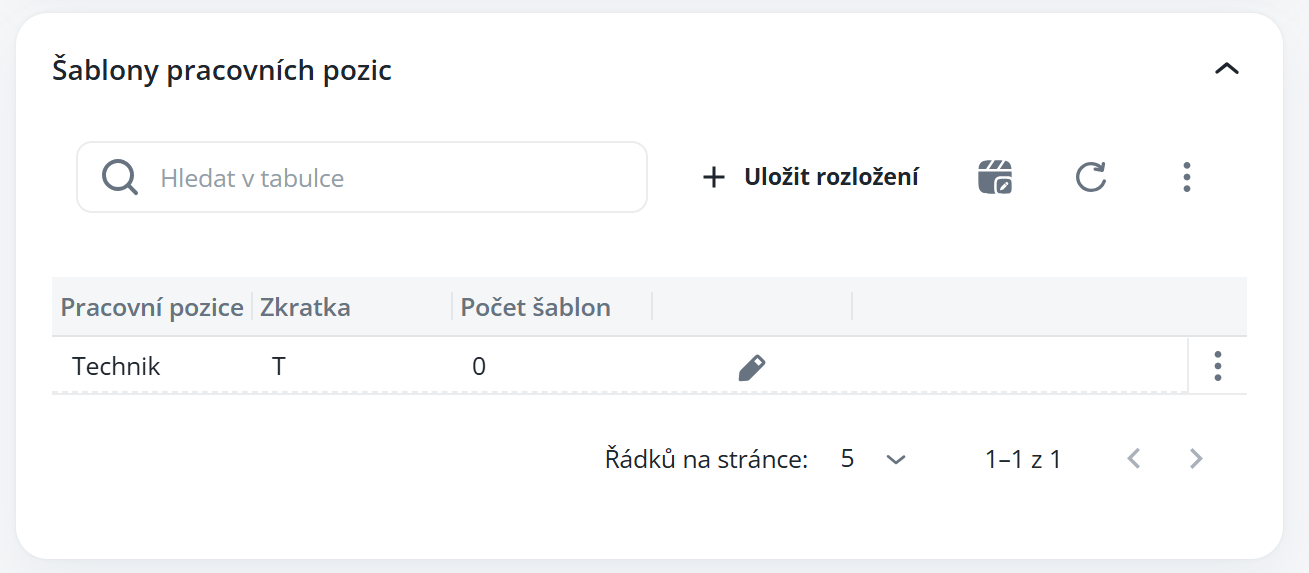
In the Job Position Templates section, click on the three-dot icon and select “Edit”. Alternatively, you can add the Action column, which will display the pencil icon for quick access to editing.
3 dots edit:
Column Actions:
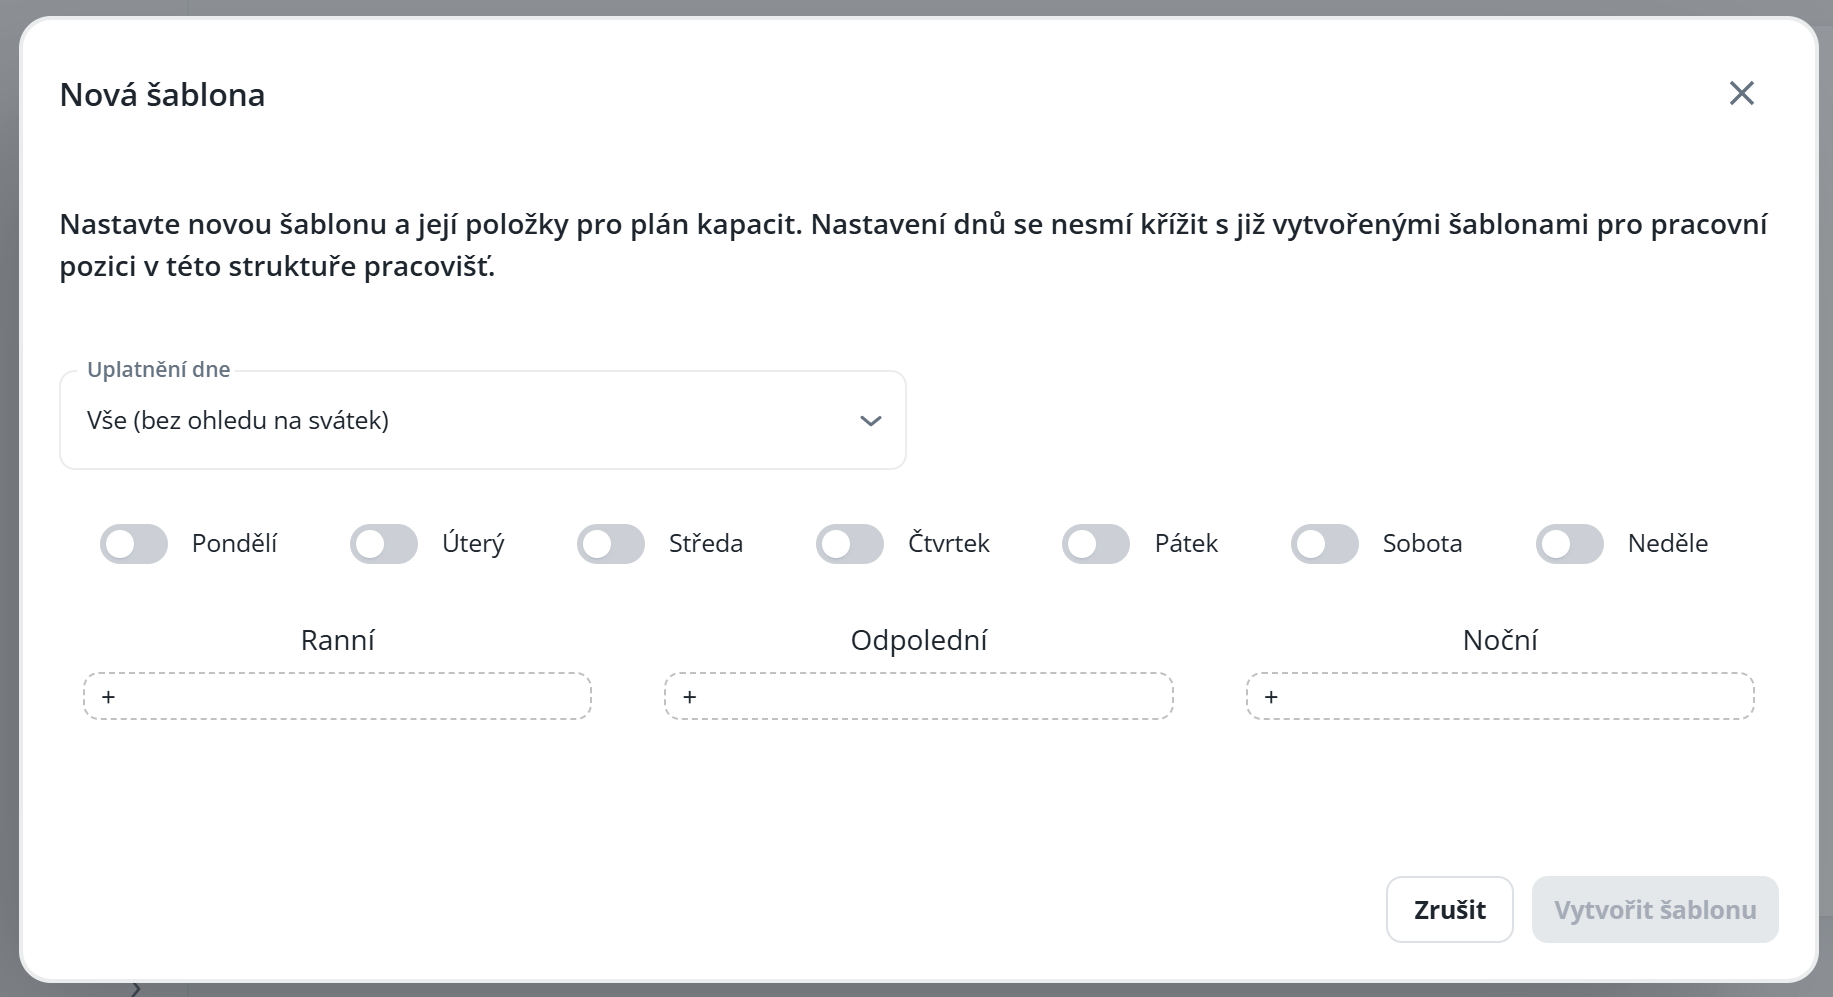
To create a template, you have two options available:
Create template – allows you to create your own, brand new template.
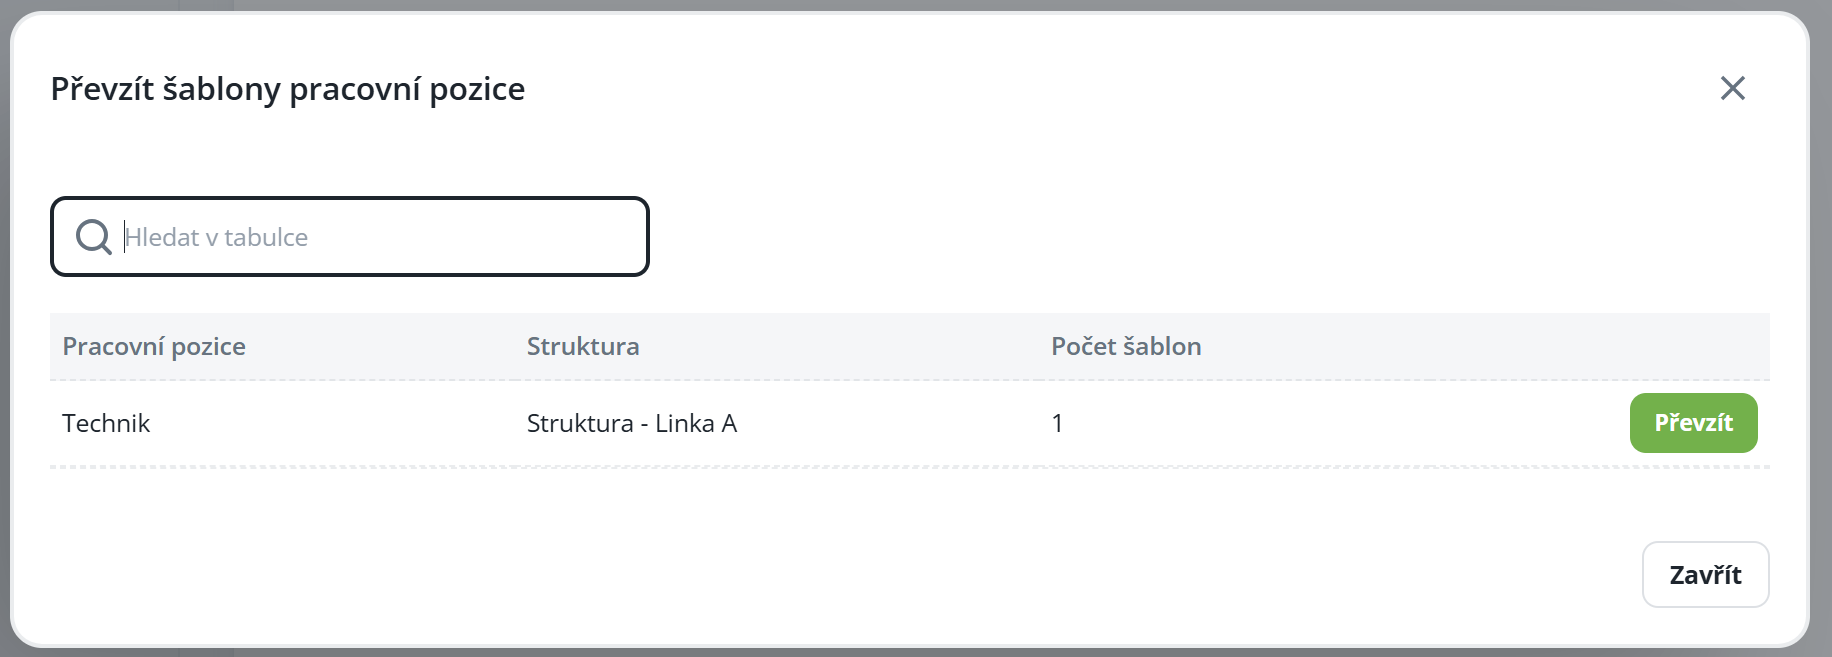
Adopt template – copies a template from another position; this option is not tied to the current structure.
When creating a new template, select the application of the day (e.g., “all,” “except holiday,” or “on holiday”) and then specify which particular days the respective position should work.
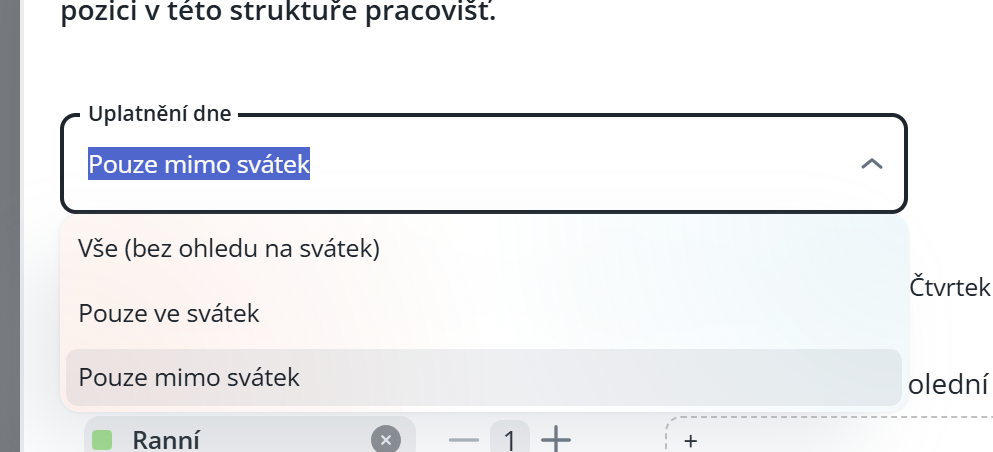

Subsequently, define the shifts that the given position needs to cover, and specify the number of employees required to fill them.
After creating the template, it will appear in the selection, and the capacity plan for the given position will be generated according to the template you defined.

