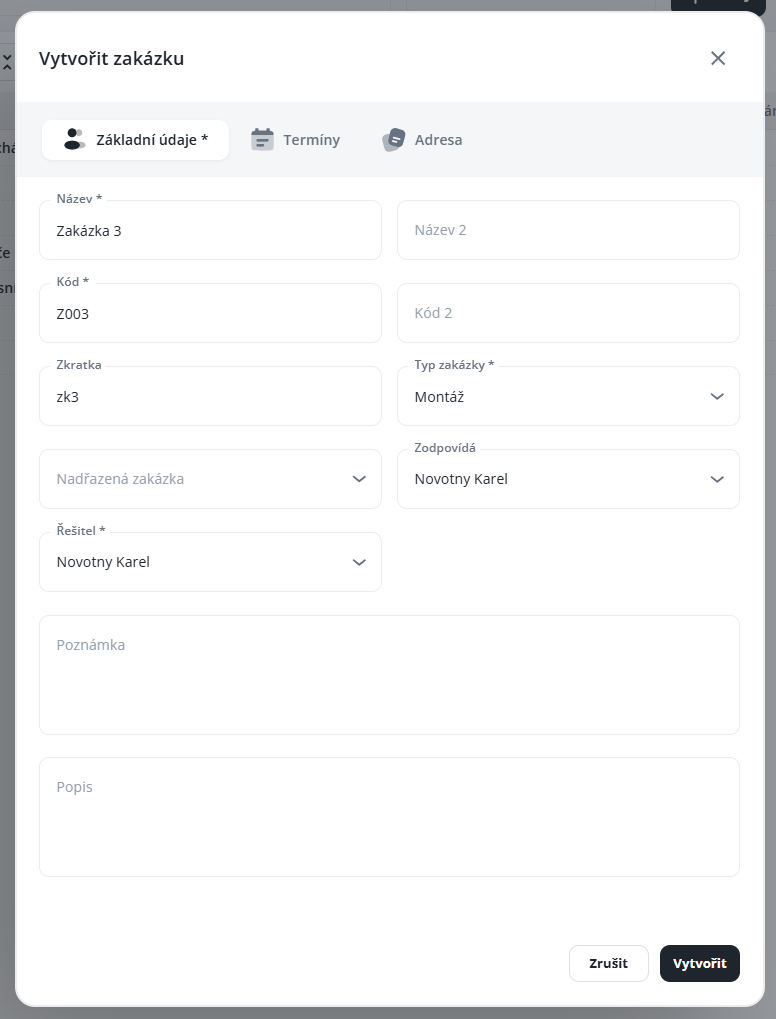
How to create and manage a contract – filling in basic information such as code, name, contract type, responsible person, resolver, and notes that facilitate registration and filtering in both the mobile and web applications.
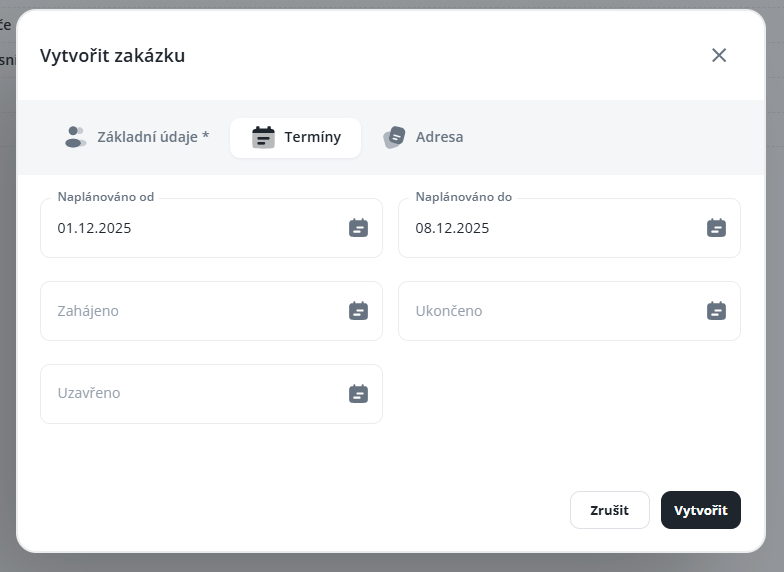
How to set contract deadlines and performance limitations – planned period, start and completion of the contract, and their impact on the ability to record time spent on the contract.
How to manage contract participants and their rights – assigning individuals to the contract, setting validity periods, restricting performance reporting, and allowing work on behalf of other participants.
How to work with contract items – adding items from the list, setting activation, planned duration, planned quantity, prices, and notes, which are available in both the mobile and web applications.
How to set payment methods, cost centers, and attach documents – selecting payment methods, choosing cost centers, and attaching photos or other files to the contract for better orientation and documentation.
Code – internal job identifier (e.g., numerical identification); this code may serve, for example, for job import or export
Name – this name is displayed in the mobile application; please enter it clearly, especially for technicians and employees who will be recording time on the job using the mobile application (this parameter can also be used for filtering/sorting in the Aktion.NEXT application, i.e., in the Windows and web client)
Type of Job – selection from predefined options
Responsible – informational item only, denotes who is responsible for the job/project (informational purpose, does not confer any special rights)
Solver – the person in charge of fulfilling the job; once set, they are automatically assigned as a participant and job leader with the ability to record work for other participants
Note - A completed note in the job details will also be displayed in the mobile application. For example, enter the contact person and telephone number, instructions for participants, access codes, and so on. In the note, you may use HTML tags to highlight certain information.
Scheduled from / Scheduled to (when setting a deadline, it is possible to simultaneously set a fulfillment restriction for all participants according to this scheduling date – it will then not be possible to record time on the order outside this deadline)
Started (when setting a deadline, it is possible to simultaneously set a fulfillment restriction for all participants according to this start date – end – it will then not be possible to record time on the order outside this deadline)
Completed
Closed – inactive order, completed, closed
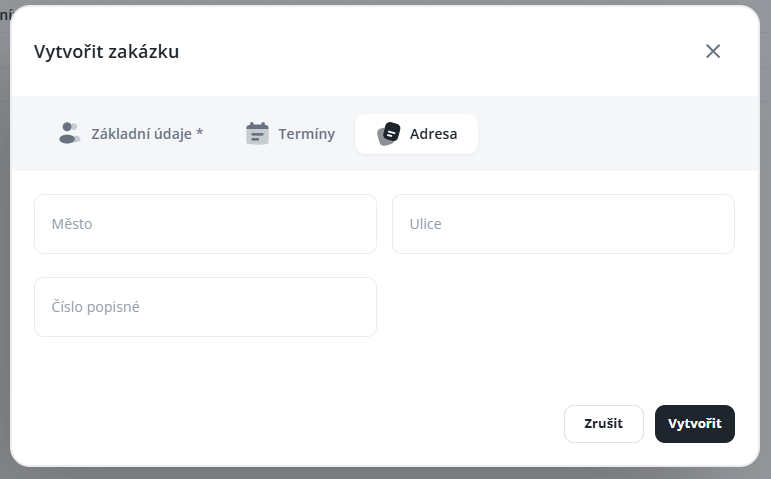
If the order address is filled in, this address will be displayed in the item details in the mobile application along with a link that you simply tap to open Google Maps with the given address in the default browser.
In this tab, add all persons (persons must be created in the Persons agenda) who will record their work and enter fulfillments for the order. For each person, you can set validity, fulfillment reporting restrictions, and whether the person can report work on behalf of other participants of the order.
Report for Participants – this right is automatically granted to each solver, but can also be set individually in the Participants tab—thanks to this right, managers/superiors/colleagues in the mApp and on the web can report work on behalf of other participants
Manager – for informational purposes only, identifies who is responsible for the order/project (informational character, does not confer any special rights)
Example of using reporting for other participants:
Several technicians/workers/etc. go to a joint service/construction/etc., and one of them can then enter fulfillments for all colleagues at once.
From a pre-prepared list of items with defined prices, add those that should be offered to participants in the mobile and web application (or in the Windows client) for the specific contract in question. Prices and rounding can be set specifically for each particular contract.
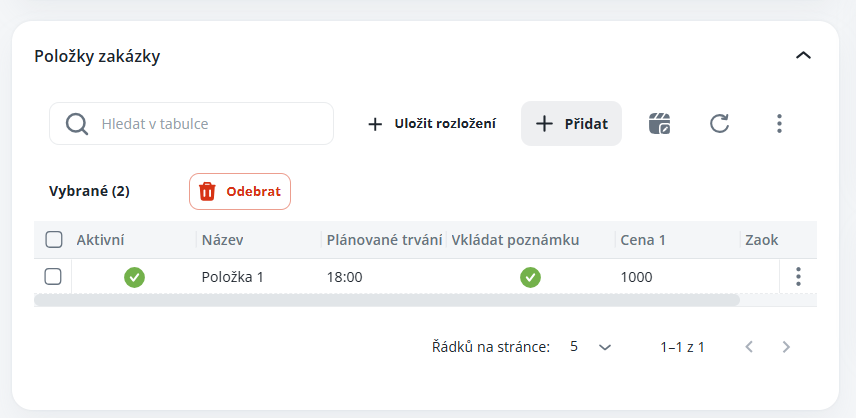
Active – if the item is not active, it will not be offered in the mobile and web application for entering performance. It can serve as preparation, or the item is no longer used, but it is still necessary to keep it assigned to the contract to allow access to historical data and performance.
Planned duration – if necessary, enter the scheduled time, which you can then compare with the actual time worked on the contract or item
Enter note – specifies whether the note field will be available when entering performance (performed work, identified defect, etc.) Note – displays the note for a particular item for a given contract (both web and mobile application). The note may contain, for example, more detailed information about the contract, contacts for important persons, opening hours, etc.
Planned quantity – if necessary, enter the planned quantity and you can then compare this quantity with the actual issued quantity for the order, or the item
Price, Price rounding, and Quantity rounding are taken from item settings. This setting can be changed for a specific order, just enter the required values for the particular order and save the record.
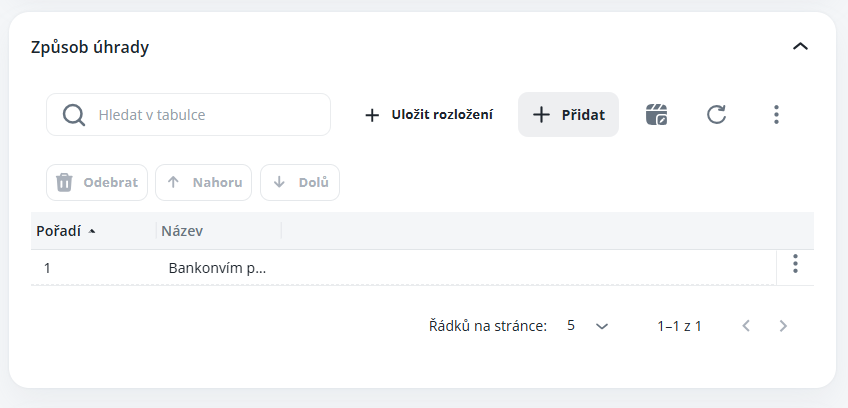
Select payment methods from the list of the same name, which will be available when entering fulfillment. This is for informational purposes for record-keeping and does not affect calculations, etc.
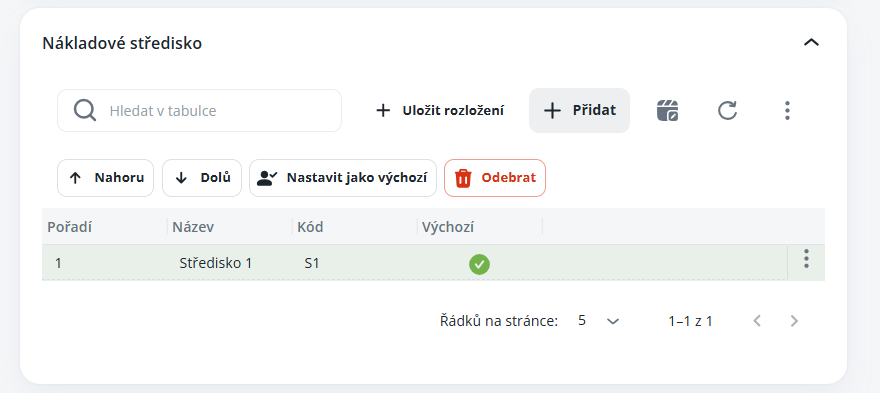
Select cost centers for the orders; these will then be mandatory parameters when adding fulfillment. The centers also influence the calculation, since order calculations are divided according to cost centers.
Default - sets automatic selection of the center when fulfilling
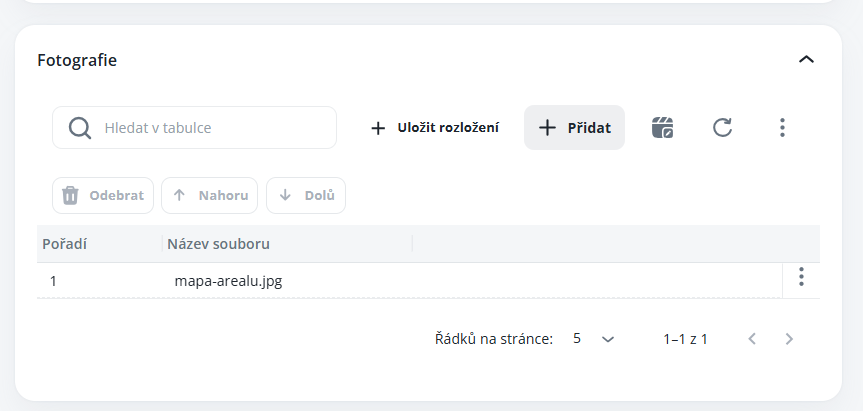
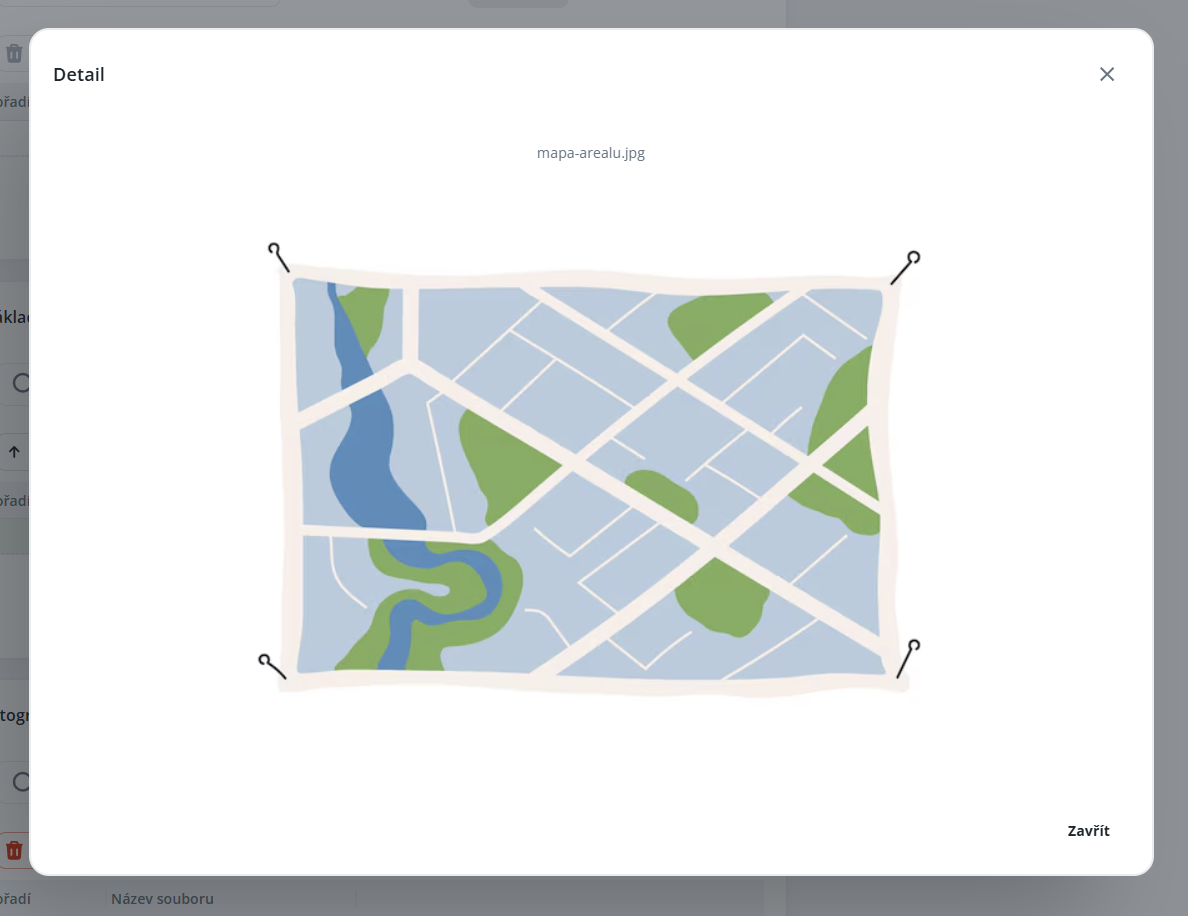
If you attach a photograph/image to the order, this file will then be available for review in the item details within the mobile application. For example, it may include building plans, instructions for participants, drawings, etc.
You can display the photograph/image by clicking on the file name (e.g. mapa-arealu.jpg).