How to effectively manage persons within the company
How to add, copy, and delete persons
How to work with context menus and bulk actions
What the person detail contains and how to edit it
How to set up:
Basic information (work unit, assignment, structure)
Attendance regulations and monitor worked hours
Category of diner and place meal orders
Personal calendar – shift planning and actions on behalf of another person
How to use charts and overviews of attendance
How to set up activities, cost centers, work units, PIN

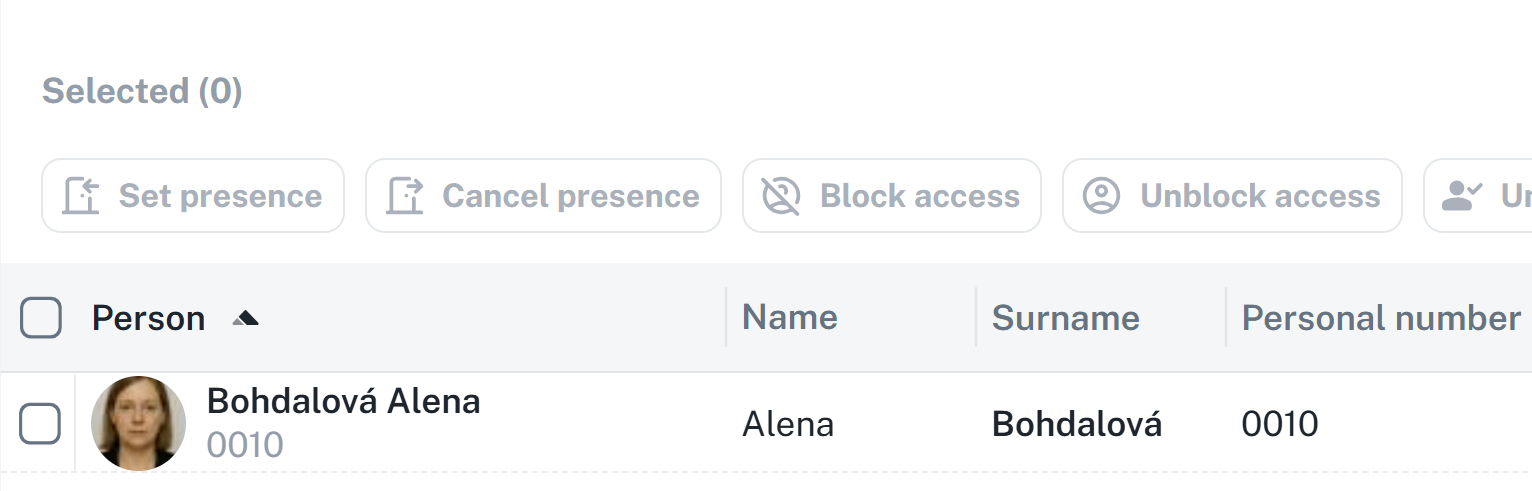
The list serves for efficient management of persons, including bulk addition, copying, and performing other actions.
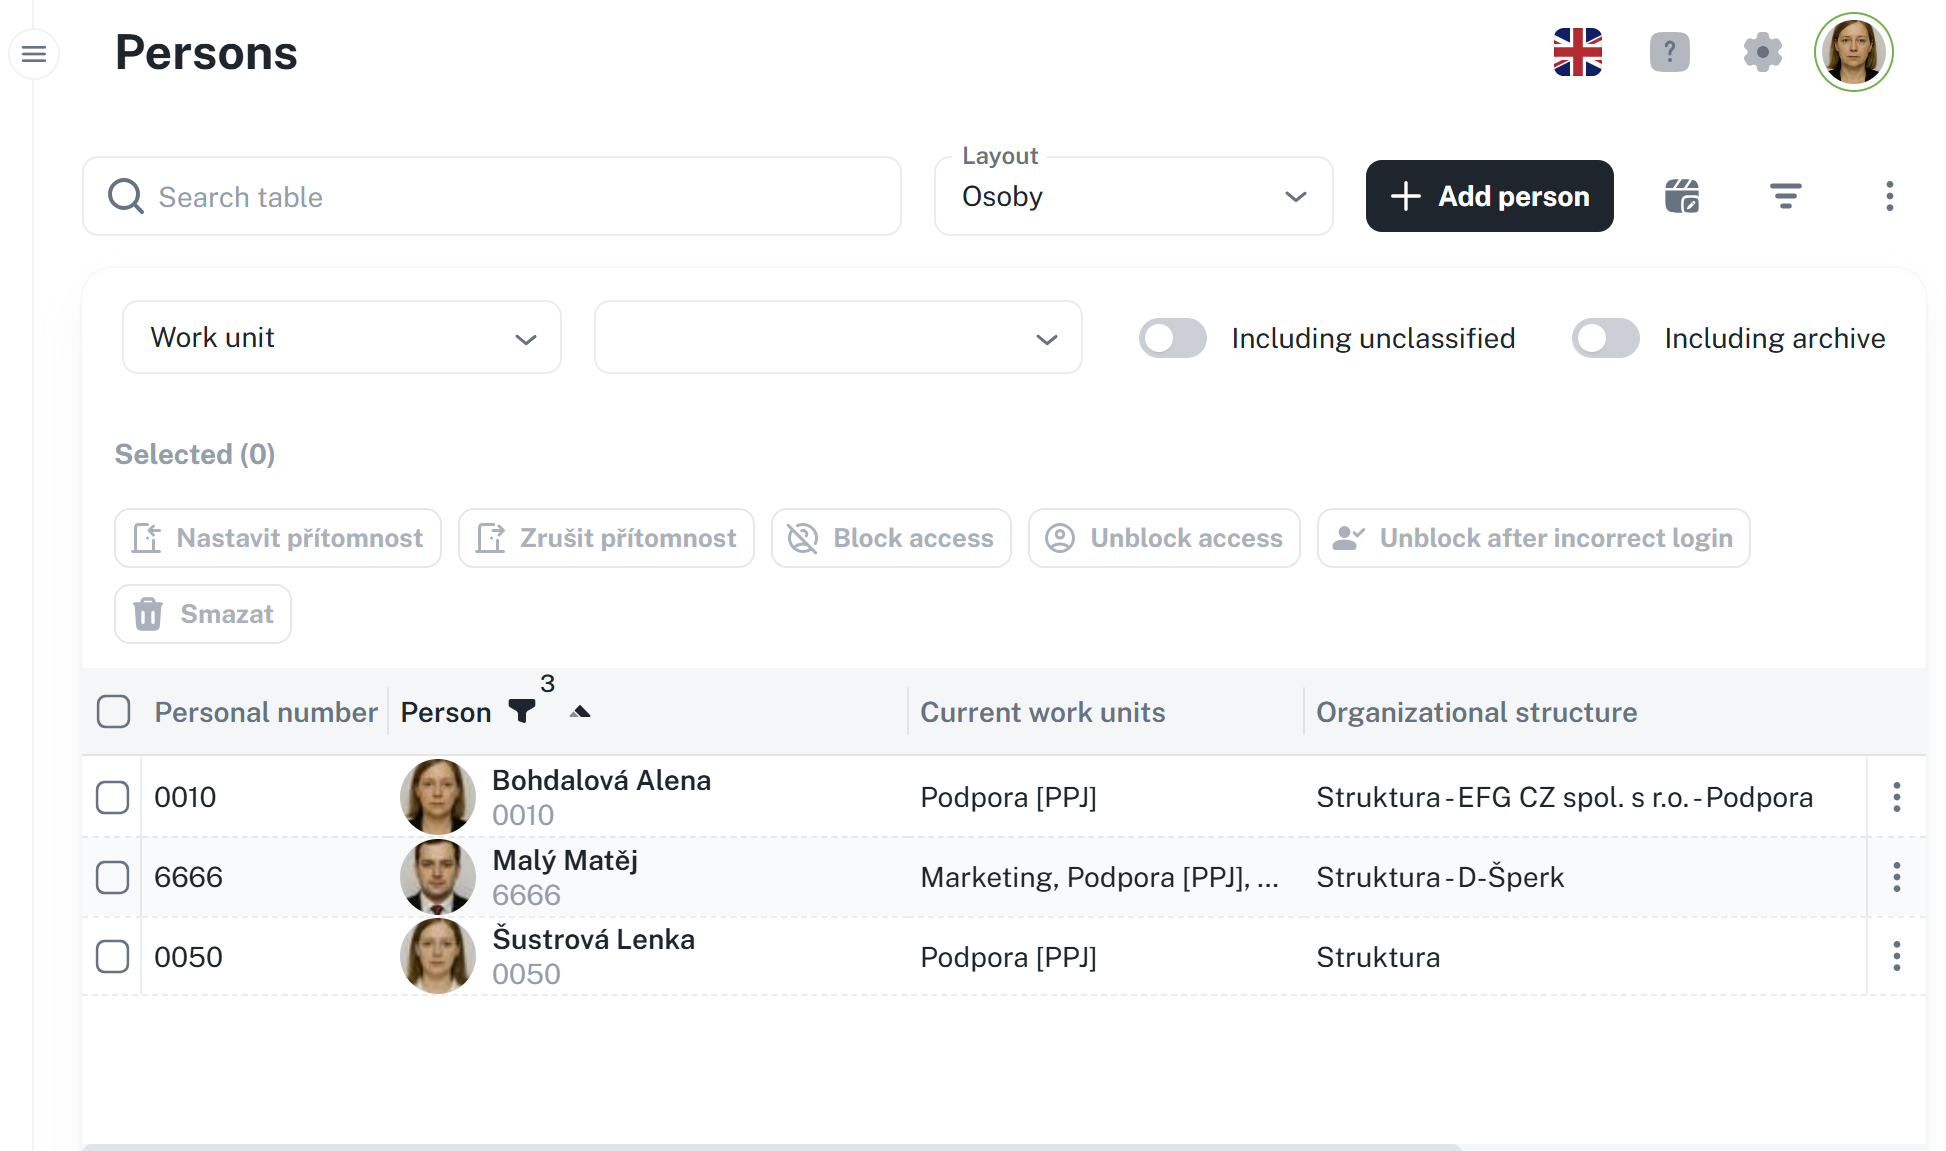
When selecting one or more persons, several buttons are available:
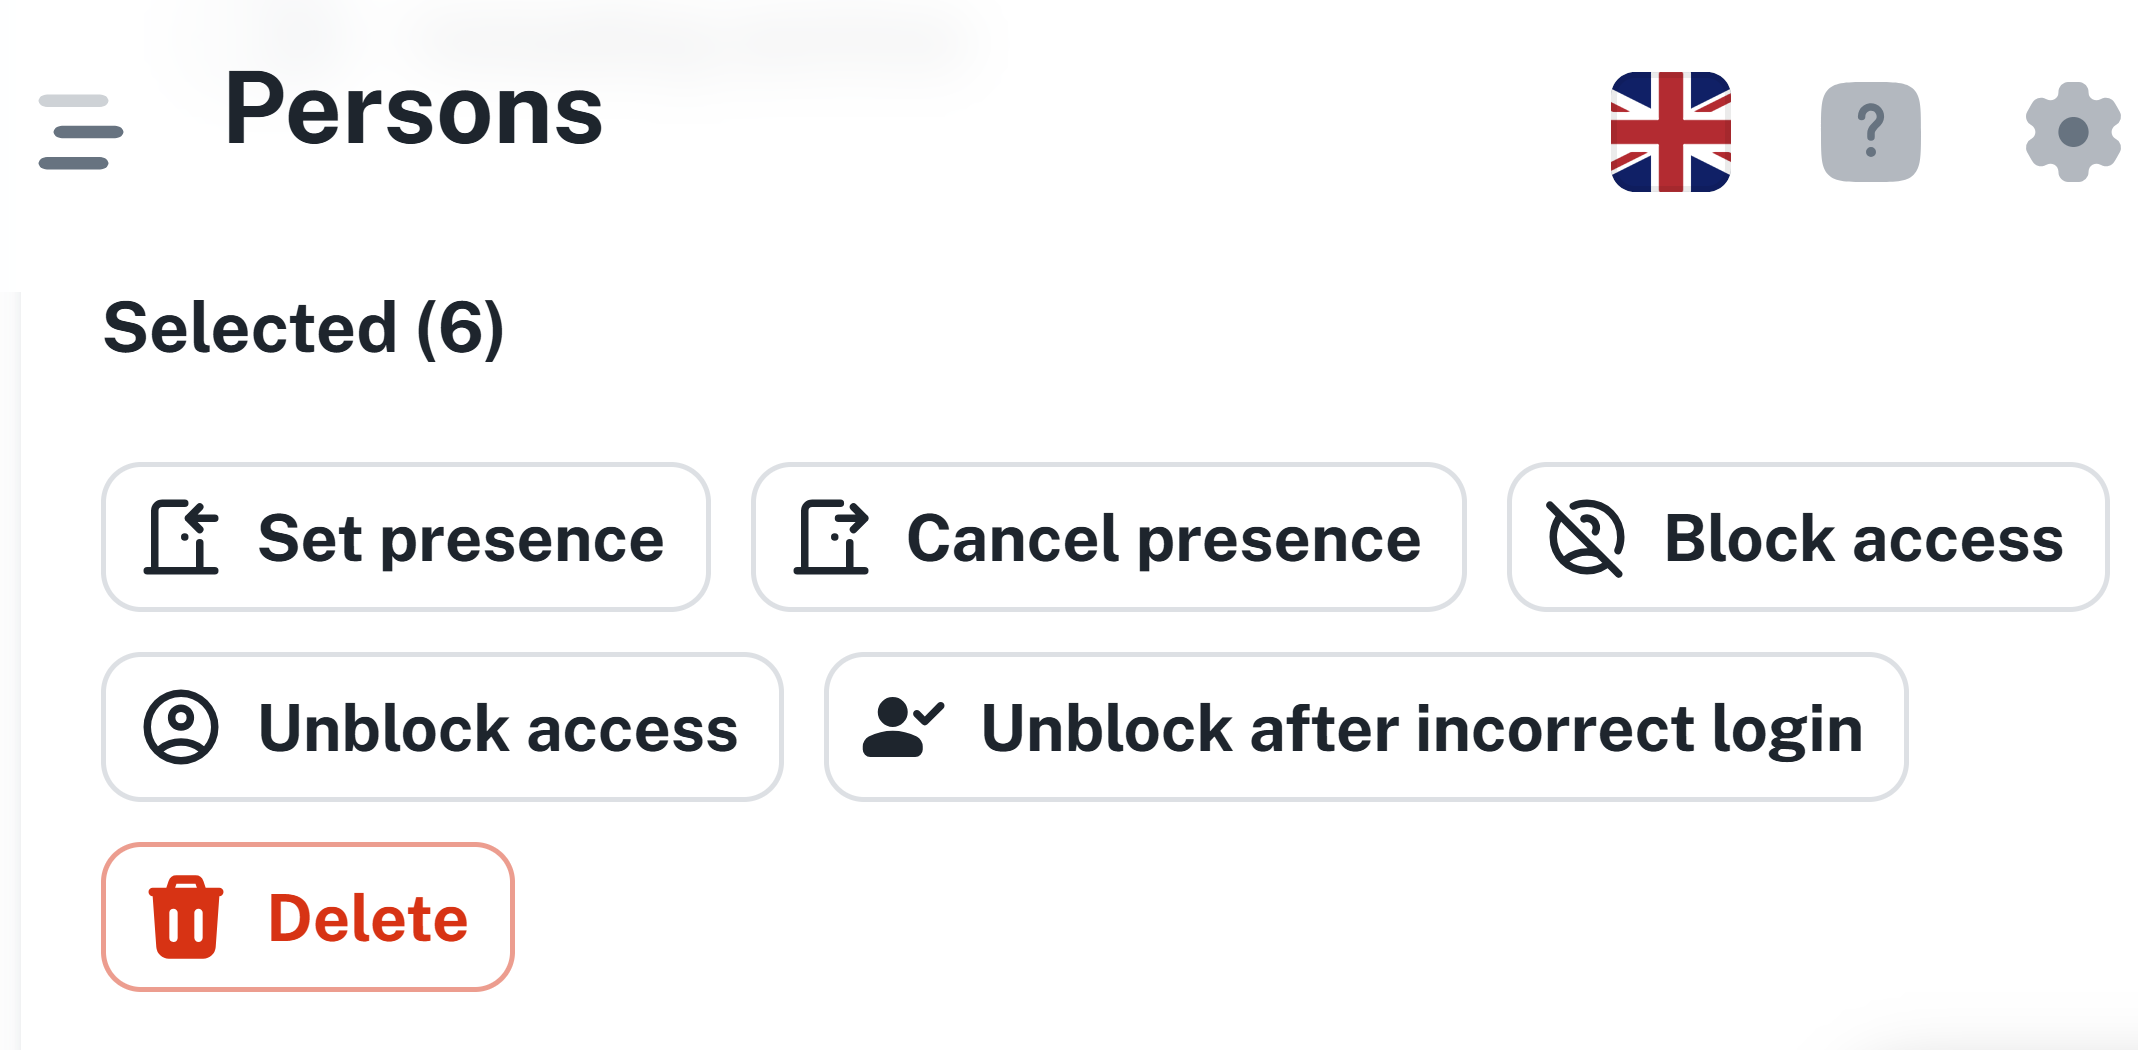
Set/Cancel presence - sets or cancels an employee’s presence in a given zone for a specified time period.
Block/Unblock Access - blocks or unblocks an employee’s access to hardware readers and logins to software applications.
Unblock after incorrect login - unblocks an employee’s access after several failed login attempts.
Delete - deletes the person from the system
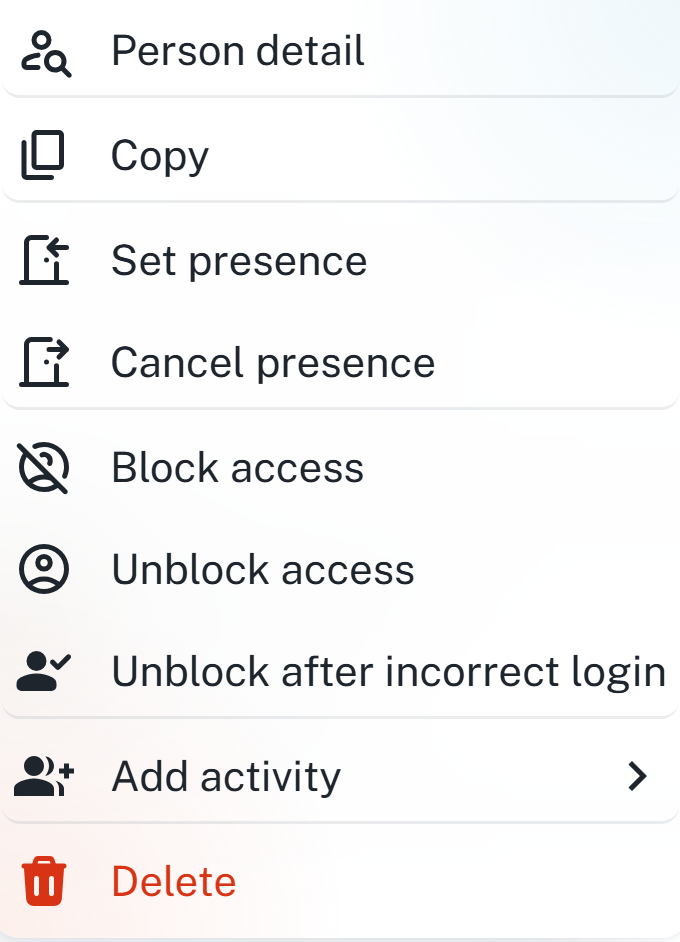
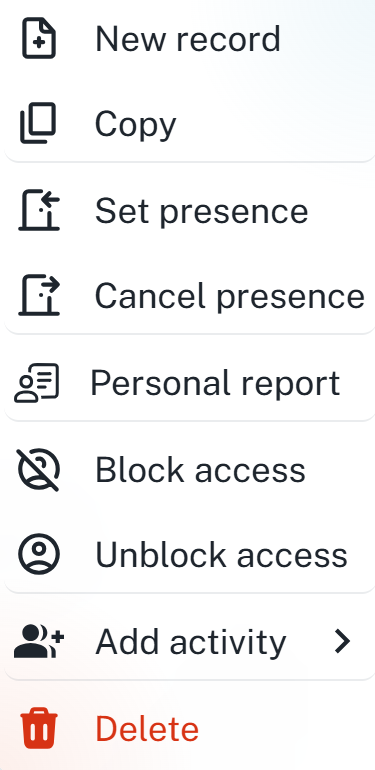
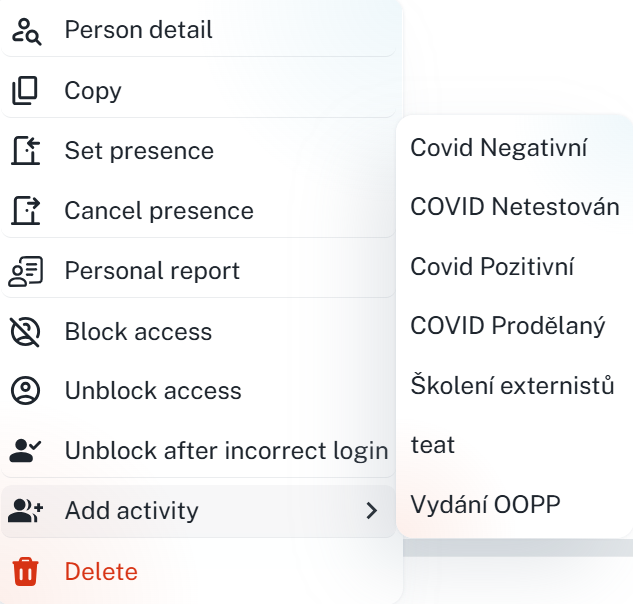
These same and additional options are also available from the context menu - by right-clicking on the given person, or by clicking the three dots on the right (see image below).
The context menu additionally includes:
Person detail - click-through to the person's detail
Copy - copies the selected person
Personal report - click-through to the personal attendance of the selected person
Add activity - quick addition of an activity to the person

You can add a person using the Add Person button.

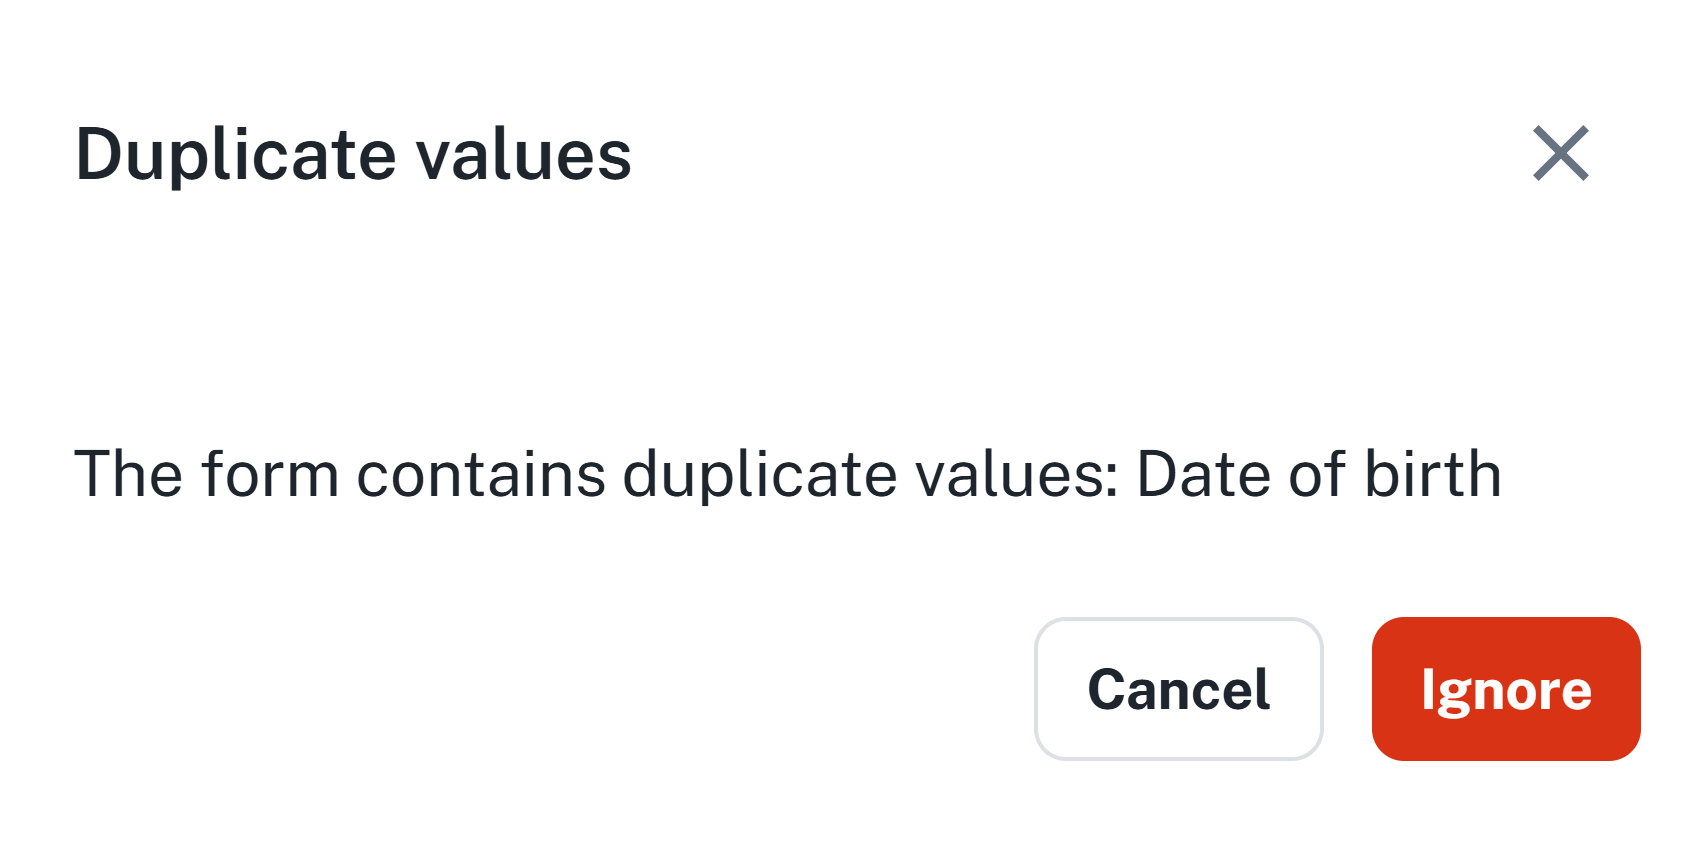
Enter the required information in each individual tab - Mandatory fields are marked with a star *. In case of duplicate data, enter a unique value into the field.


Once you have entered the information, simply click on Create person
After the person is created, they will be displayed in the list.
Copy is used to duplicate hardware access. The newly created person will have the same access rights as the original copy.
The copy function is accessible from the context menu, that is, by right-clicking right mouse button on the specific person, or by clicking on the three dots next to the selected person.

The procedure for creation is identical to the standard creation of persons.
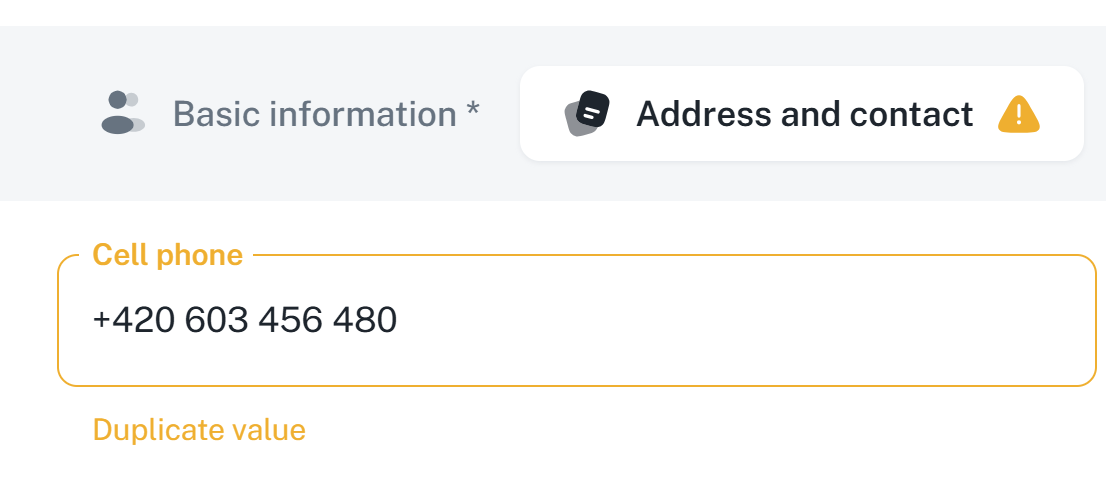
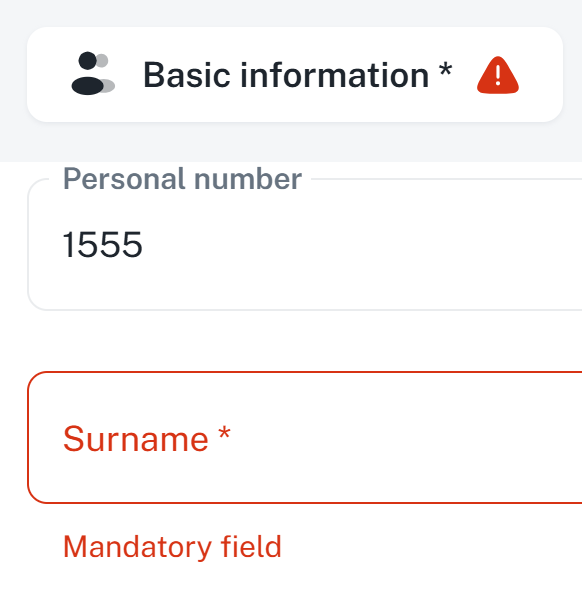
Duplicate checking and mandatory fields are configurable. It is possible to set:
The field may contain a duplicate value, but a warning will be displayed. It is indicated by an orange exclamation mark.
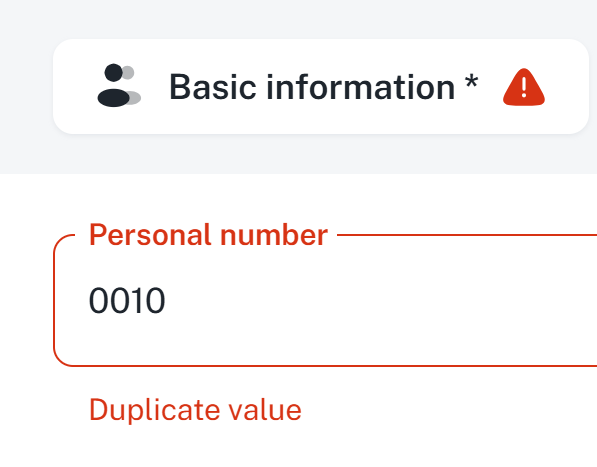
A unique value must be present in the field, otherwise the form cannot be saved. The difference compared to a standard duplicate is the exclamation mark color being red.
An obligation indicator (*) will appear at the field. Without filling it in, the form cannot be submitted.
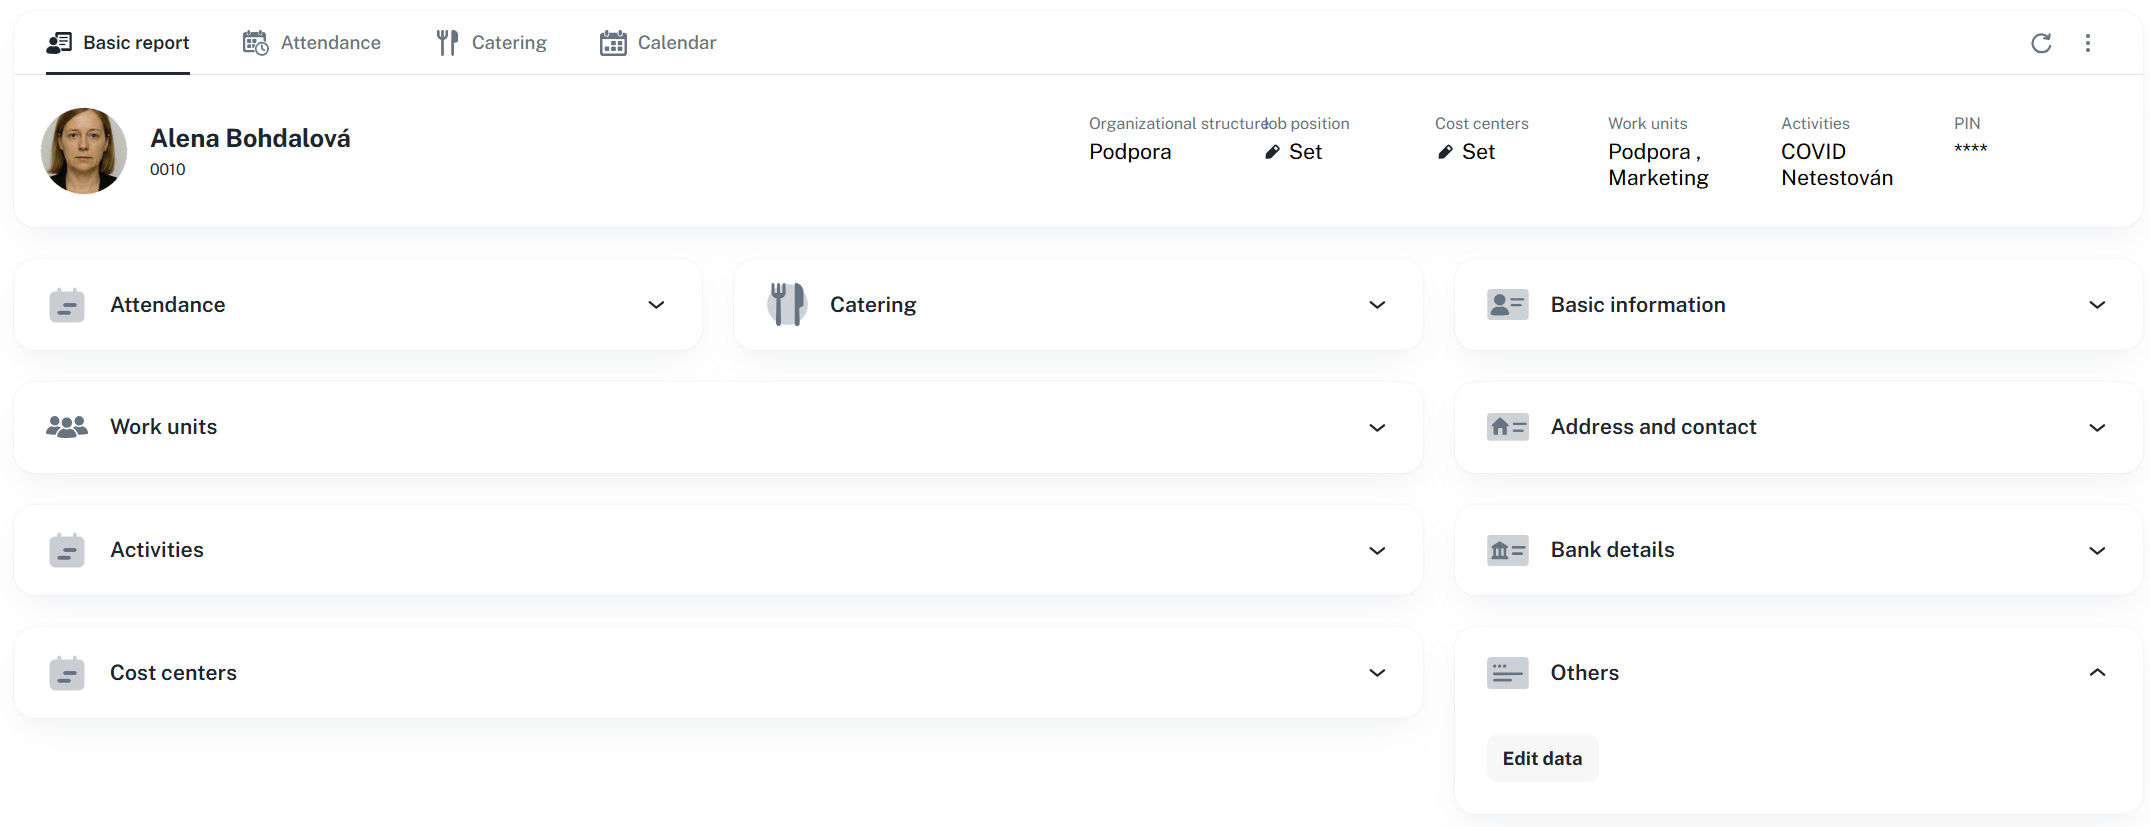
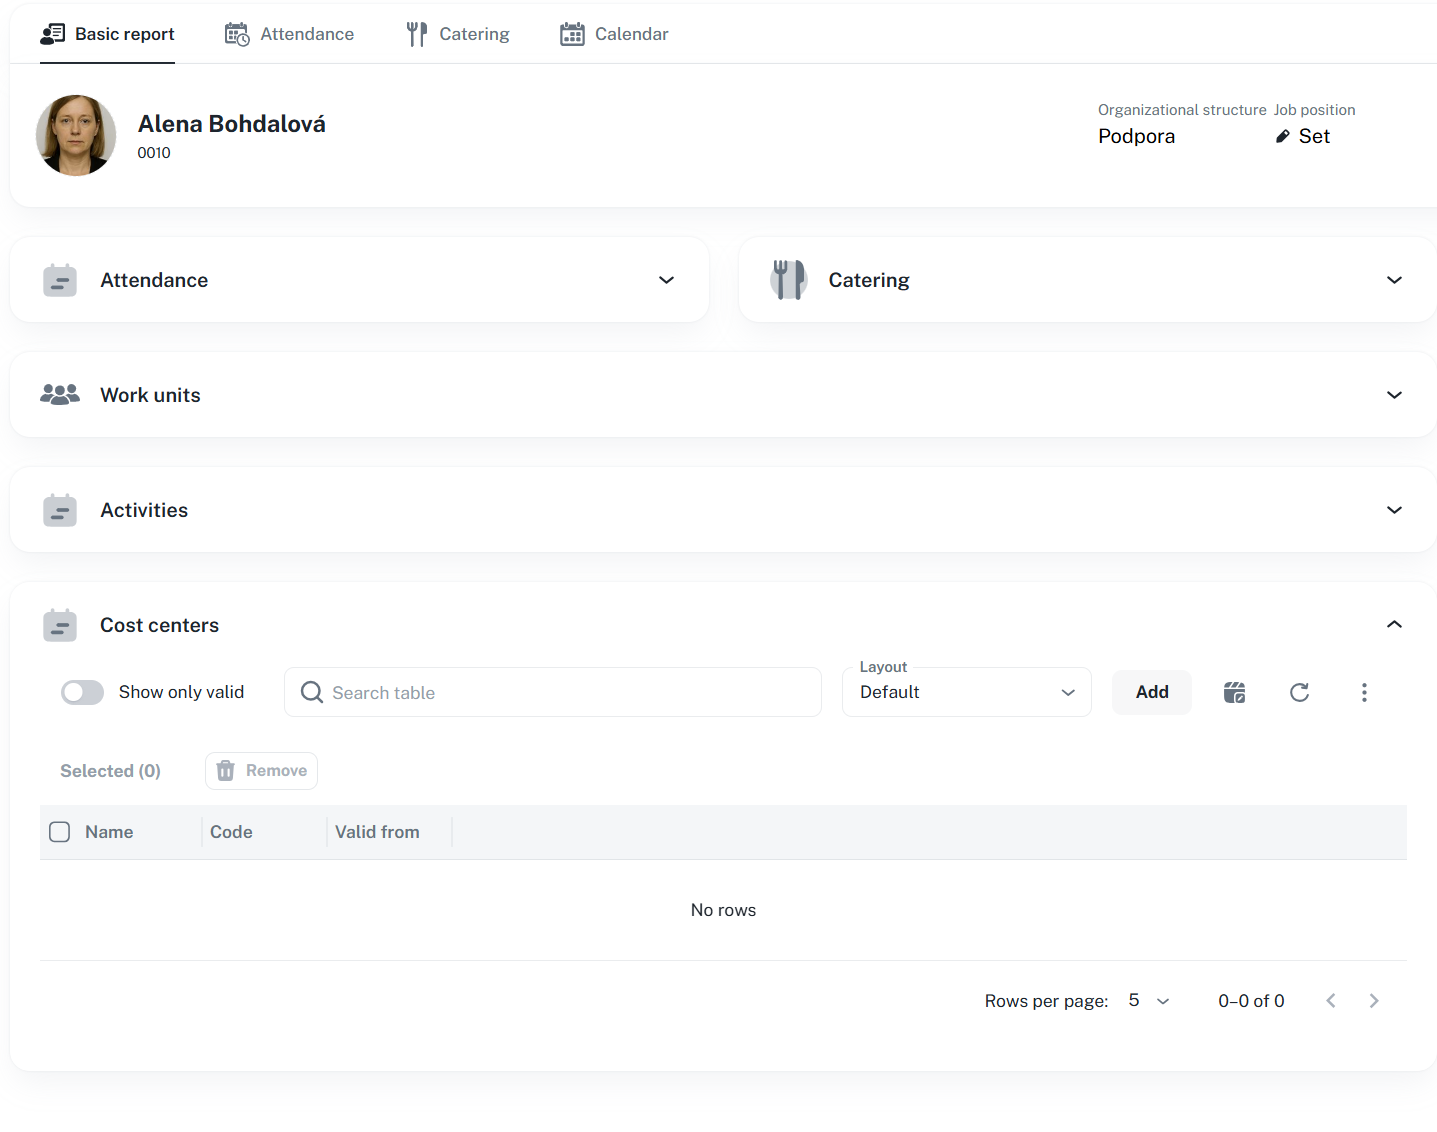
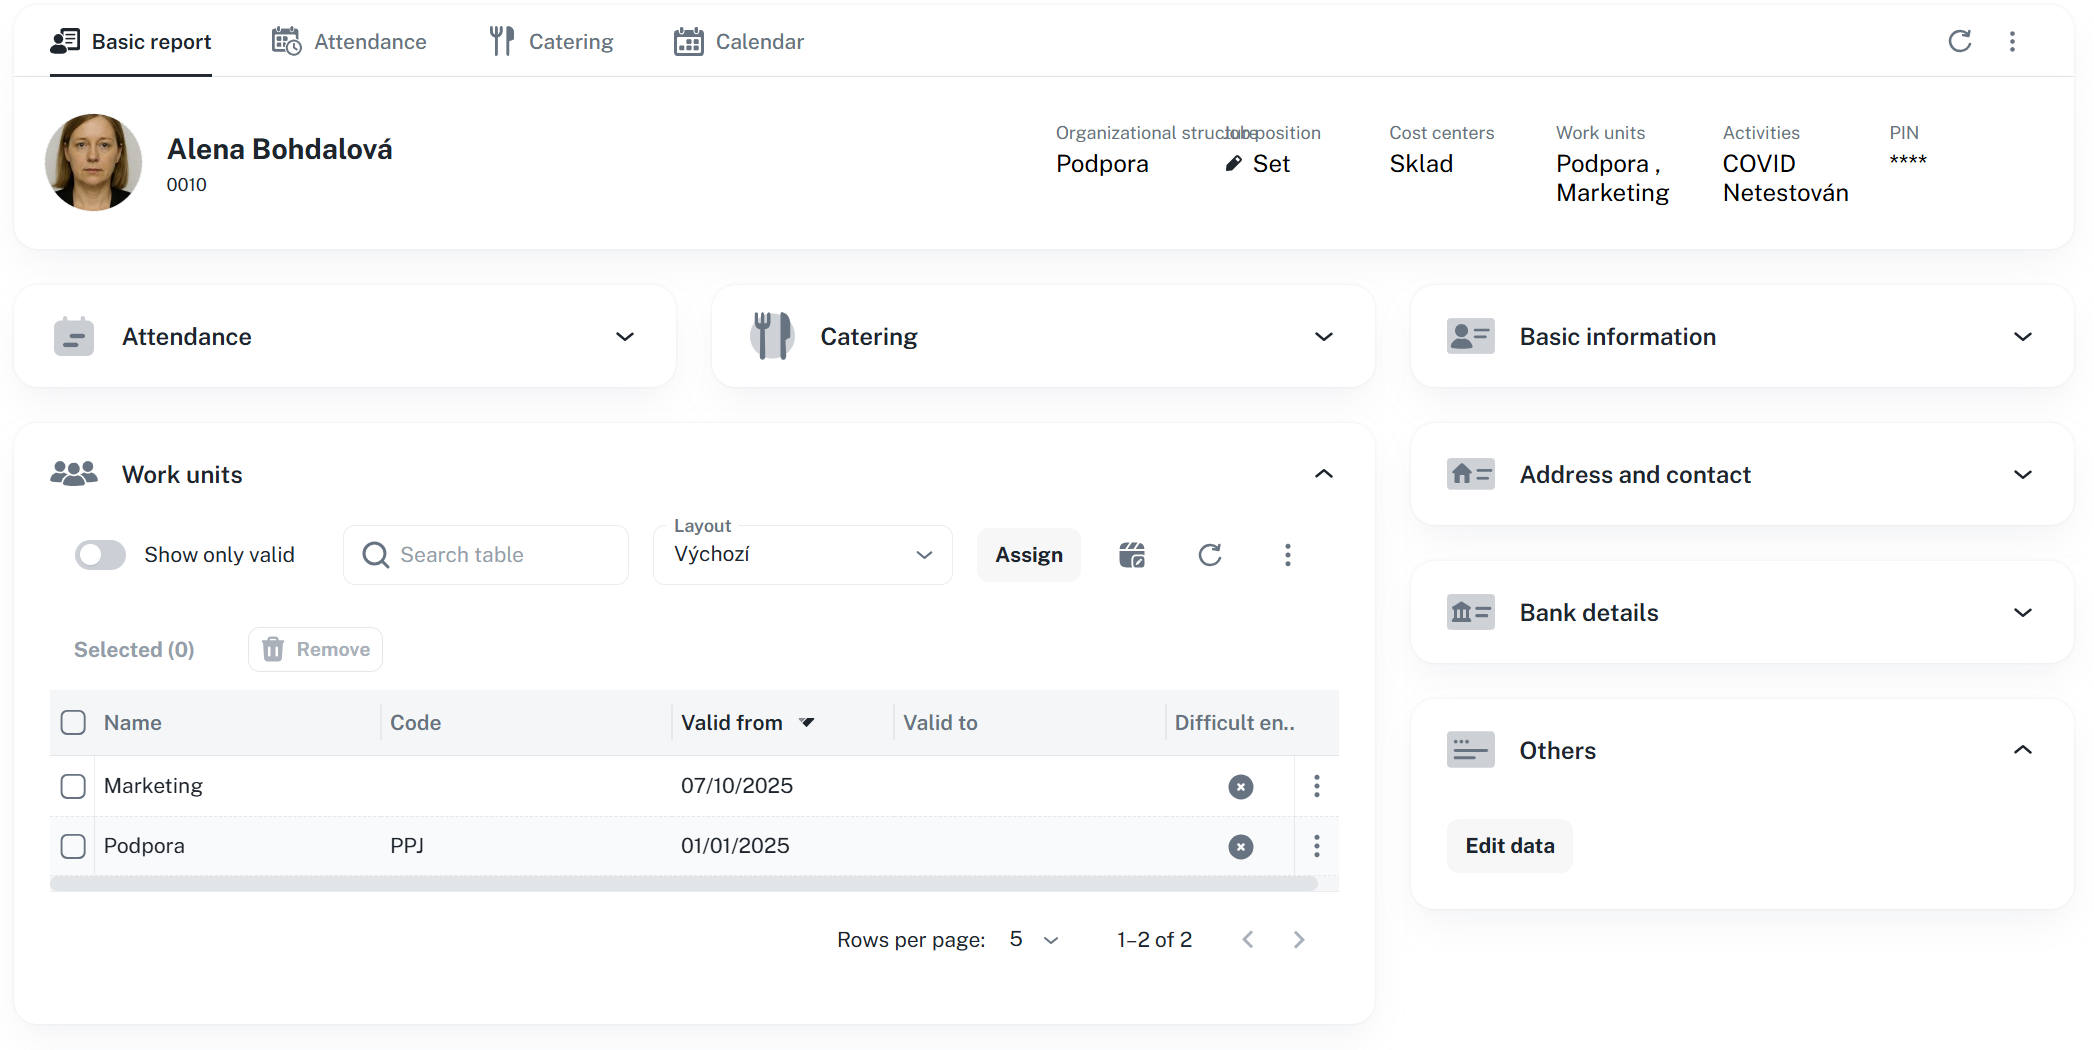
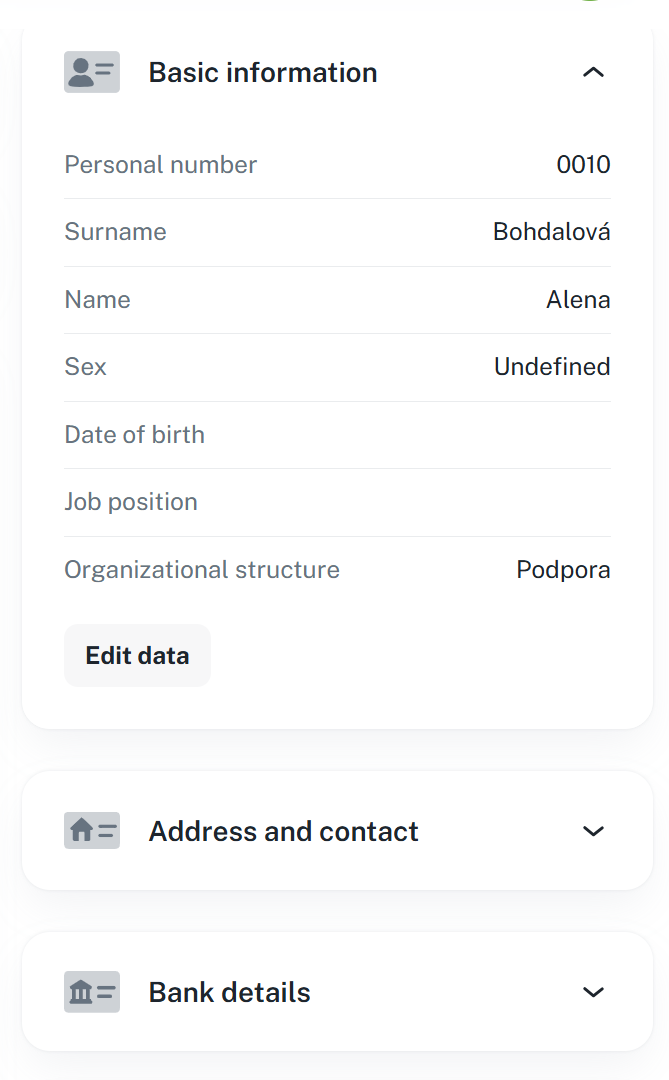
In the person details, you can edit their information, assign attendance policies, set the diner category, and view their calendar.
It consists of 4 tabs
Basic Information – details of the person, work unit, etc…
Attendance – setup of the individual's attendance regulations
Catering – setup of the diner's category, optional ordering of meals for the respective person
Calendar – preview of the individual's personal calendar

The top bar also contains a refresh button and a context menu button
Refresh - refreshes the person's details

Context menu - contains the same options as from the person's list
New record - quick access to create a new person
Copy - copies the given person
Set/Cancel presence - sets or cancels the employee's presence in the selected zone during the specified time period.
Personal report - link to the given person's attendance record
Block/Unblock access - blocks or unblocks employee's access to hardware readers and logins to software applications.
Unblock after failed login - unblocks employee access after several failed login attempts.
Add activity - quick add activity to the person
Delete - deletes the person from the system
This section is used to set up the basic information about the person, such as the work unit, position, organizational structure, and so on. All data can be edited at any time.
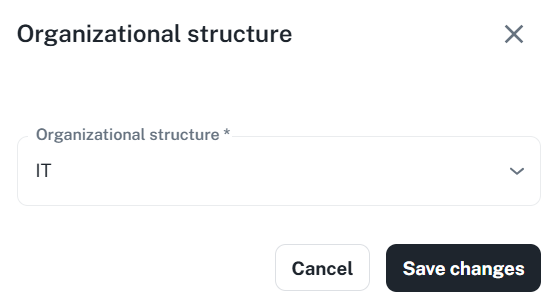
By clicking either the Set button or the already assigned structure, a window will open where you can select which structure you wish to assign this person to.
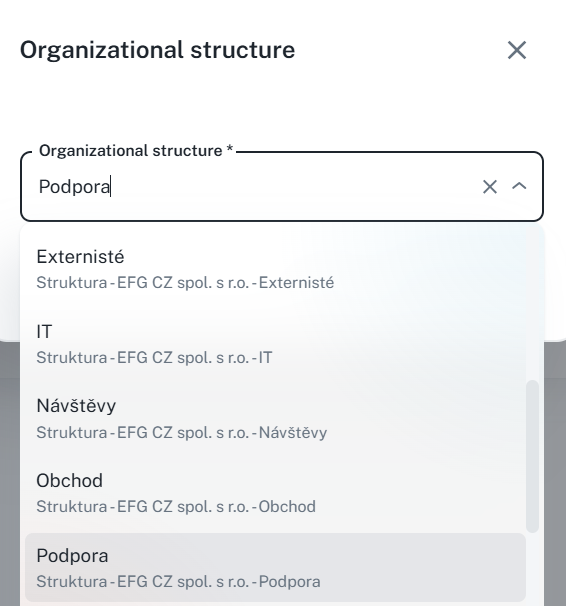
After selecting the structure, simply click Save changes.
By clicking the Set button or the already assigned position, a window will open where you may select the job position to which you wish to assign the person.
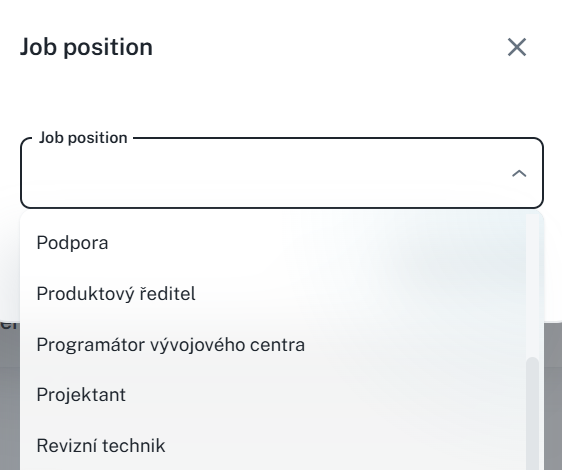
Once the structure has been selected, simply click Save changes.

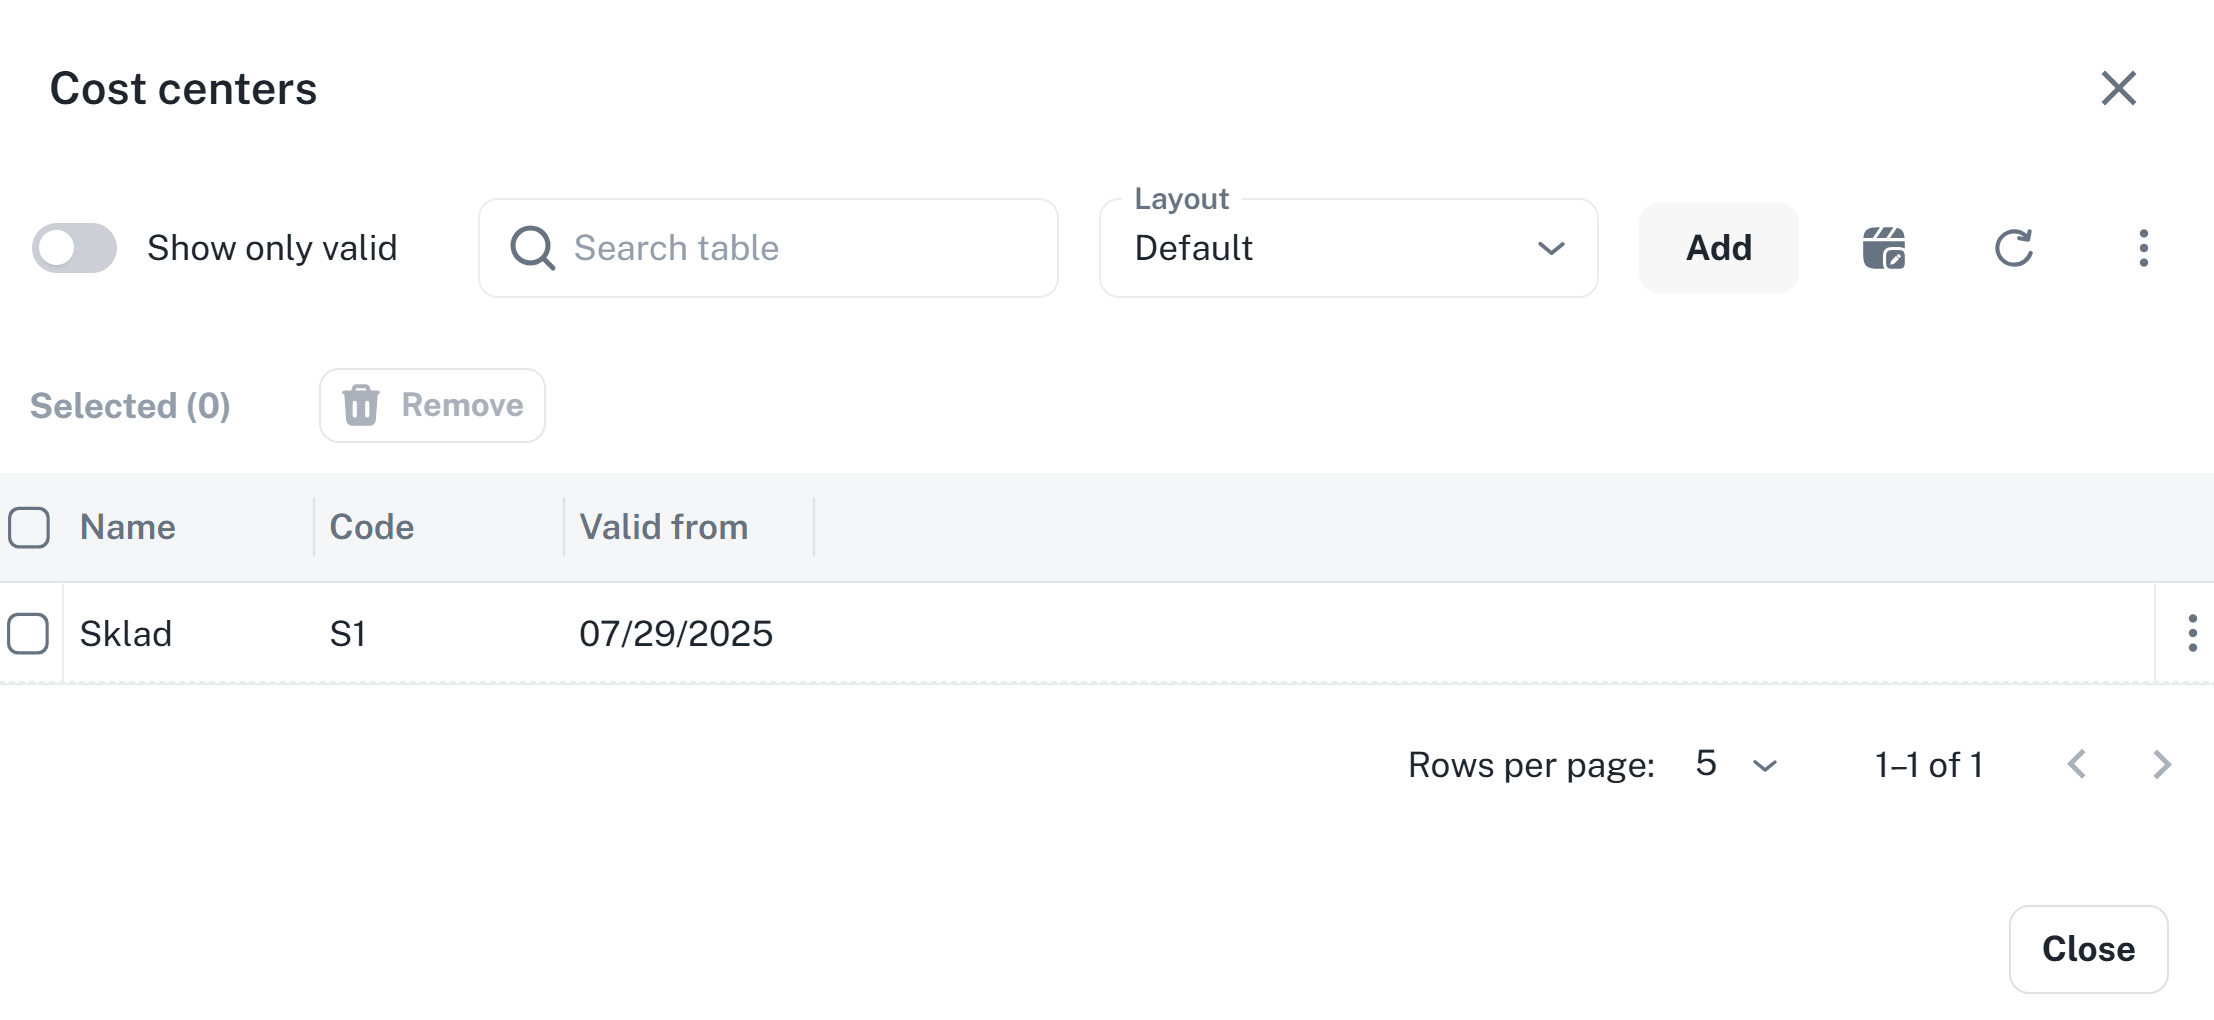
By clicking on either the Set button or on the already assigned center, a list will be displayed. The same list is also available as a widget below in the person's detail.
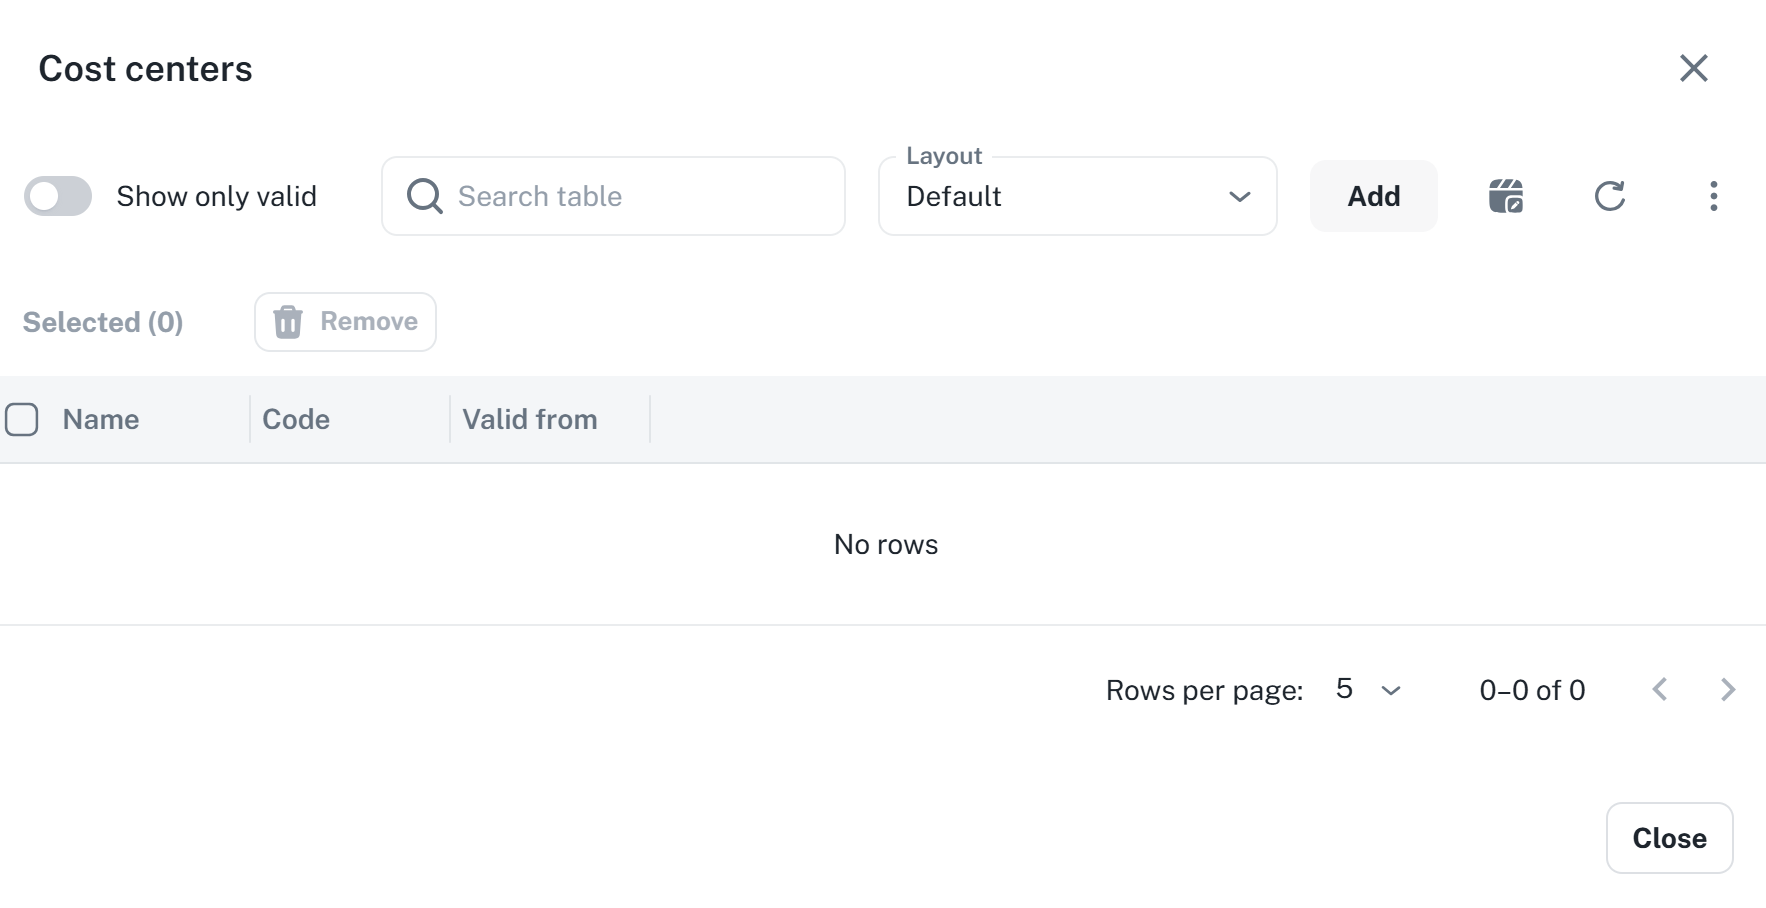
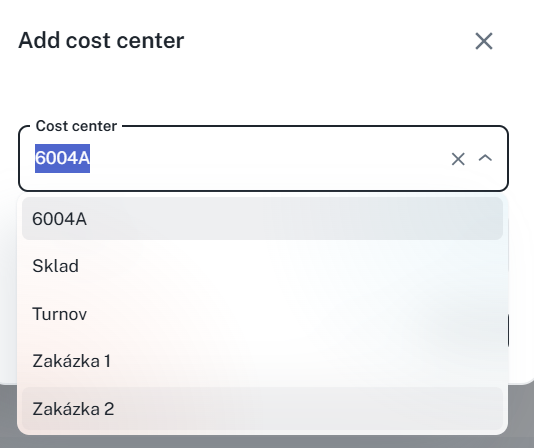
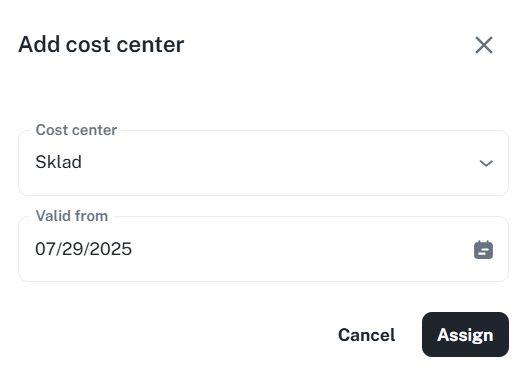
By clicking on Add, a window with a selection of cost centers will be displayed. After selecting the desired cost center, set the validity date and click on Assign → the cost center will be assigned to the person and will appear in the list.
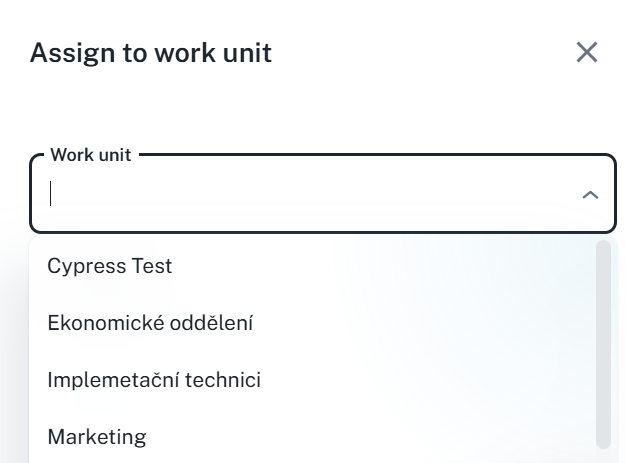
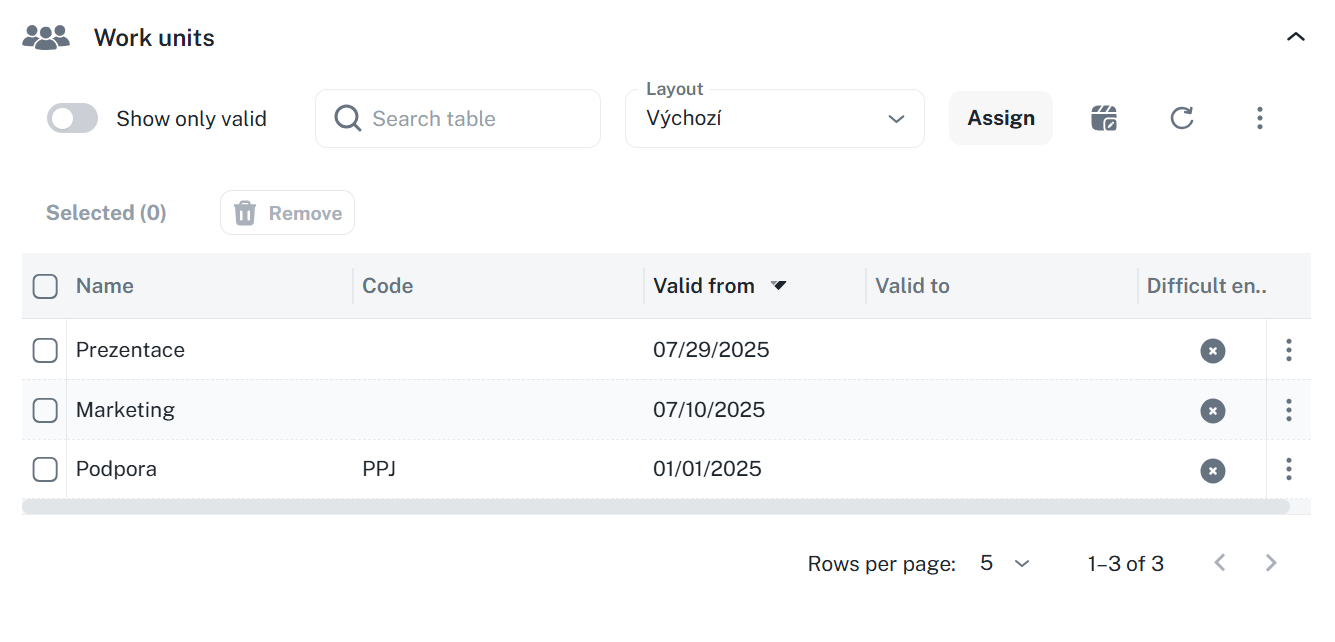
By clicking on the Set button or an already assigned work unit, a list will open. The same list is also available as a widget below in the person’s detail.
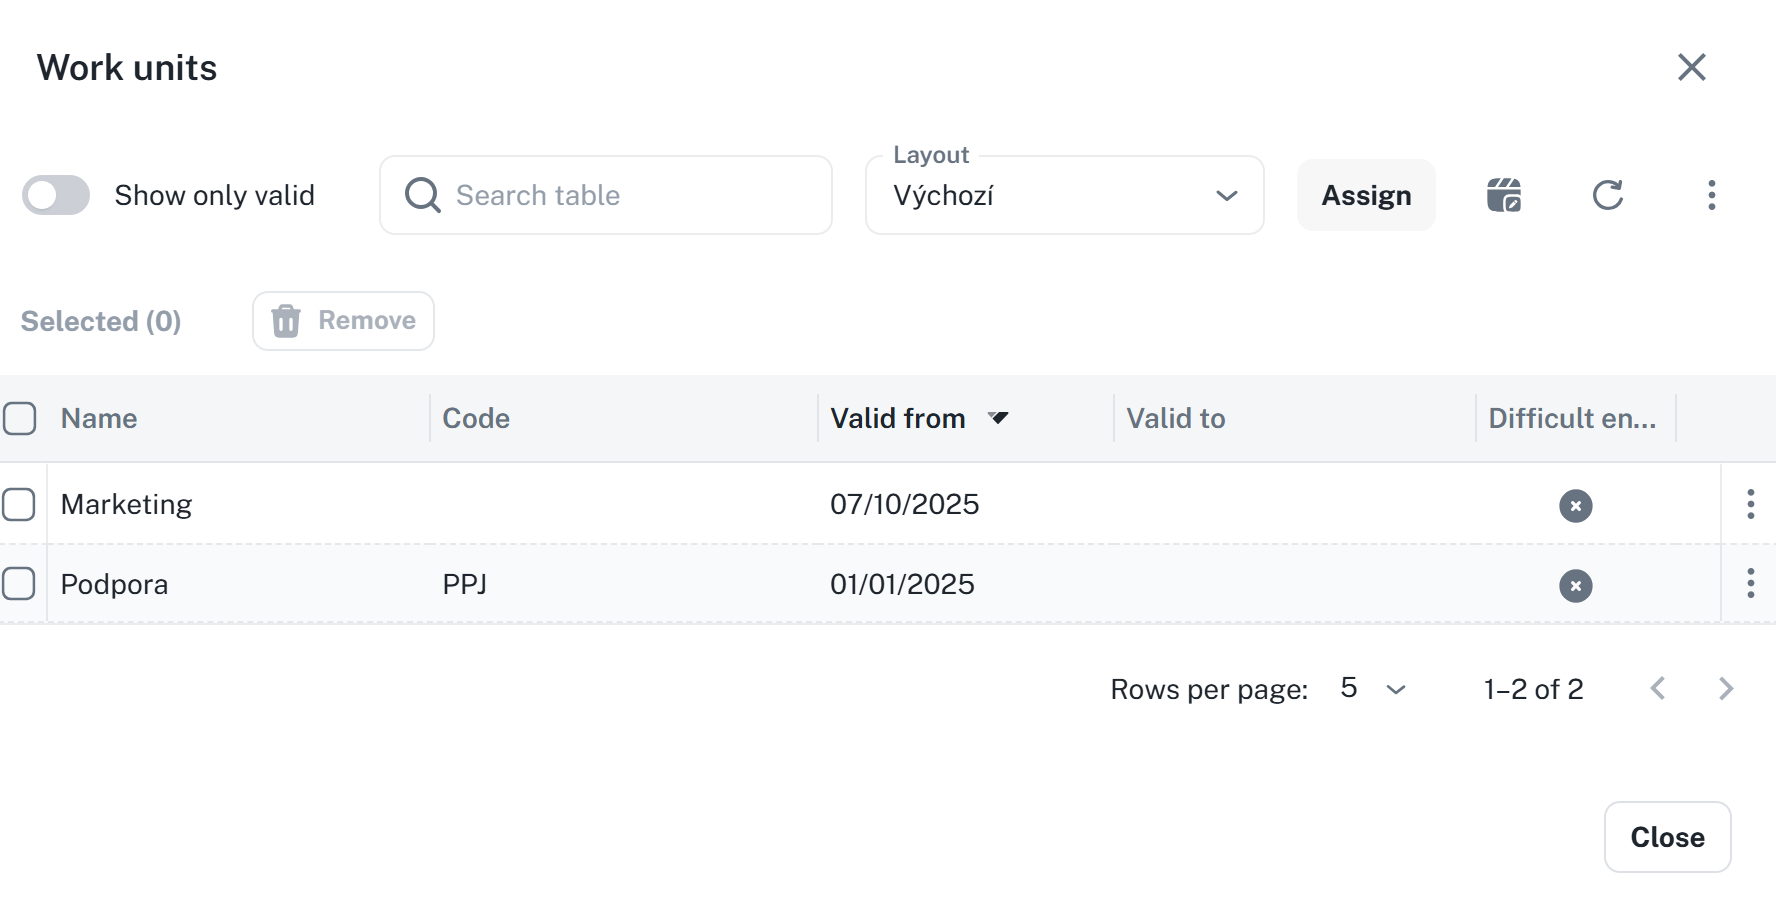
By clicking Assign, a window will appear with a unit selection. After selecting, set the effective date and, if necessary, the expiration date, then click Add → the work unit will be assigned to the person and will appear in the list.

You may assign an activity to a person – this serves for record-keeping, for example, training or previously contracted COVID.
An activity can be assigned:
Via the context menu by right-clicking on a specific person and clicking Add activity
Through the menu in the top panel or the list widget.
By clicking on the Configure button or an already set activity, a list will open. The same list is also available as a widget below in the detail view of the person.
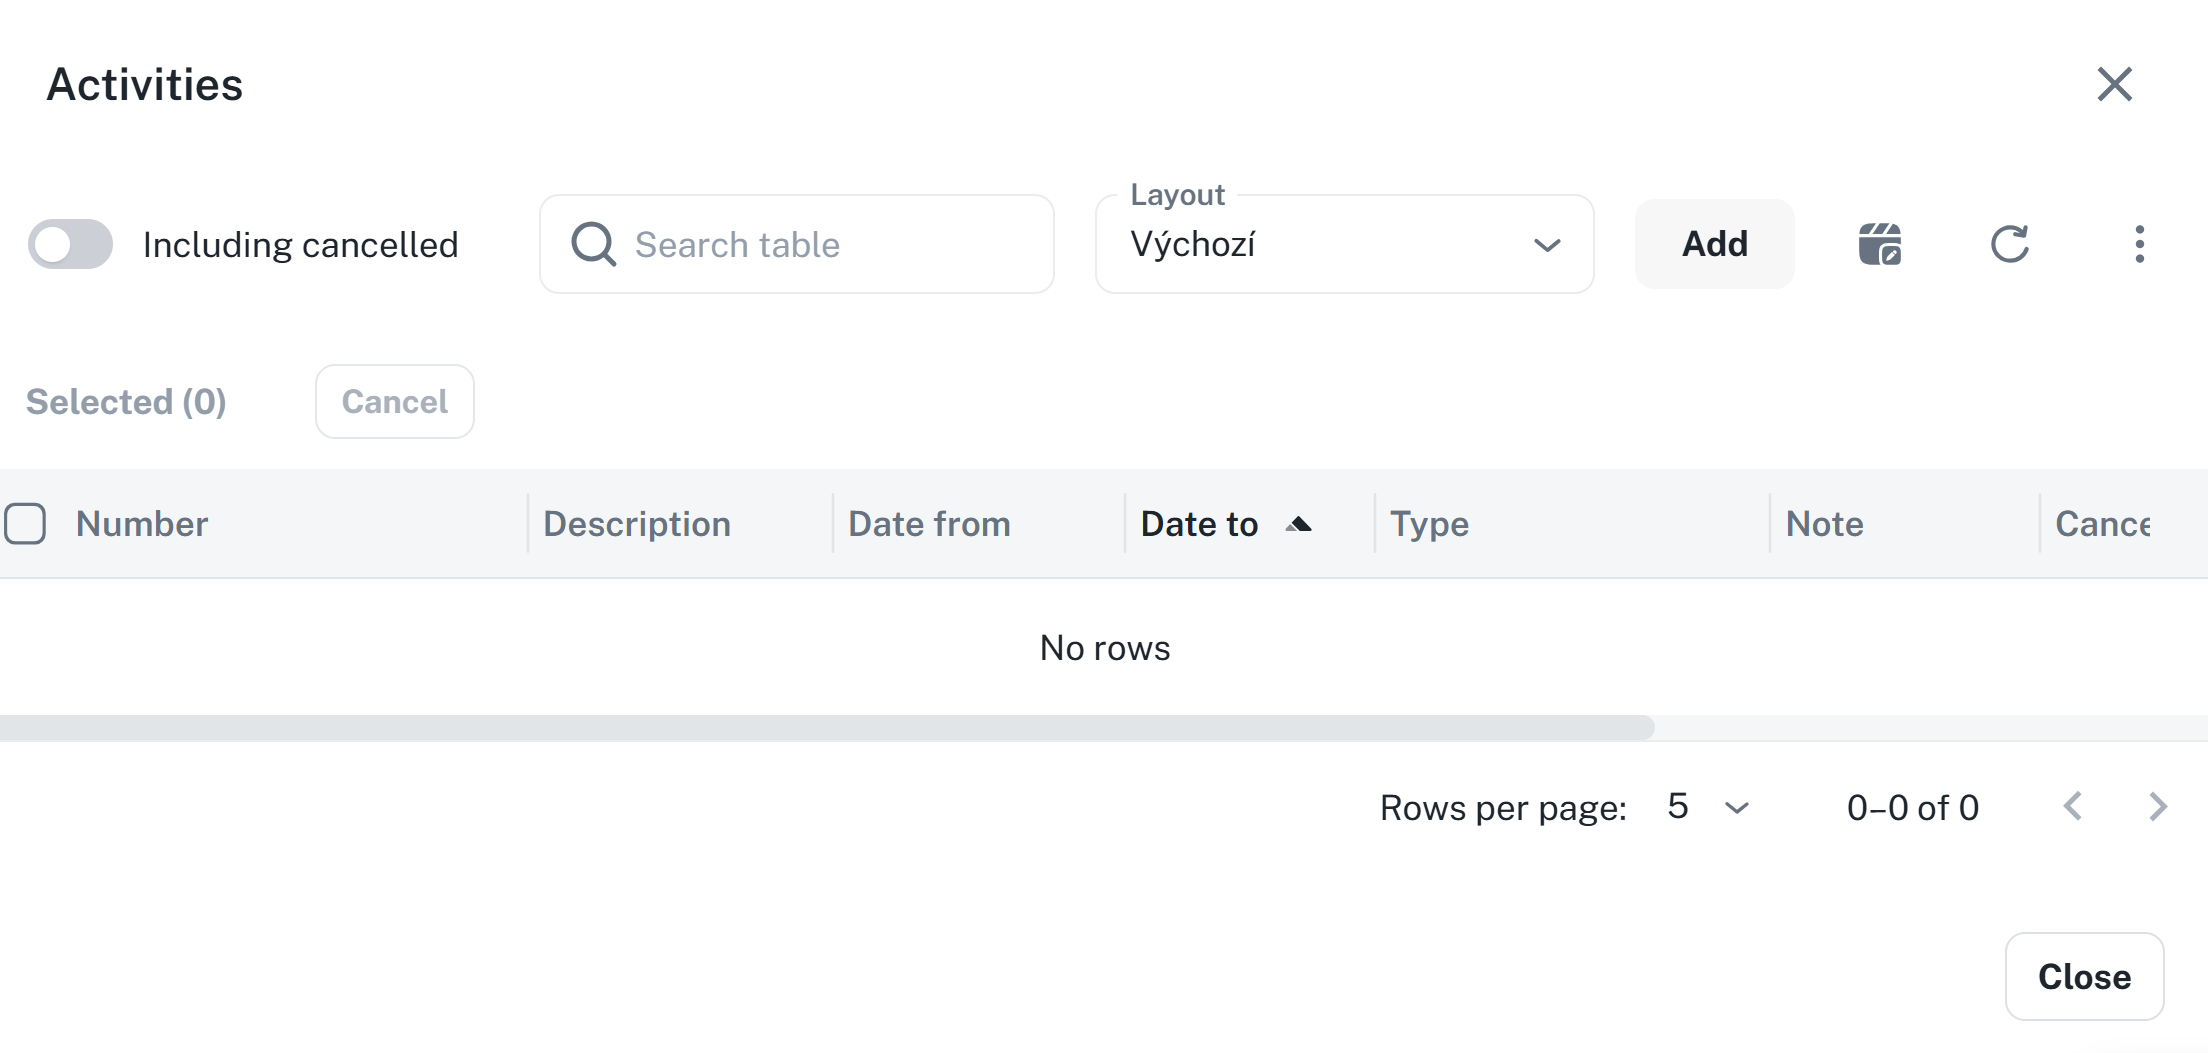
By clicking on Add, a window with available activities will appear. After selecting an activity, set the validity date, and if required, the expiration date as well. Then click on Add → the activity will be assigned to the person and will appear in the list.
ERROR UNABLE TO CLICK ON ADD SCRNSHOT TO BE ADDED LATER
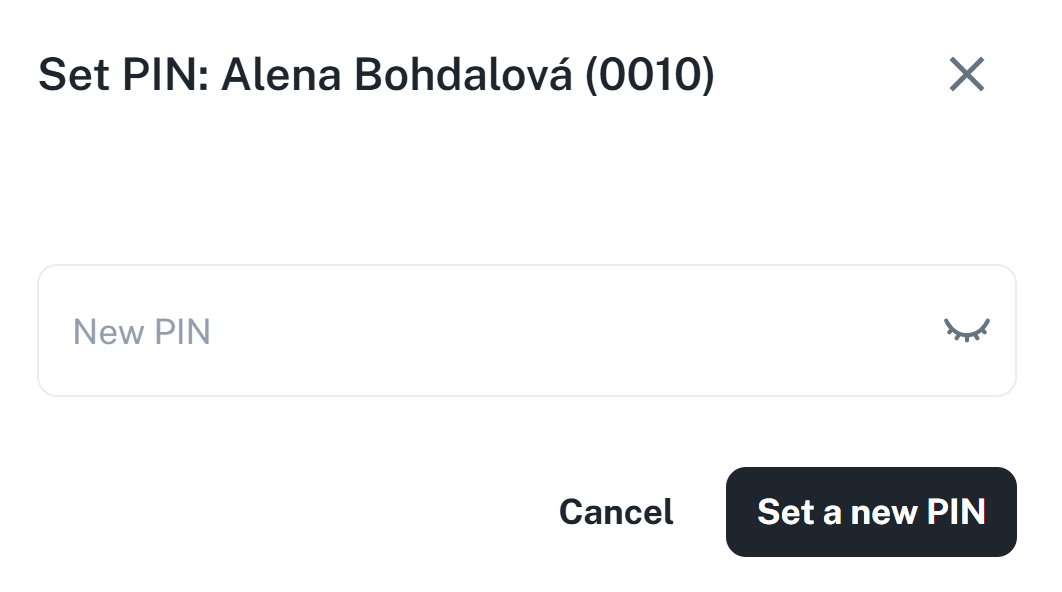
By clicking the button Set or the asterisks (indicating a PIN is already set), a dialog for entering a PIN will open.
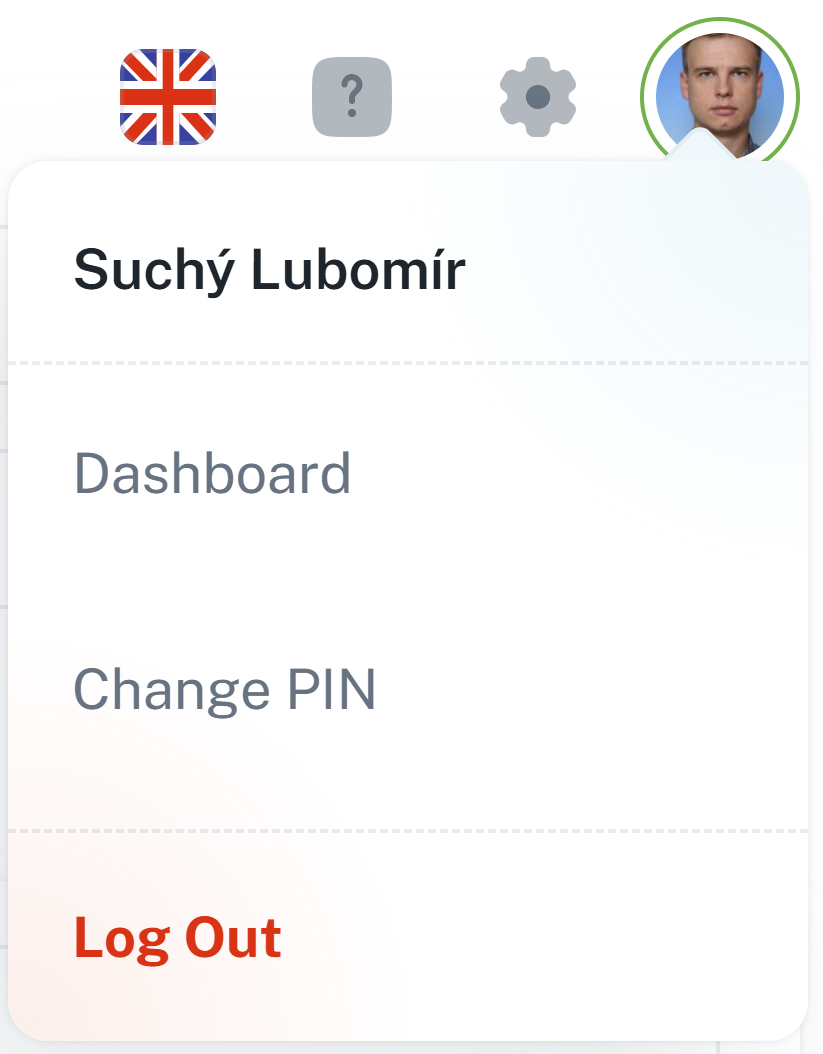
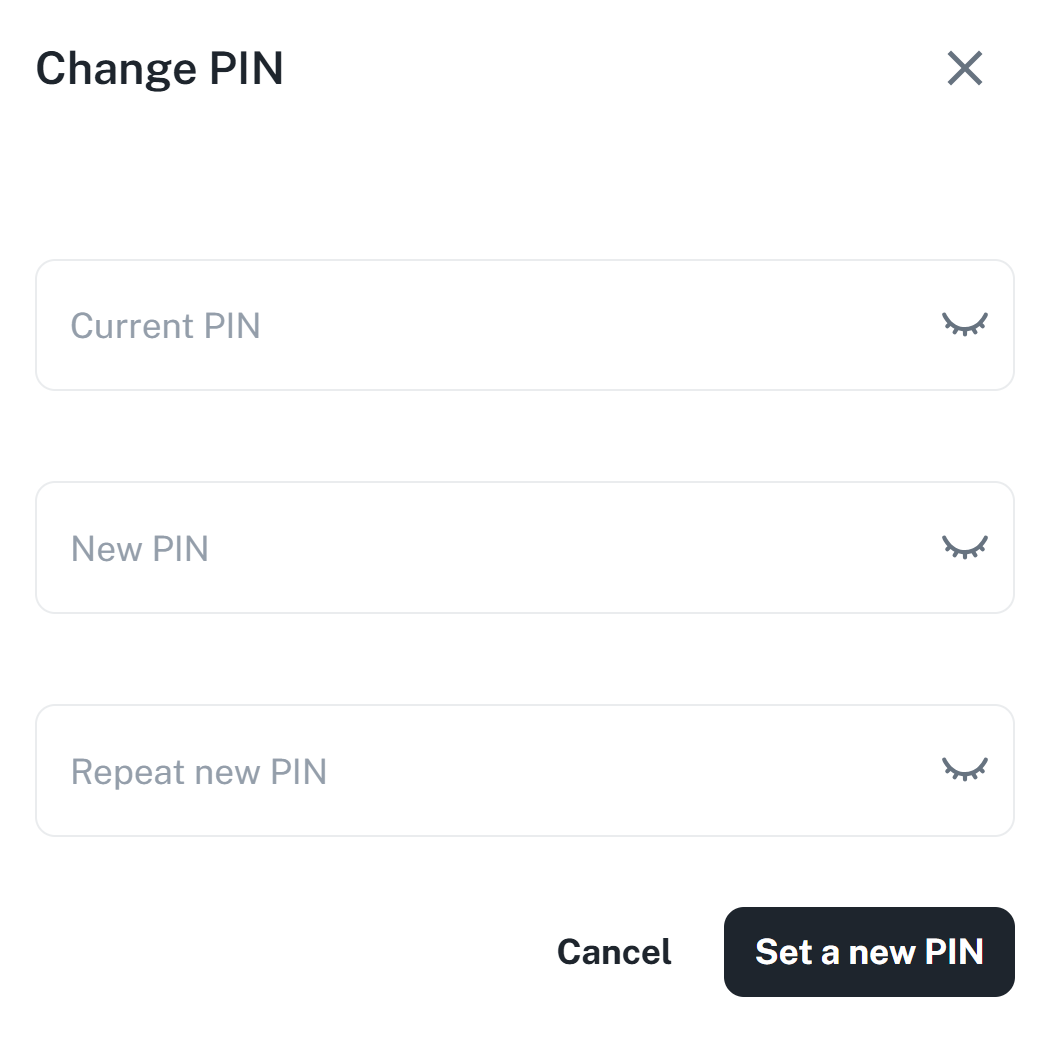
If you wish to set a PIN for the currently logged-in person, you must click on the account icon in the upper right corner and click Change PIN.
If you need to modify a person's information, open the relevant widget and click the Edit button. You will be shown the same form as when creating the person, where you can update the information as required.
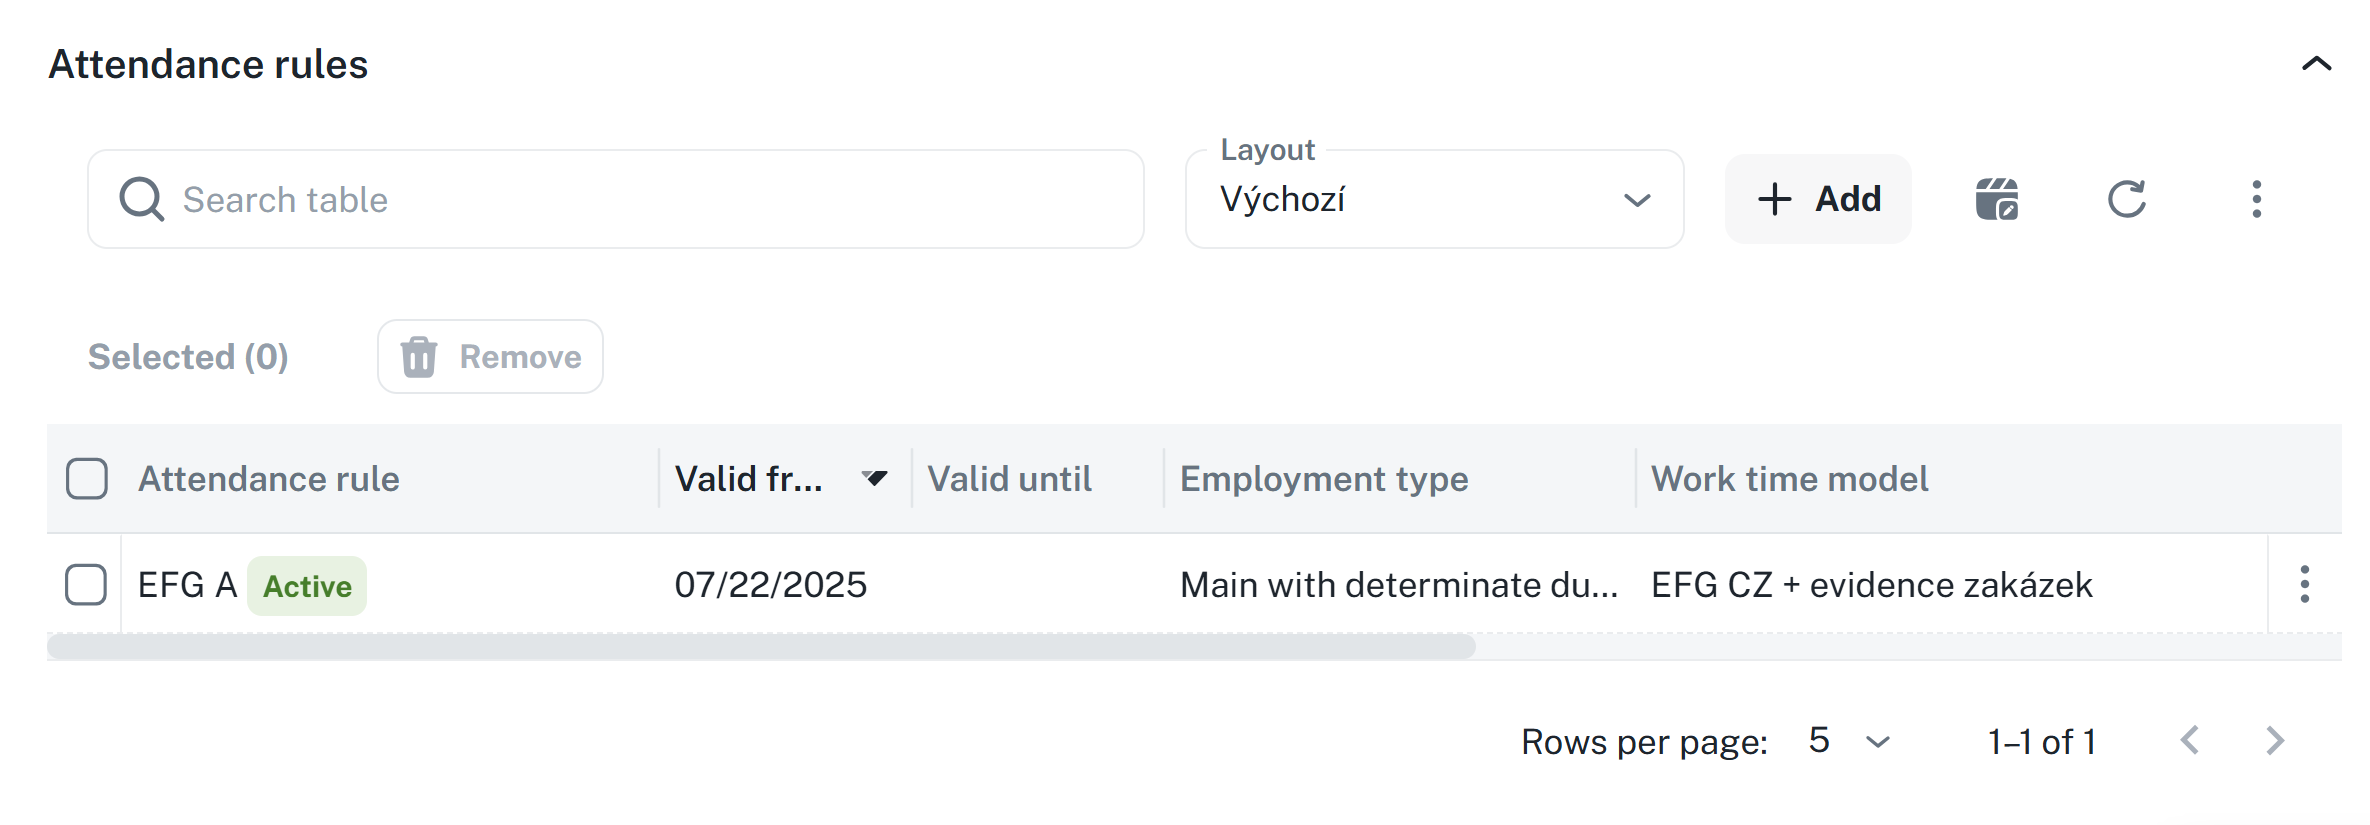
This is used to assign attendance regulations and to provide a quick overview of how many hours the person still needs to work or which shift is scheduled for them today.
Used to set a regulation for a person, according to which the attendance of the respective individual is managed. You can set the regulation by clicking on Add.
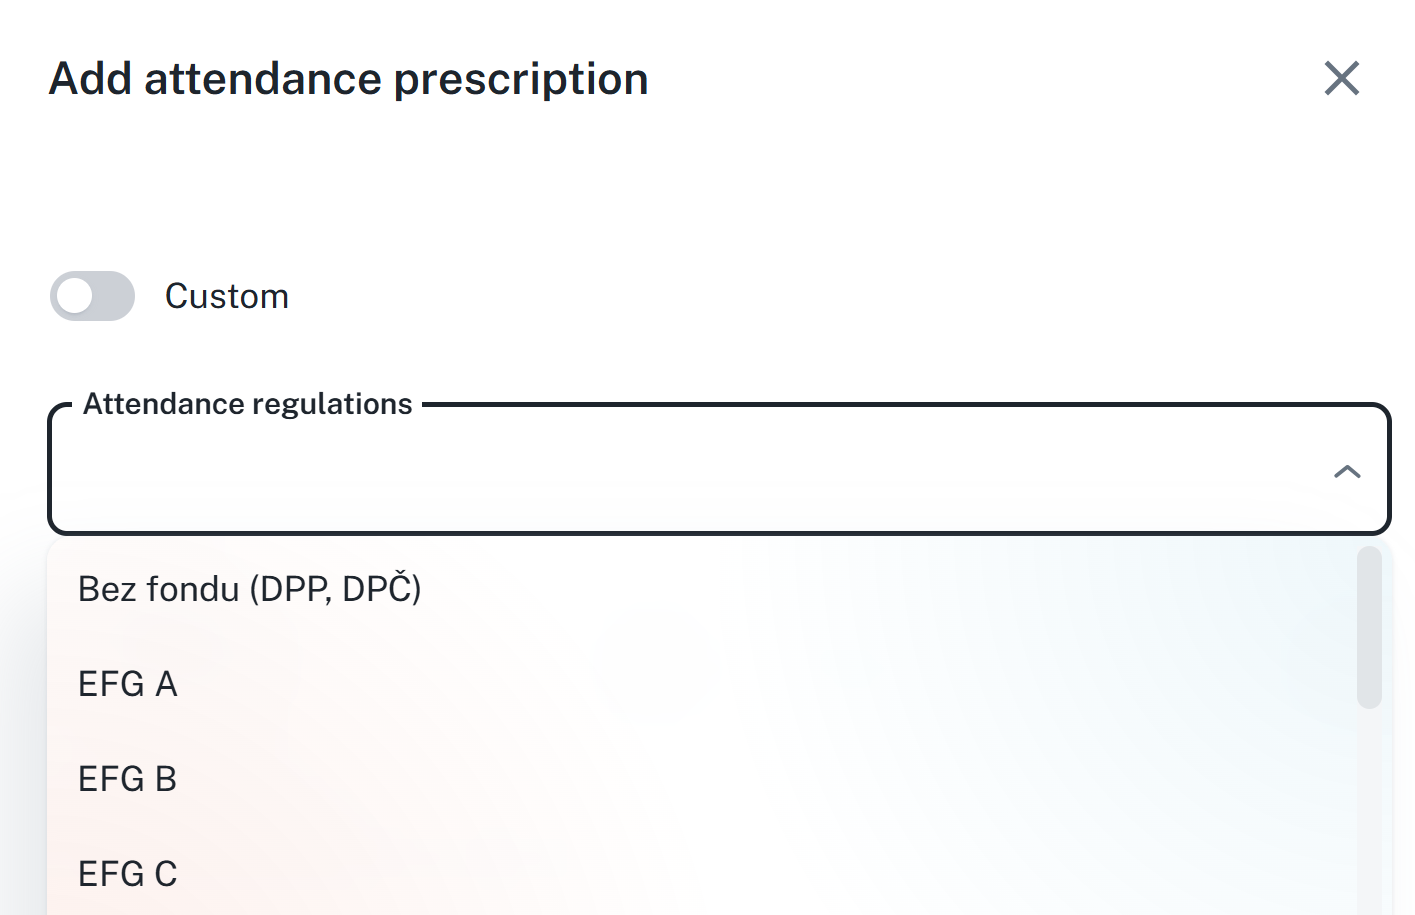
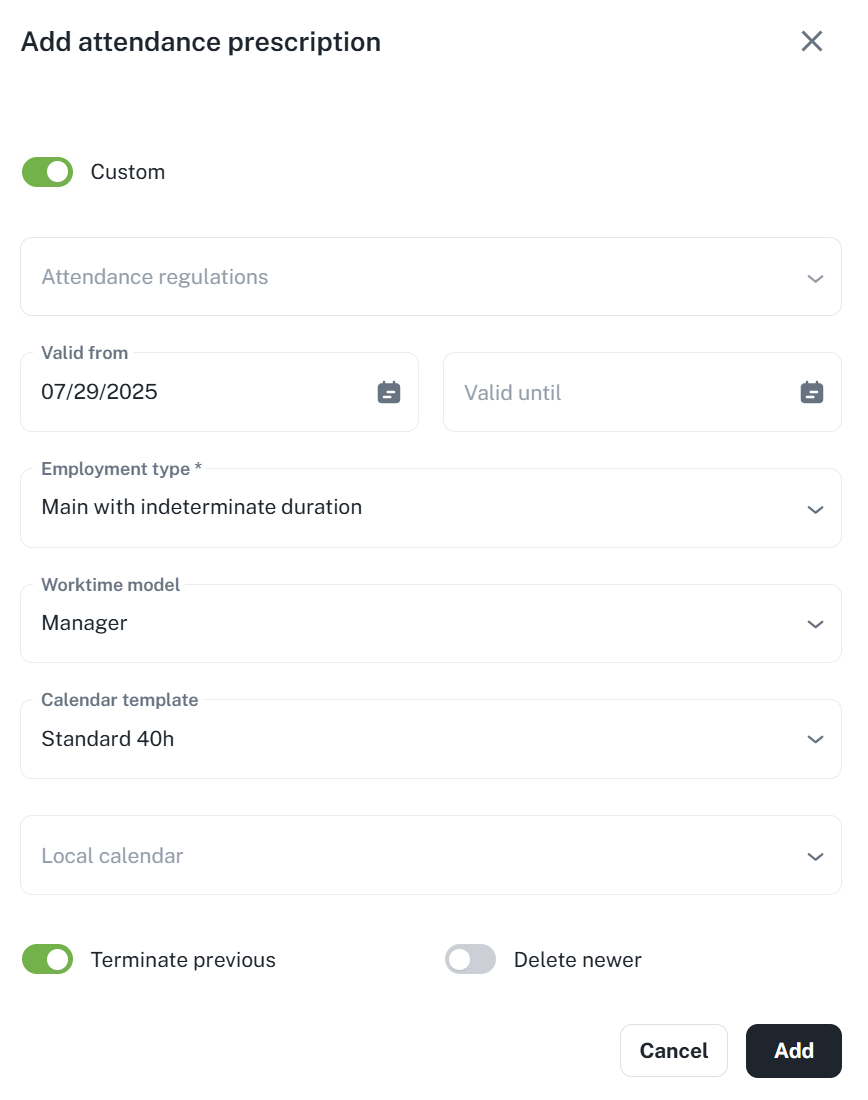
Once you open the dialog, you have 2 options:
Attendance regulations - simply click on the Attendance regulations field → select one of them and the other details will fill in automatically. The only thing that will need to be specified is the validity from when or, if applicable, until when the regulation should apply.
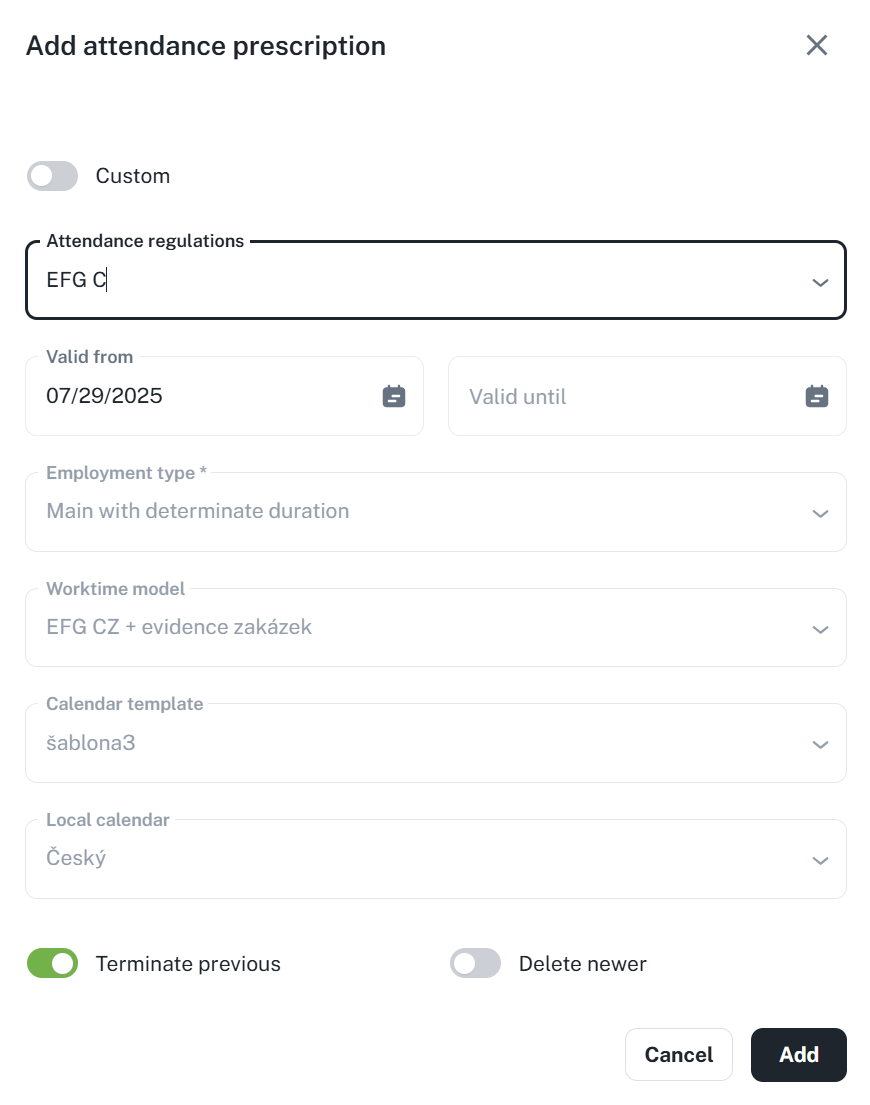
By clicking on Add, the regulation will be set

Custom regulations - activate by clicking on the Custom parameter; in the custom regulation you can select individual parameters yourself, as needed
For a predefined regulation, only the validity period From - To can be modified. You can access the edit function via the context menu by clicking the three dots or by right-clicking on the regulation.
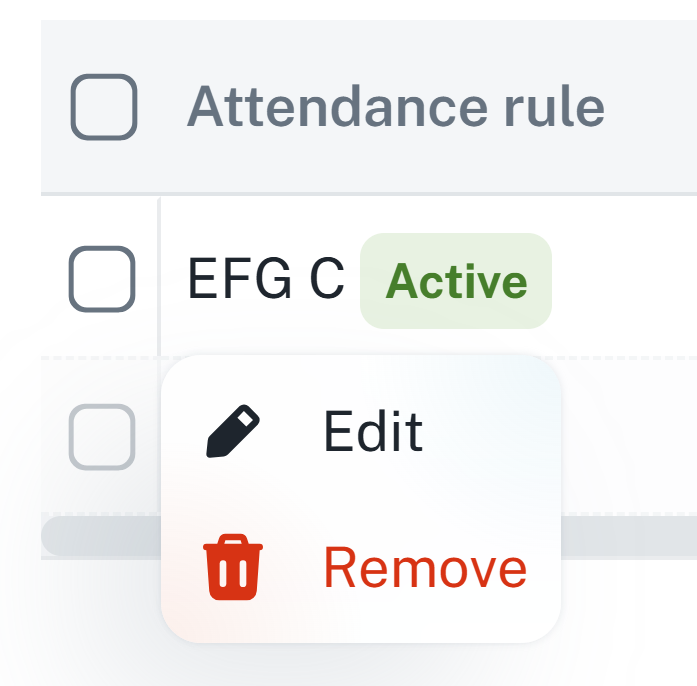
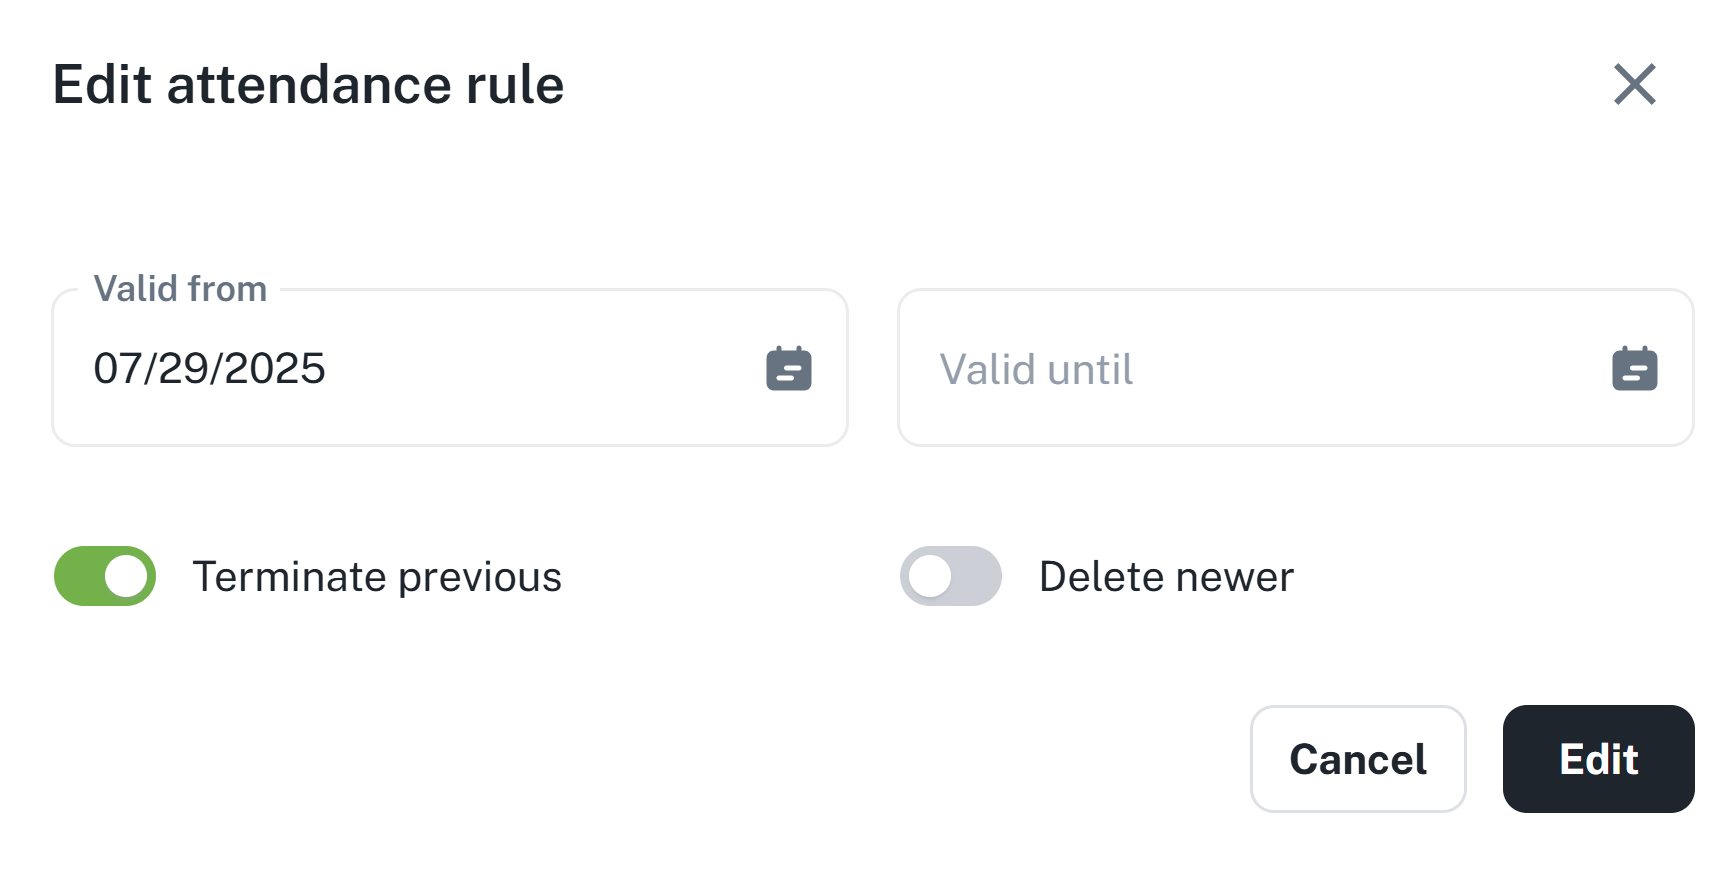
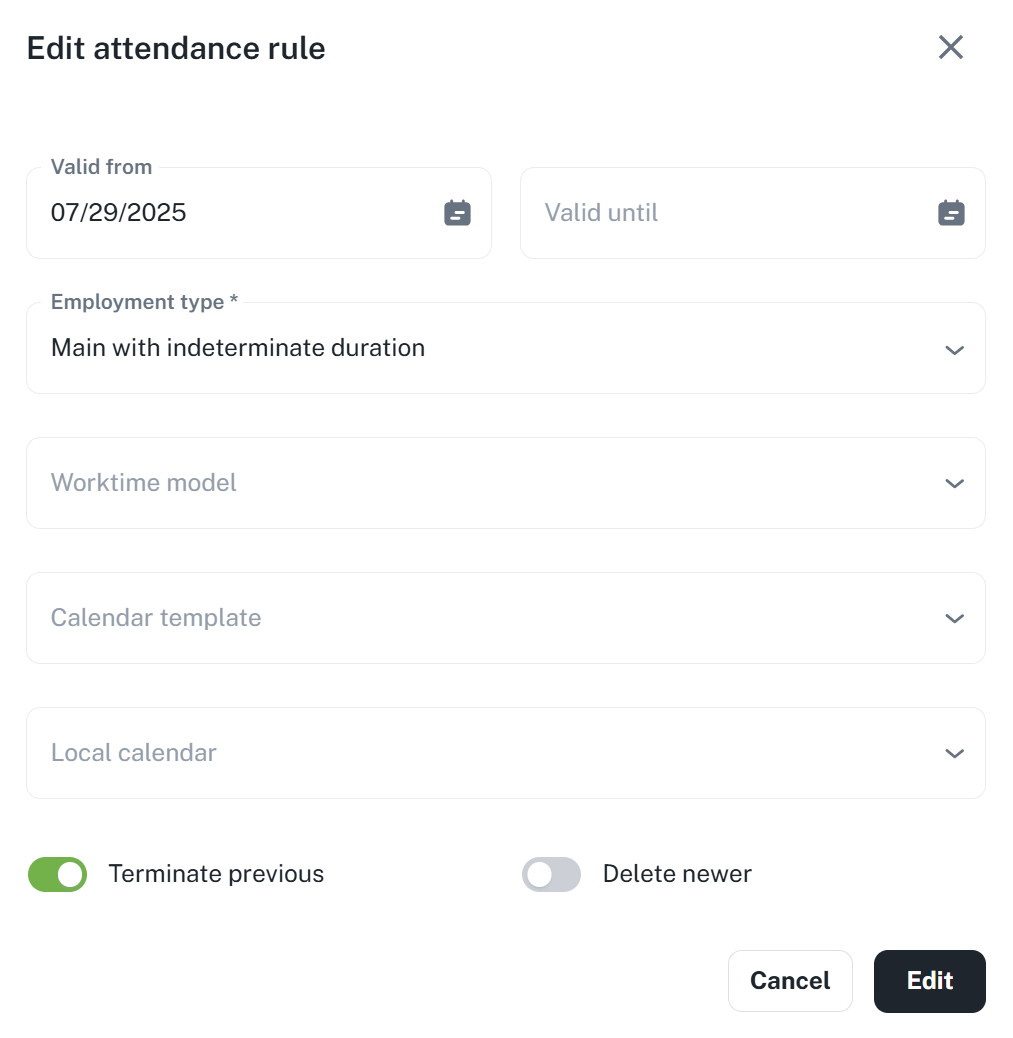
For a custom regulation, it is also possible to modify individual parameters.
The context menu is also used to delete a regulation. If several regulations are selected, a Remove button will be displayed.
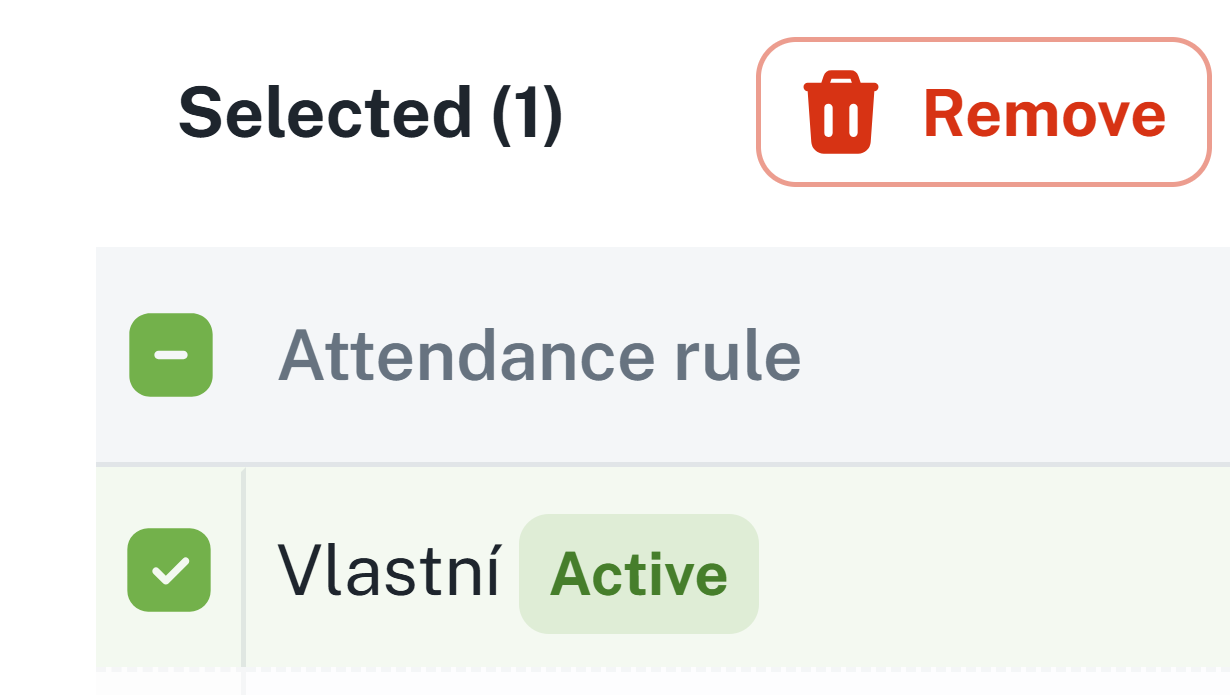
After adding the attendance schedule, a summary chart is displayed – it shows how many hours have already been worked and how many remain for the given month. These and other data are based on the configured attendance schedule.
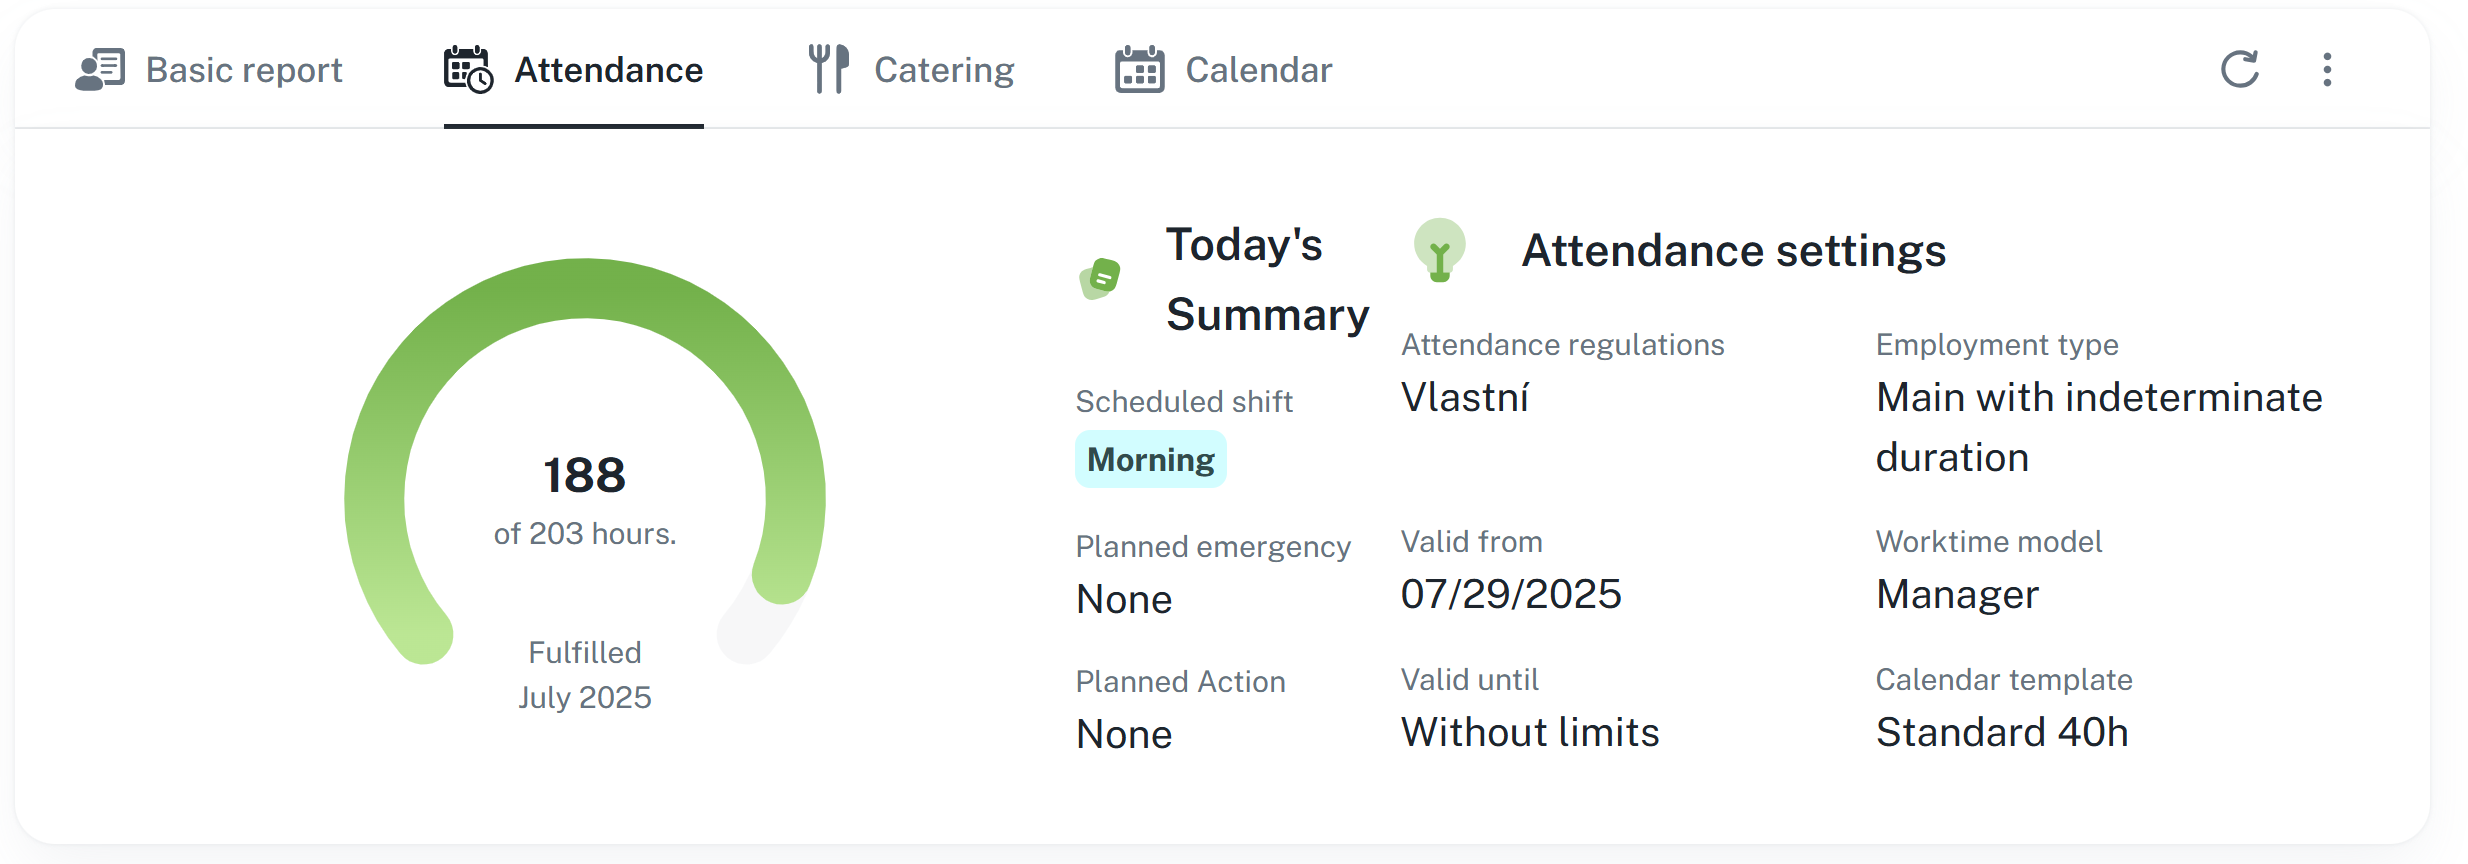
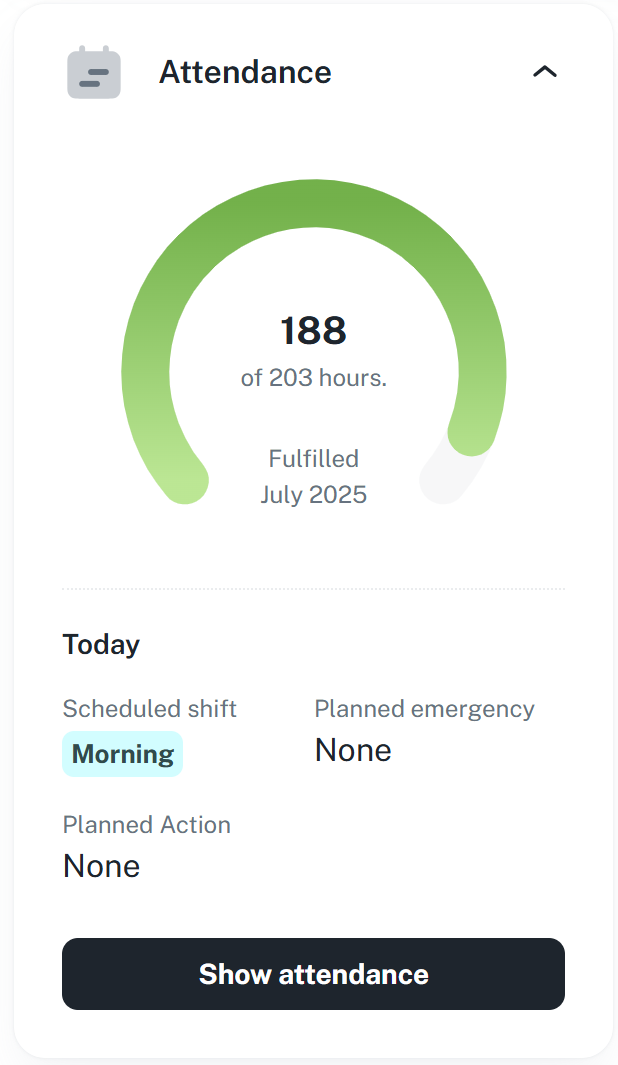
The same chart is then also displayed on the “Basic Information” tab.
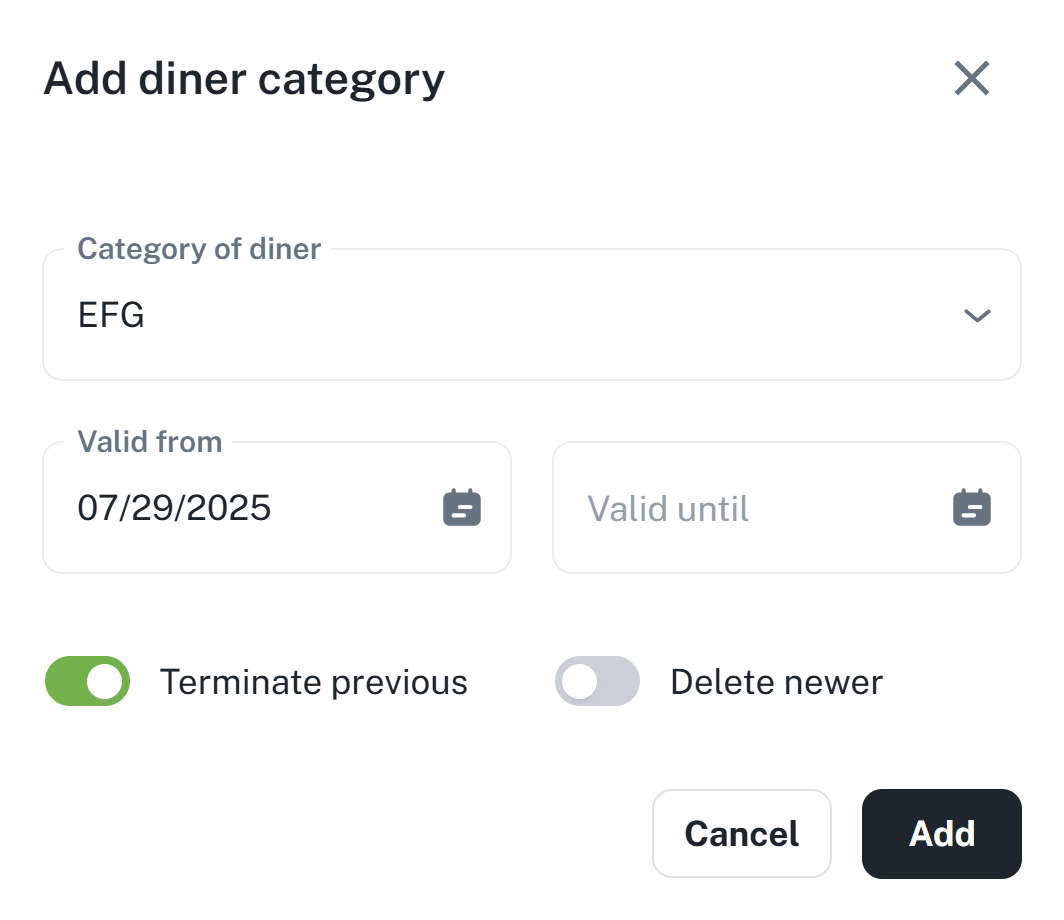
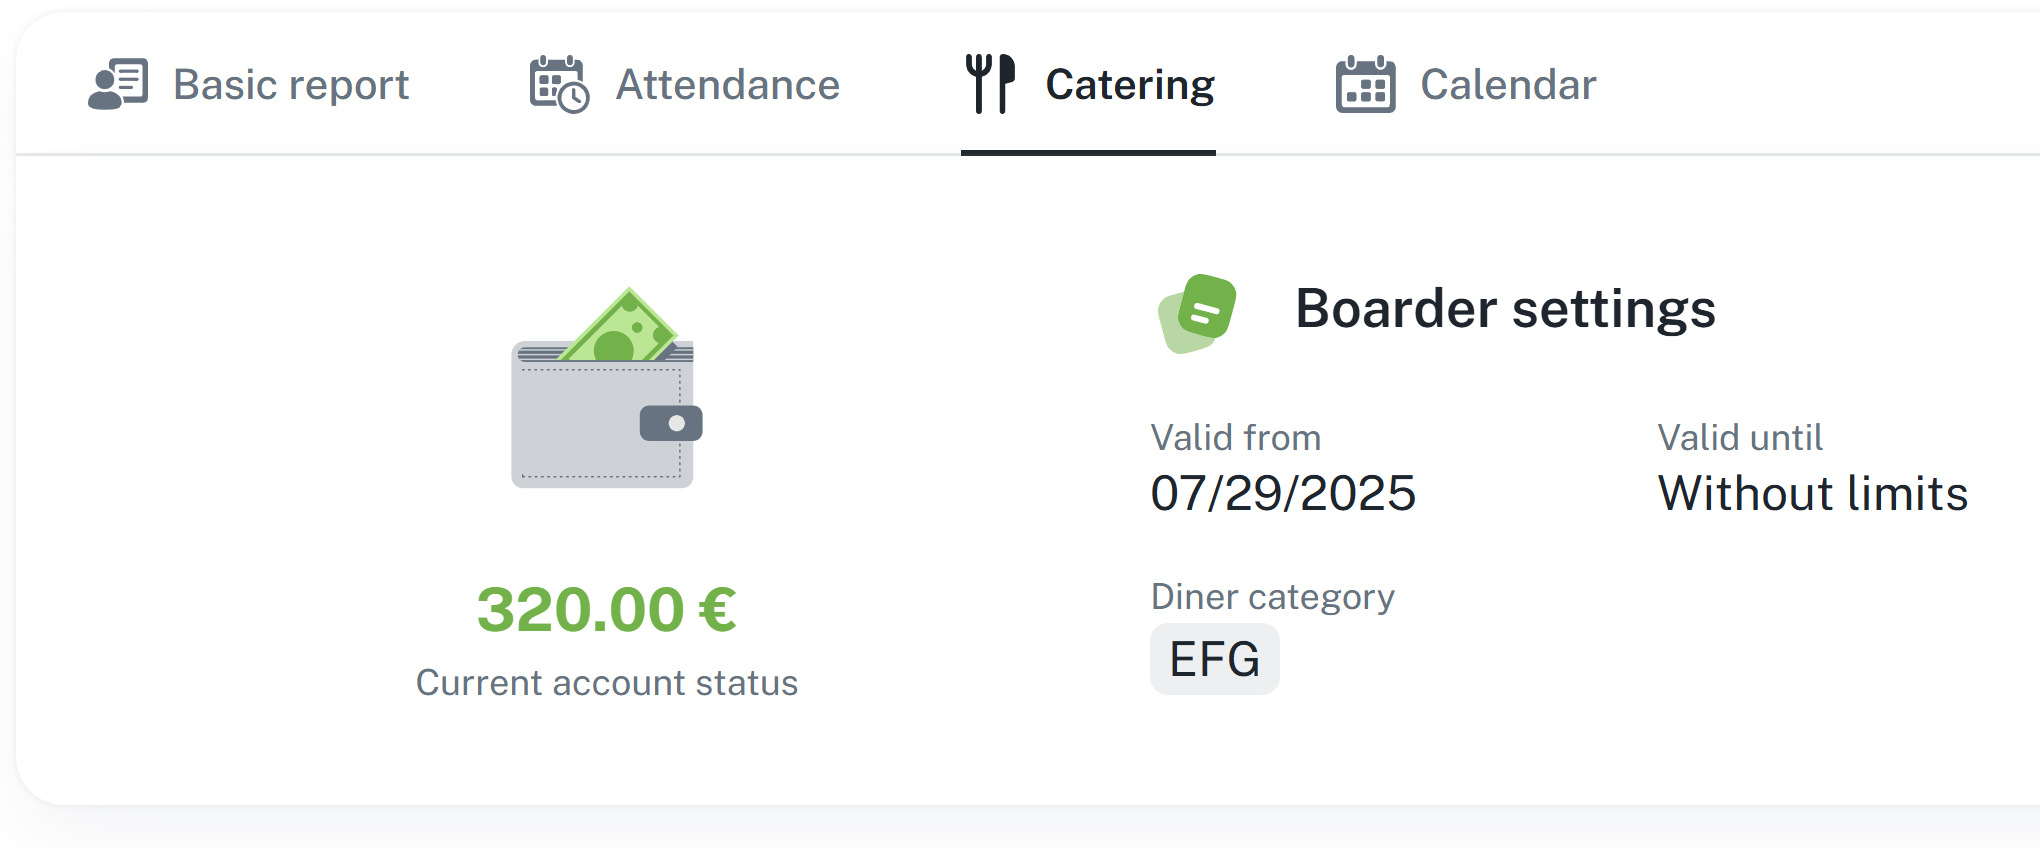
This section allows you to set the category of the diner and, if necessary, place a meal order for a specific person.
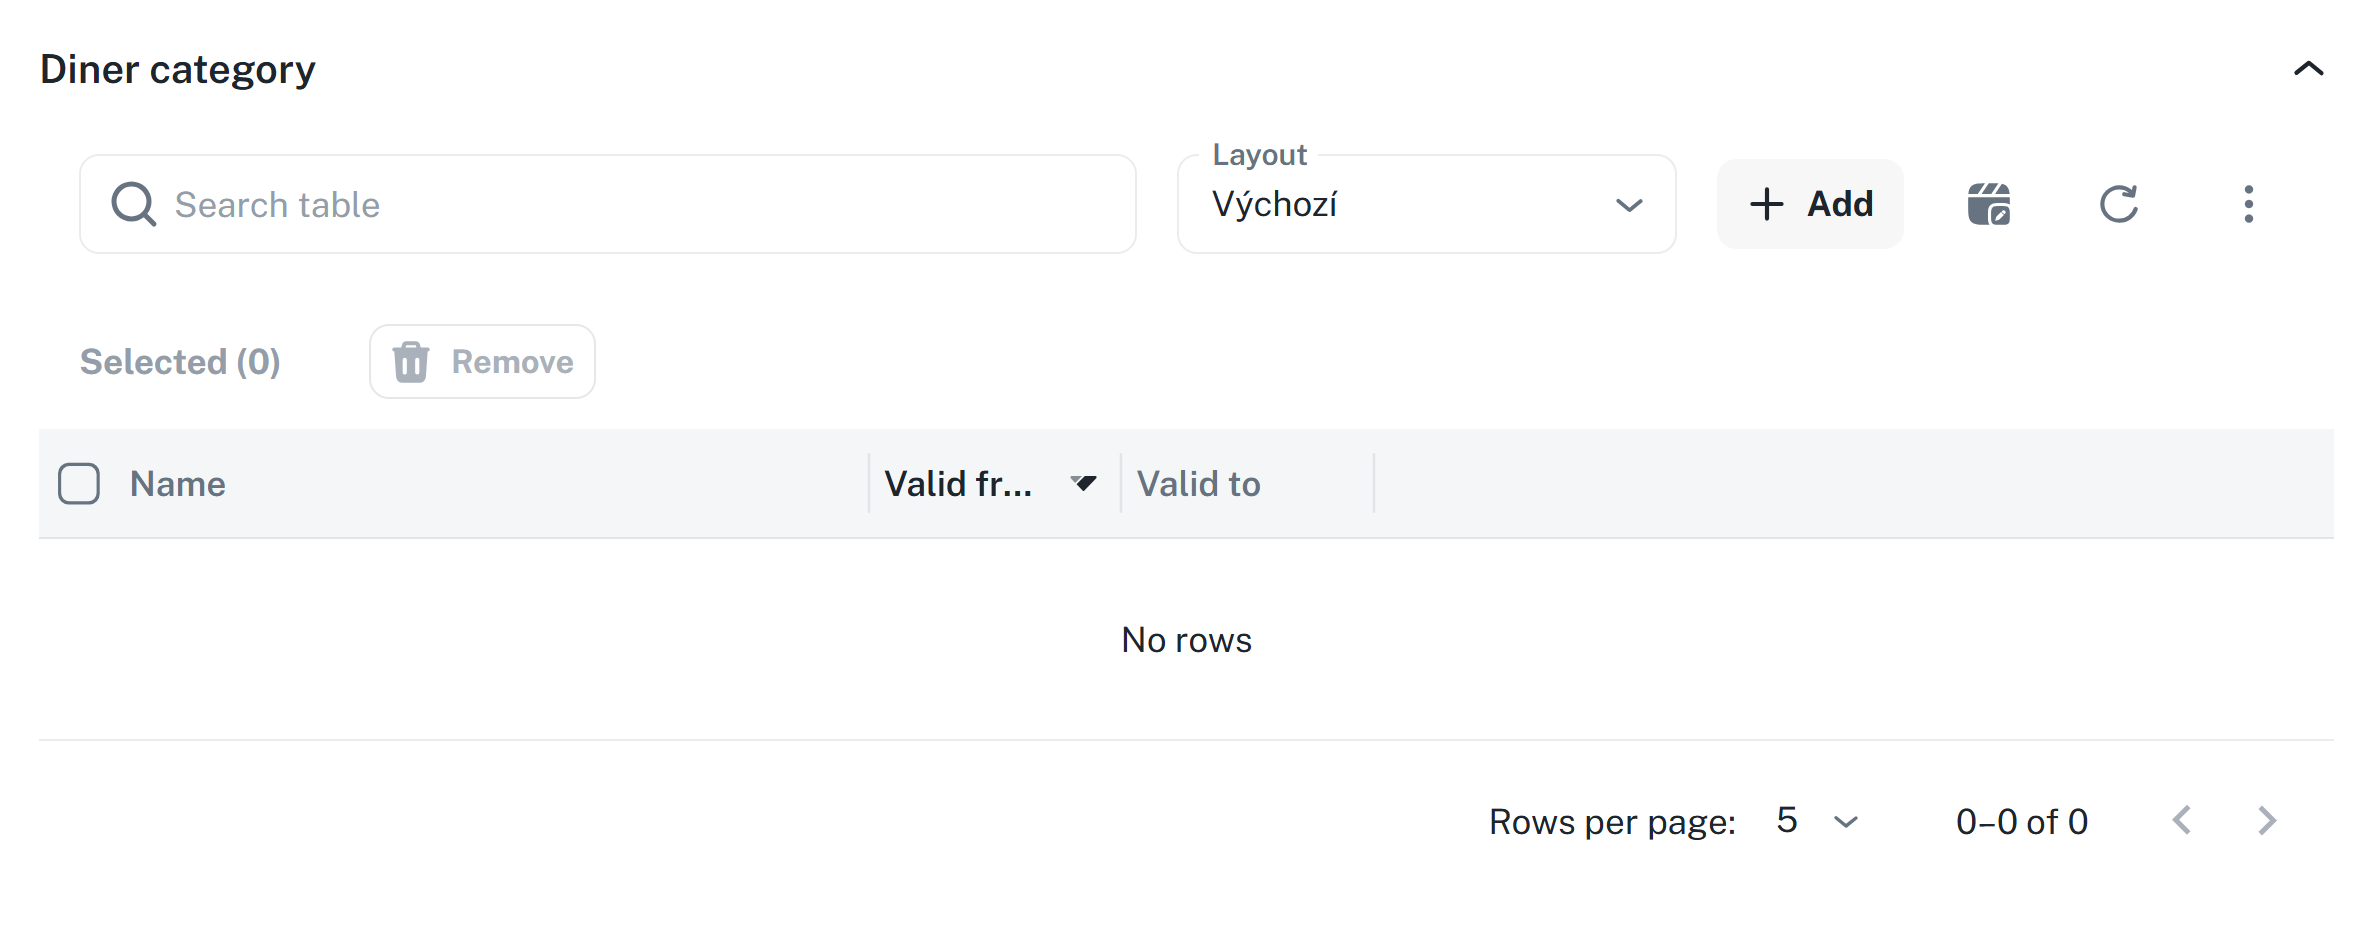
Adding a category is similar to the attendance regulation → after clicking Add, a window will open where you simply select the respective category and set the validity From to Until → by clicking Add, you will then save your selection.

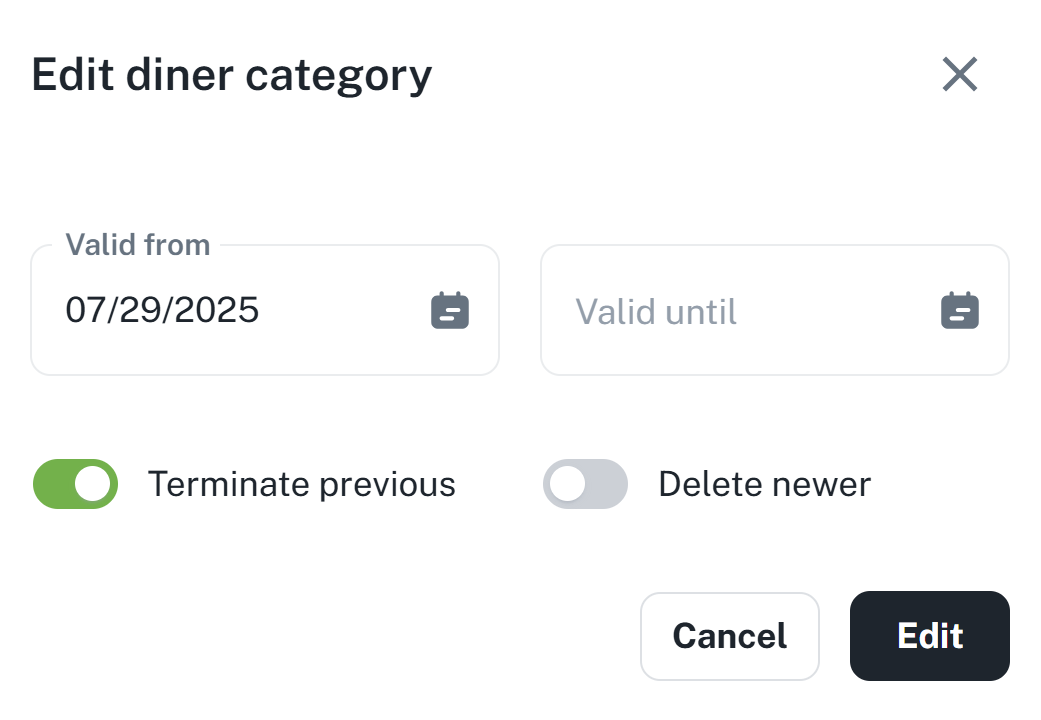
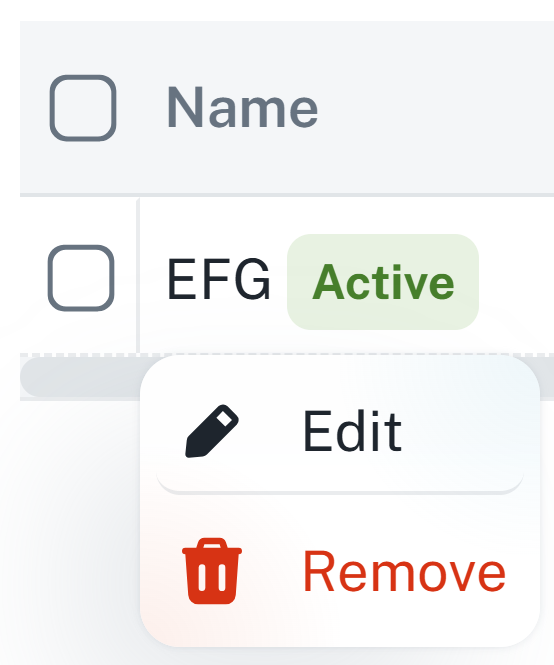
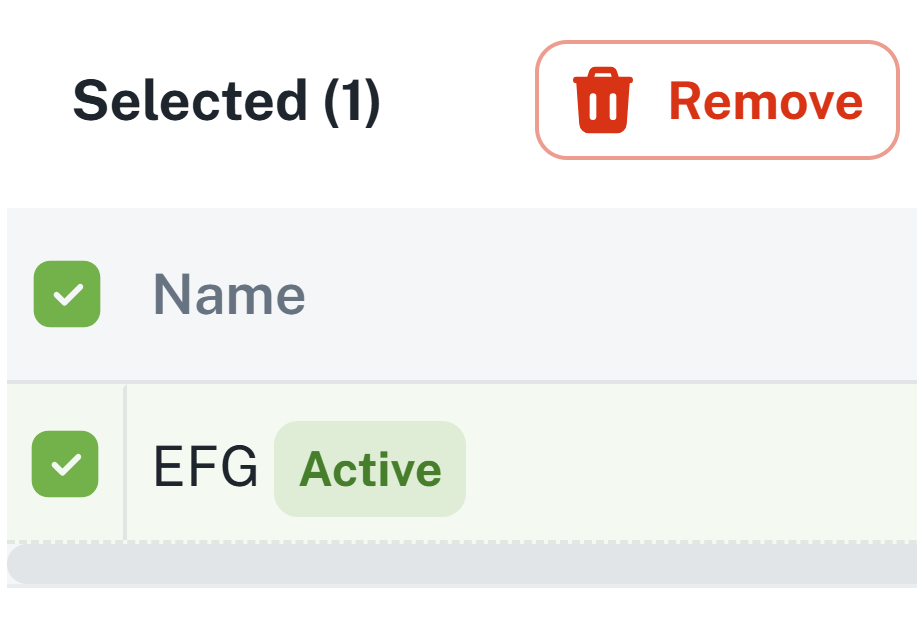
It is possible to modify only the validity From - Until, or to completely remove the category from the record. The context menu or the Remove button is used for modification, which becomes available after selecting the relevant category.
If a person has a valid meal category and you have the appropriate authorization, it is possible to order food on behalf of that person. Under the section Diner category, there is another section Order through which it is possible to order portions for the respective person.
For more information about meal ordering, please refer to the relevant manual.
Dish order agenda
This manual serves as a user guide for working with the dish system, which lets employees order, manage, and easily track their dishes within the company dining program. It includes descriptions of the individual features and instructions on how to use them, including the meal exchange, order overviews, and working with the widget.
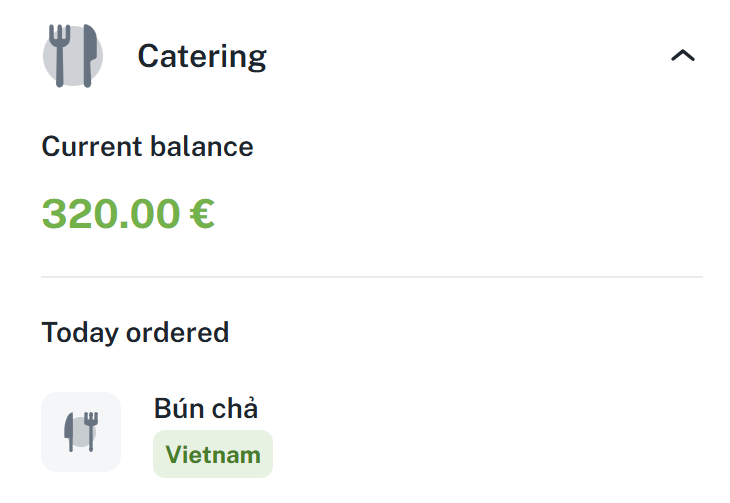
When a category is active, additional items appear in the top panel, such as the person's current balance or category data.
Similarly to attendance, a widget is also displayed on the basic data tab.
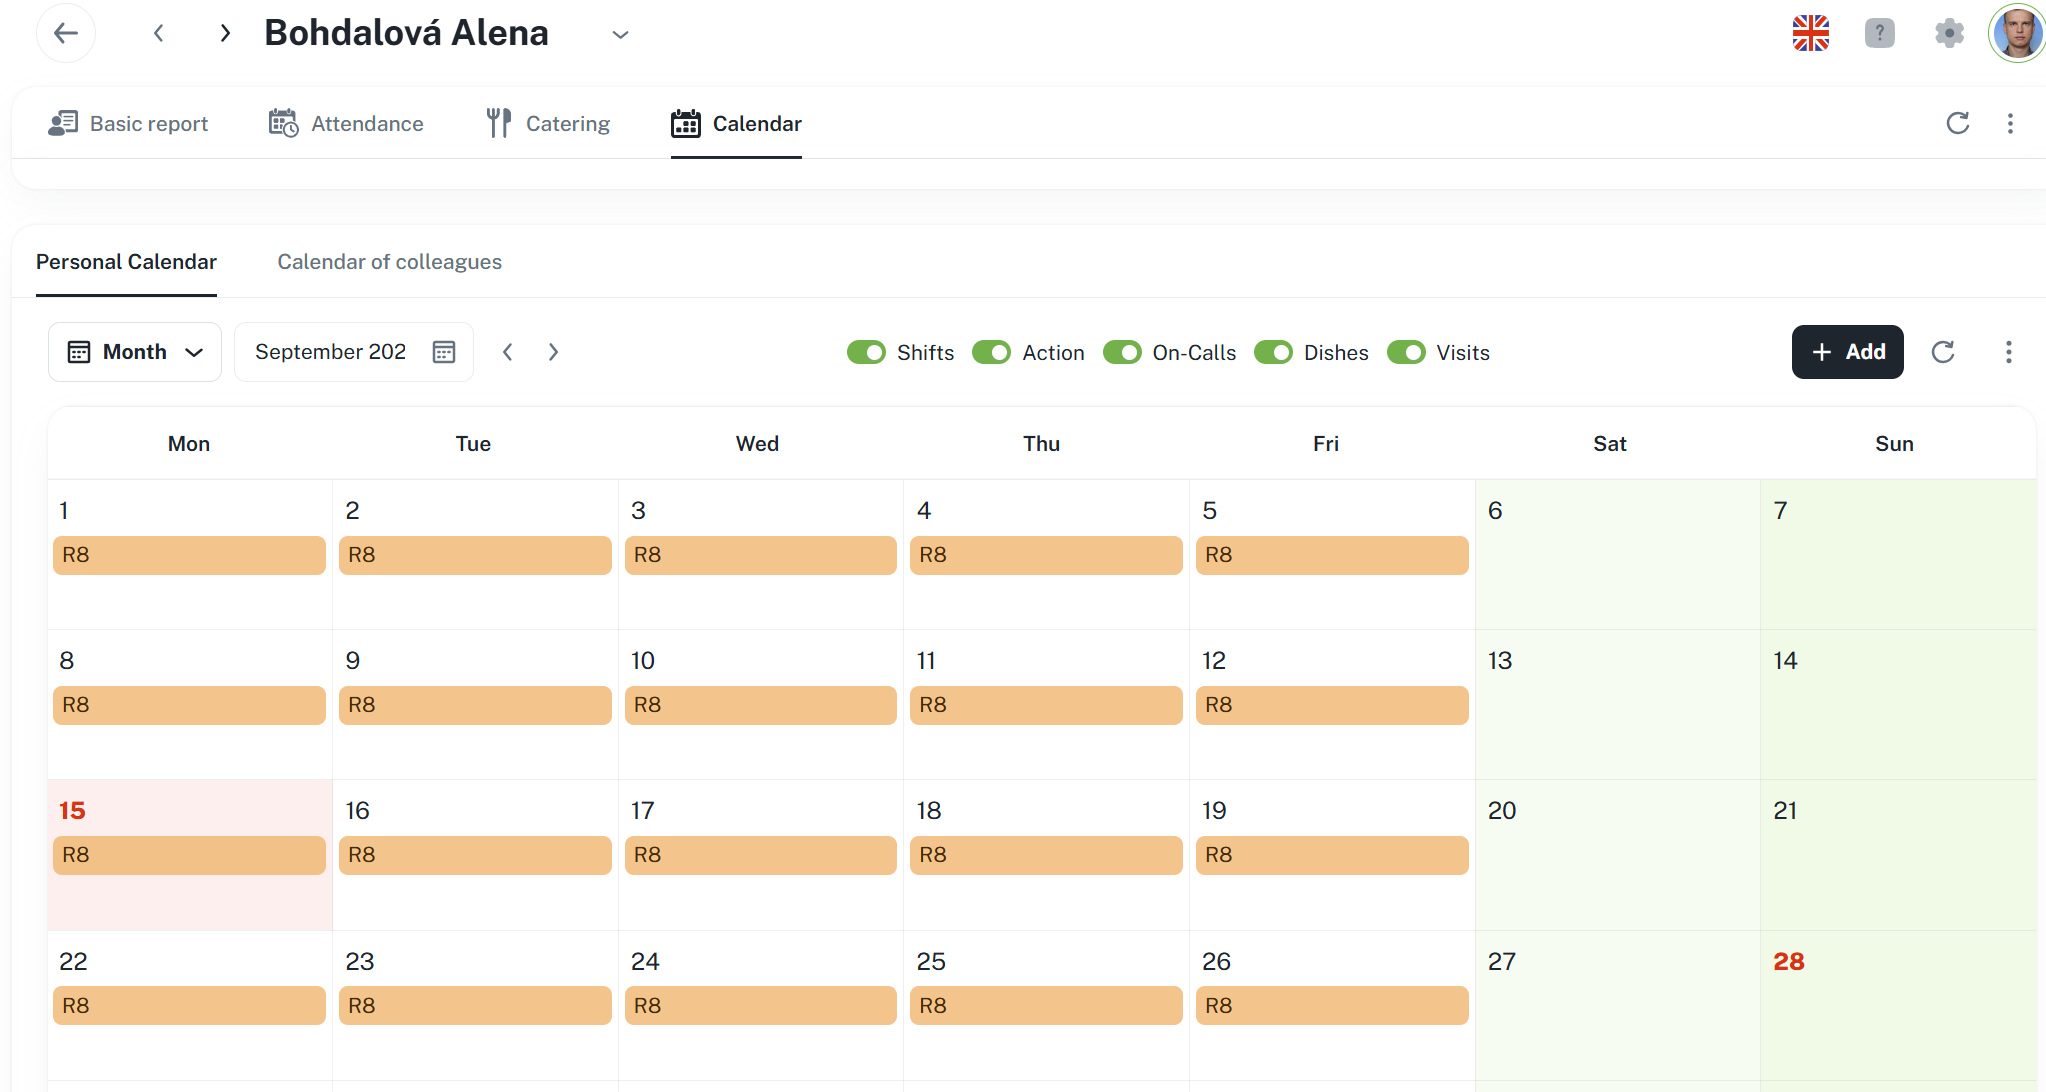
Calendar of the given person is displayed here. You may use it to schedule events, shifts, and other occasions - the functionality is identical to the Calendar agenda; the only difference is that you are planning on behalf of another person.
For more information, please refer to the relevant manual.
Calendar management
This manual is a user guide for working with the calendar of the attendance system. It clearly describes the features for planning and shifts management, requests and events. The user will learn how to create and approve requests, add events without approving, delete records and use bulk actions. The manual also explains filtering the calendar and using the calendar widget. There are also recommendations for effective usage of the calendar.