The ways of adding, editing, approving and cancelling requests.
Features of the side panel, request details and context menu.
Working with filters, quick actions and bulk processing
Using calendar and widgets for efficient management of requests
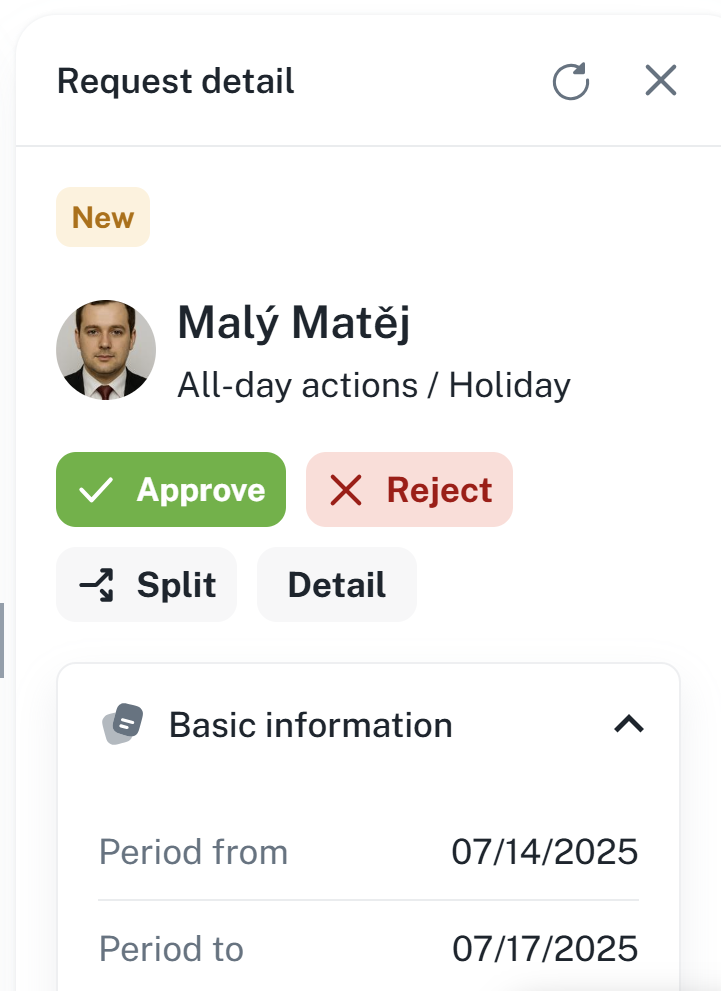
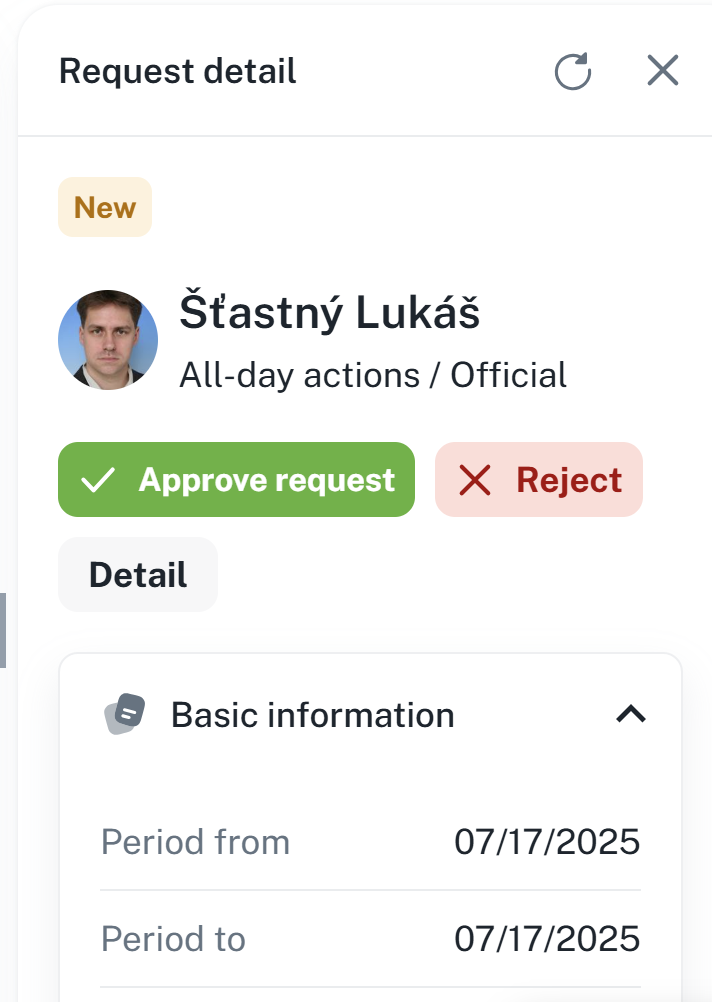
By clicking the Request Details button on the top panel, a side panel with request details will open.

The side panel displays details, where you can see basic information (time period, schedule of days, changes in entitlement, etc…)
By right-clicking a specific request, you will open the context menu with processing options for the request
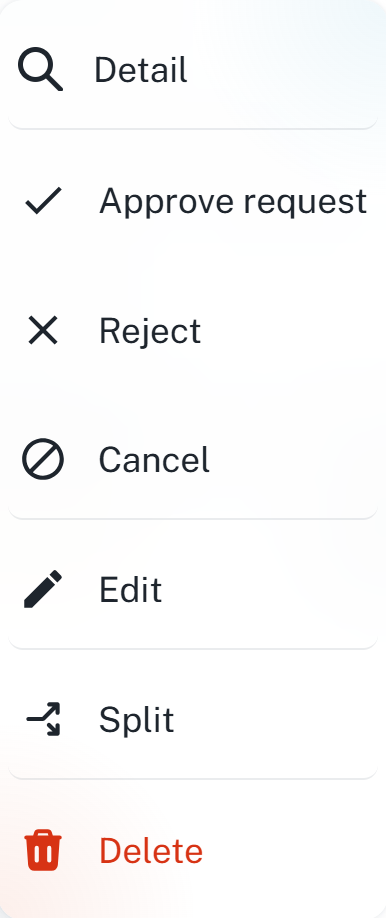
Detail - Opens the detail window, see section Request Details
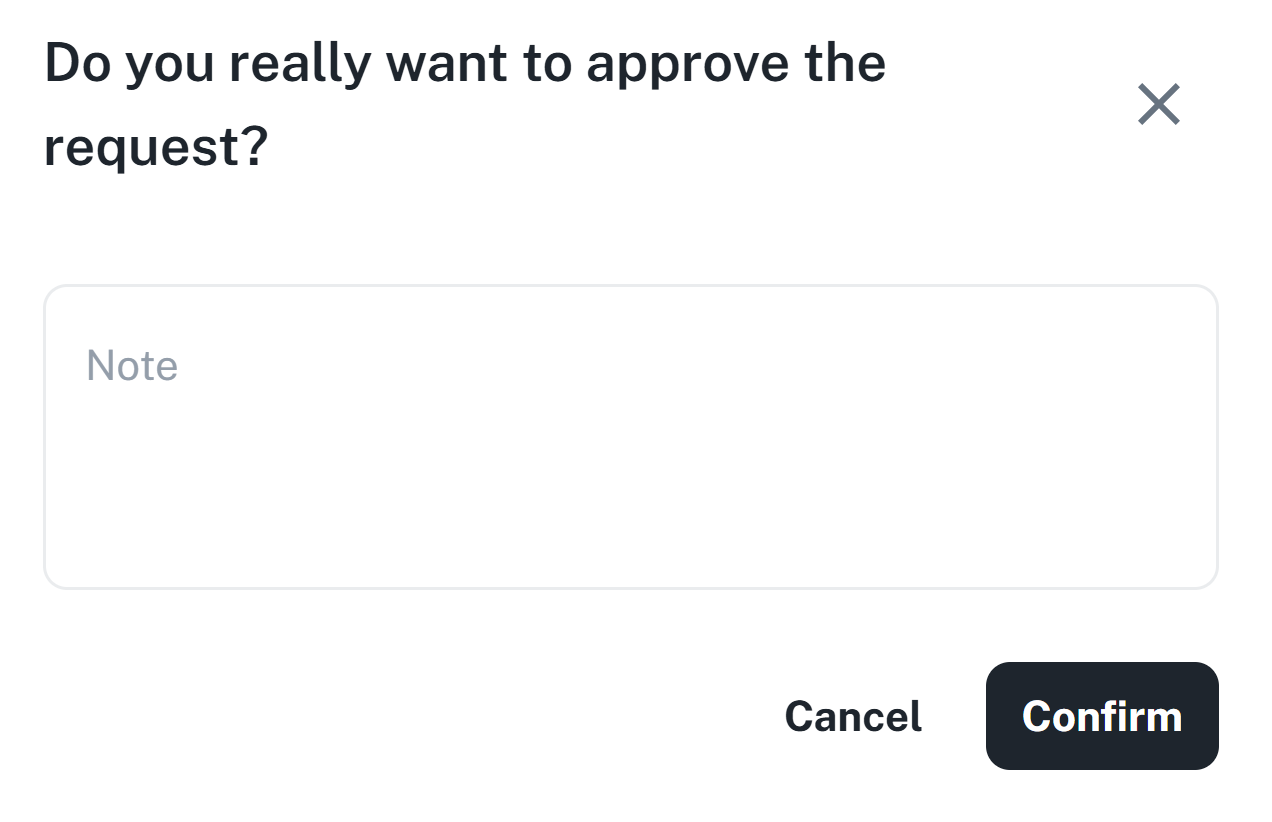
Approve request - Opens the request approval window, a note can be added.
Reject - Opens the request rejection window, a note can be added.
Cancel - Opens the request cancellation window, a note can be added.
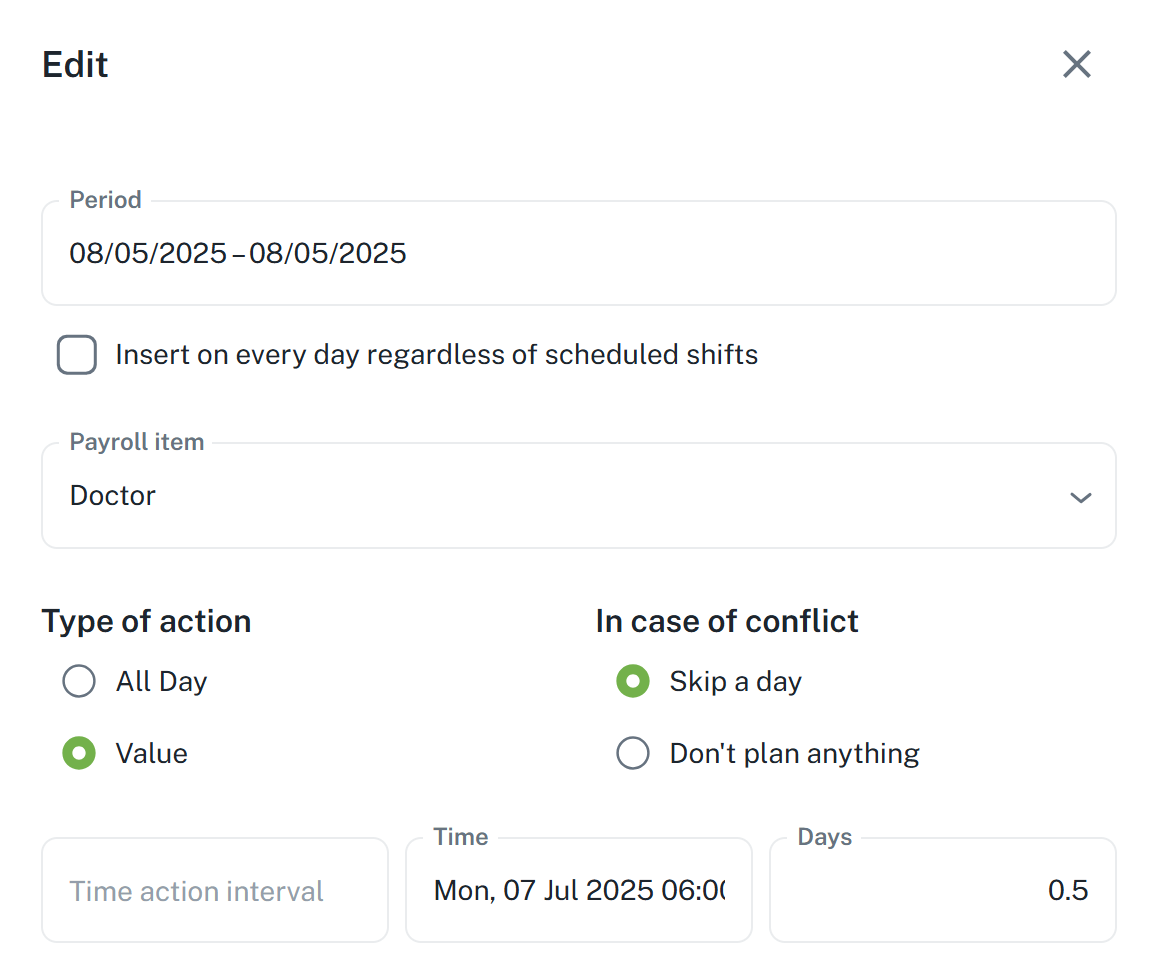
Edit - Opens the request edit window, it is possible to edit the request's time period, payroll component, action type, etc.
Split - Opens the request splitting window, where a multi-day request can be split into several individual requests.
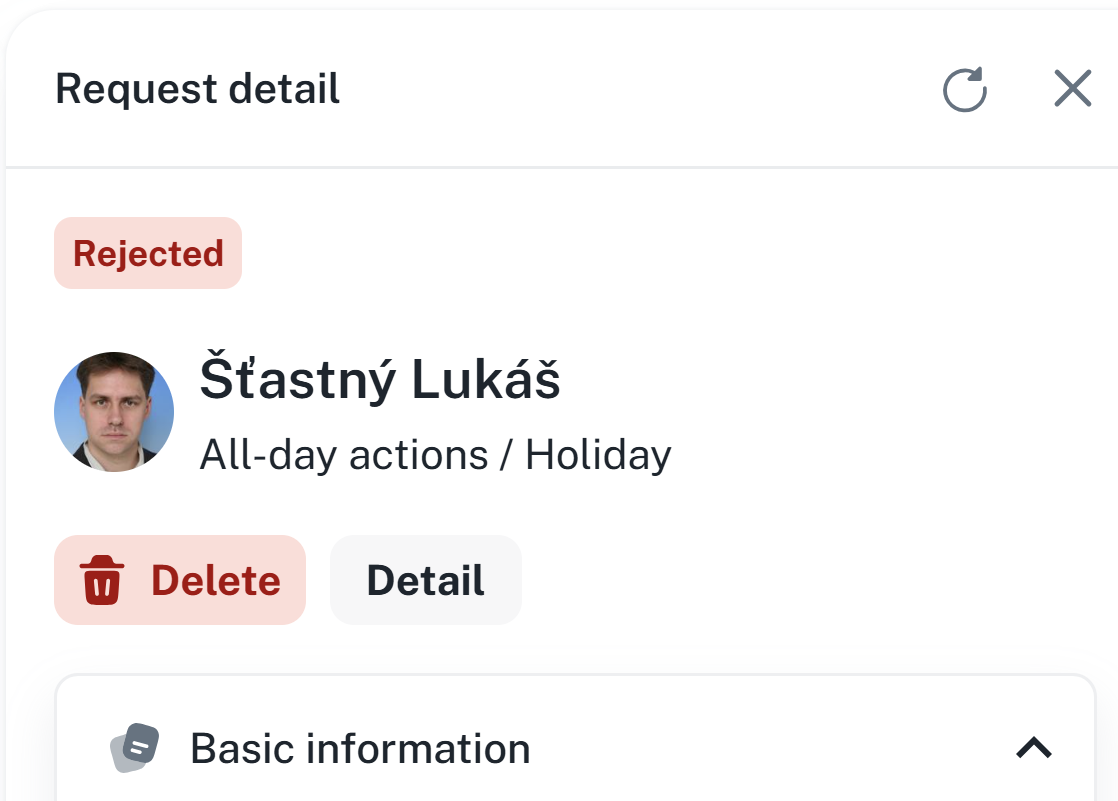
Delete - Opens the request deletion window, only rejected and cancelled requests can be deleted

Requests can be filtered by date, checking For approval (displays only requests awaiting approval), search, and advanced filters.
The layout is configurable. Column layouts can be saved as presets and modified later.
For more information regarding the general navigation, please refer to our manual General navigation:
General navigation
This manual serves as a guide for general use of the Aktion user interface. It includes instructions for filtering, grouping, and layout.
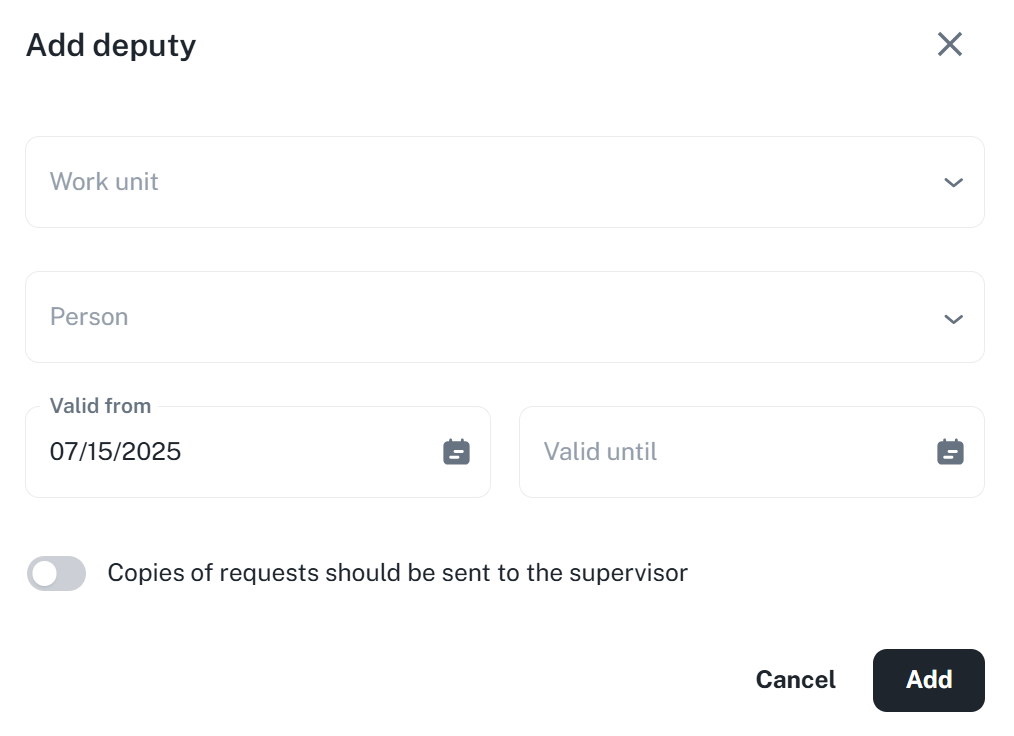
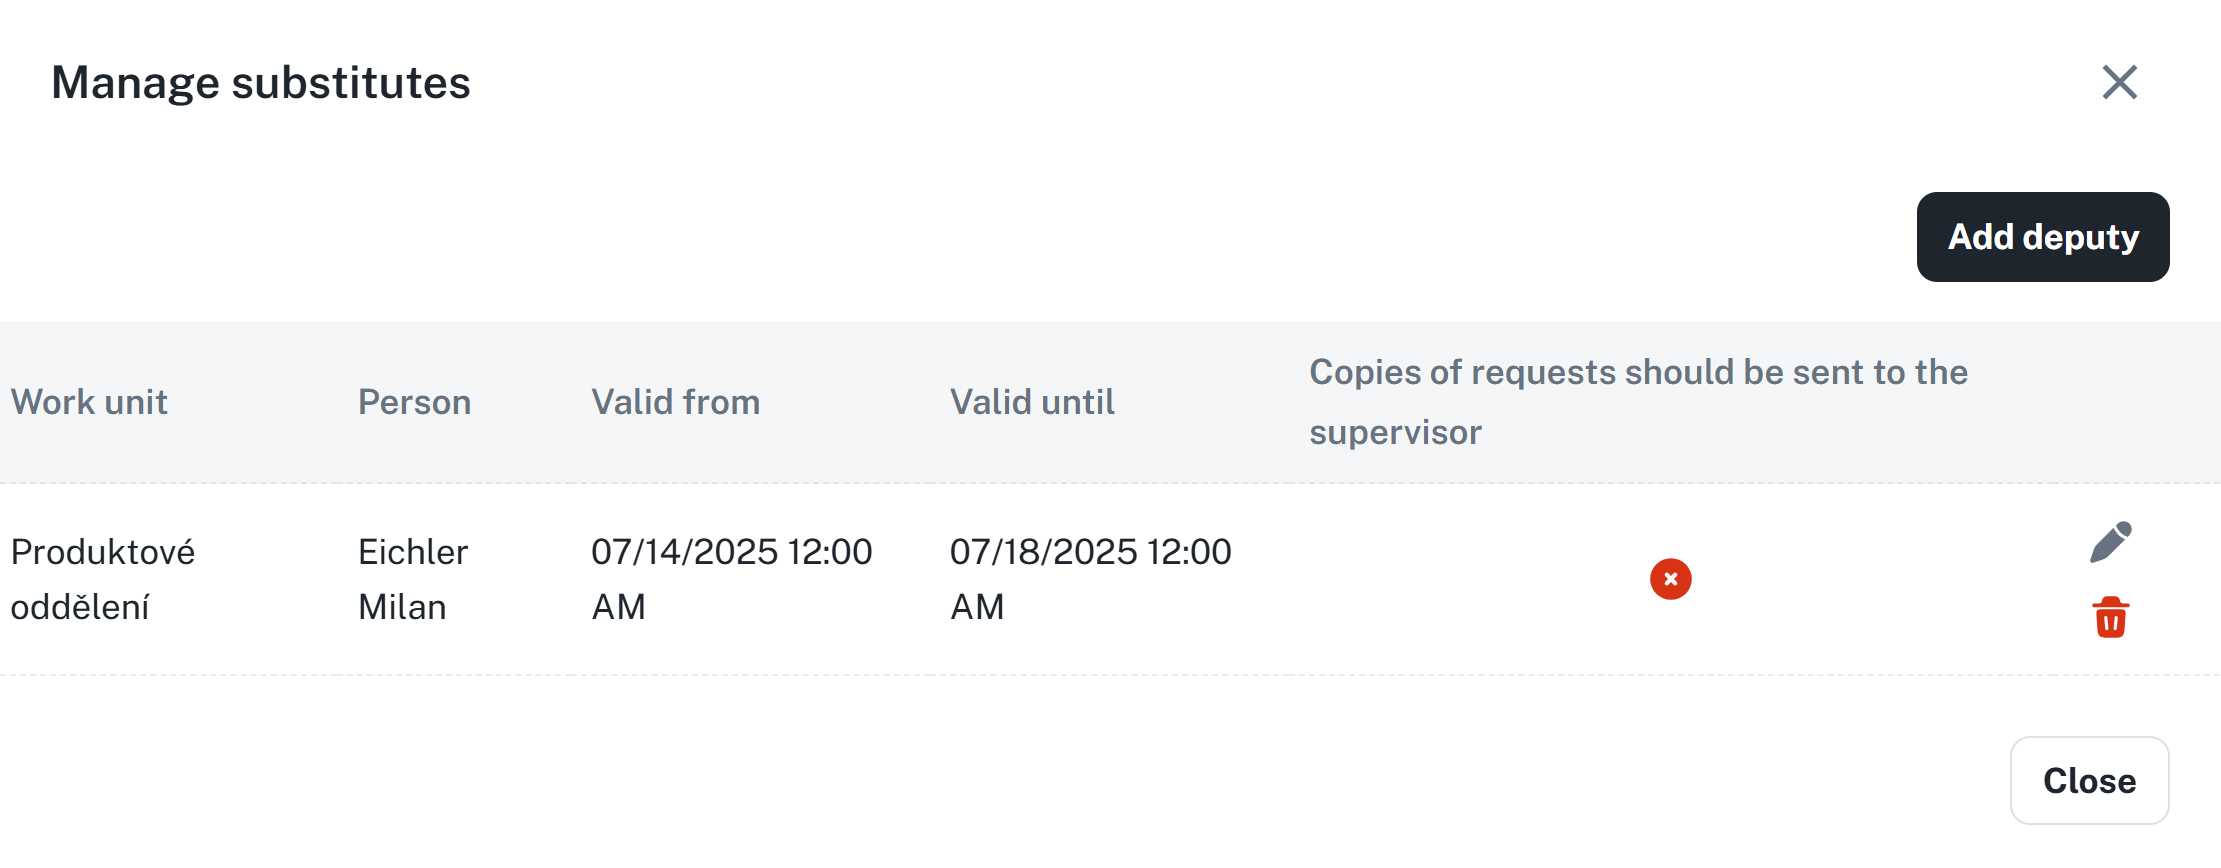
By clicking Manage substitutes → Add deputy you can add a substitute in a specific work unit:
The column Quick actions serves as a substitute for the context menu (available by right-clicking). This column may have to be added through the Column picker button.


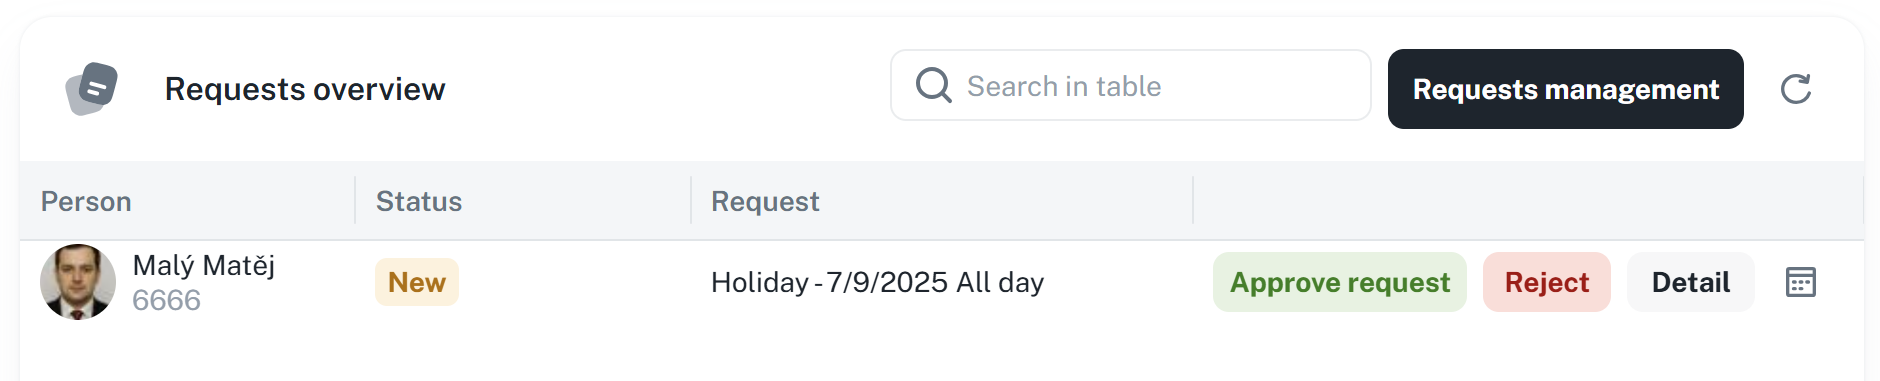
An employee’s request is displayed and ready to be processed in the requests list after being created. Processing can be performed in several ways, depending on the preferred control method:
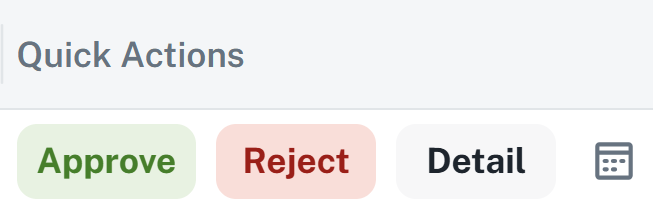
Quick actions (column has to be added, see above)
In the requests list, it is possible to use the buttons in Quick Actions column to
Approve
Reject
Additionally process a request about its cancellation
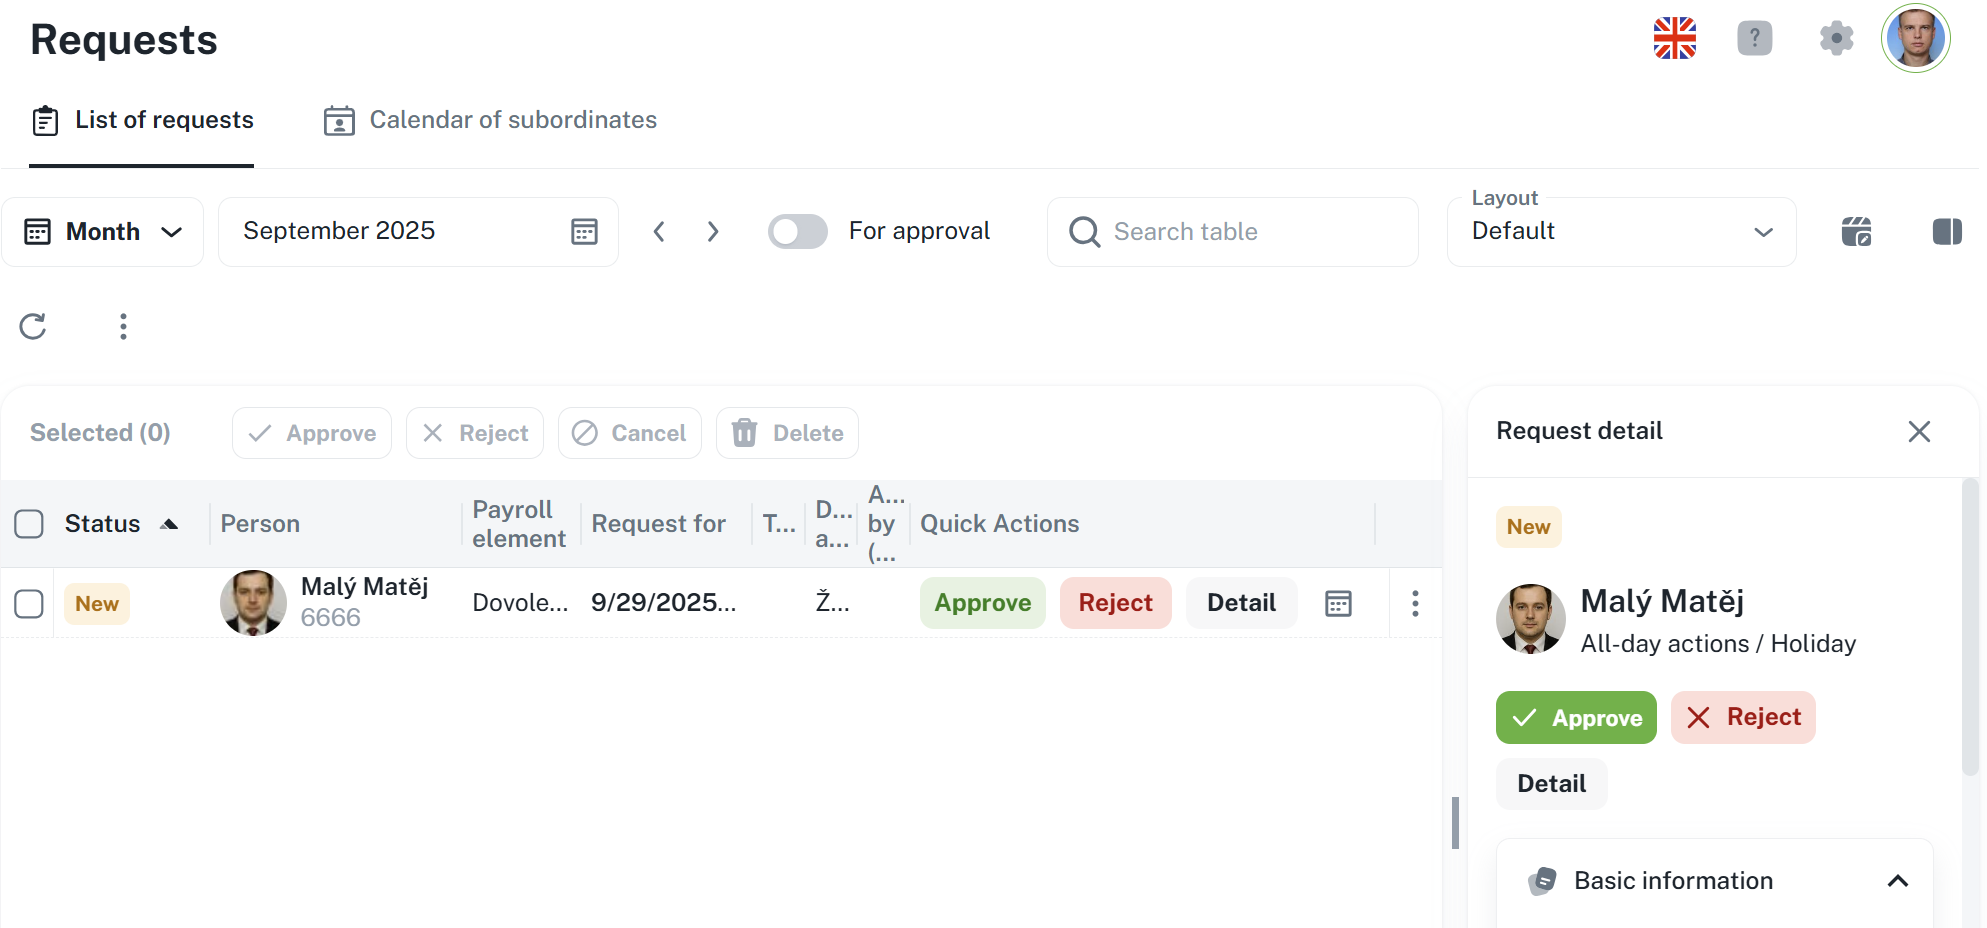
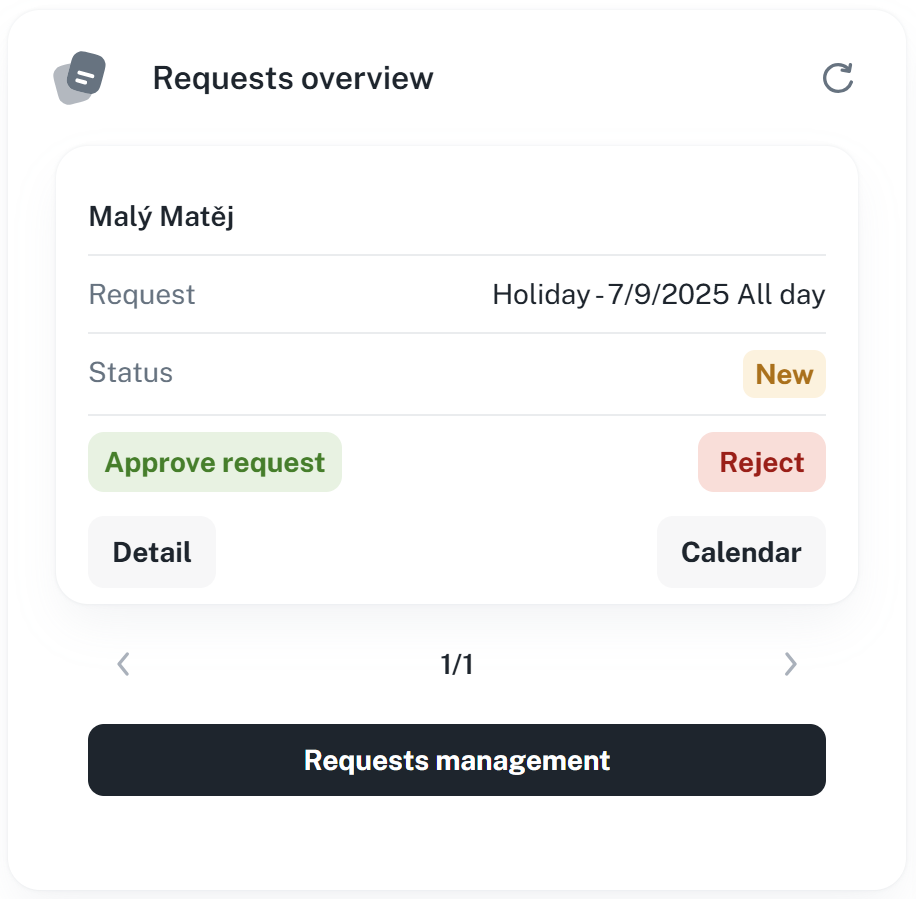
Request’s side panel
A side panel with the request’s details will open up after clicking on a specific request. From there you can:
Approve or reject the request
Split a multiple-day request into several individual ones (splitting can only be done by the applicant)
Display details or history of the request
Context menu
By right-clicking on a specific row, a context menu will show up, allowing you to:
Approve or reject the request
Edit, split or cancel the request
Delete the request (only for cancelled or rejected requests)
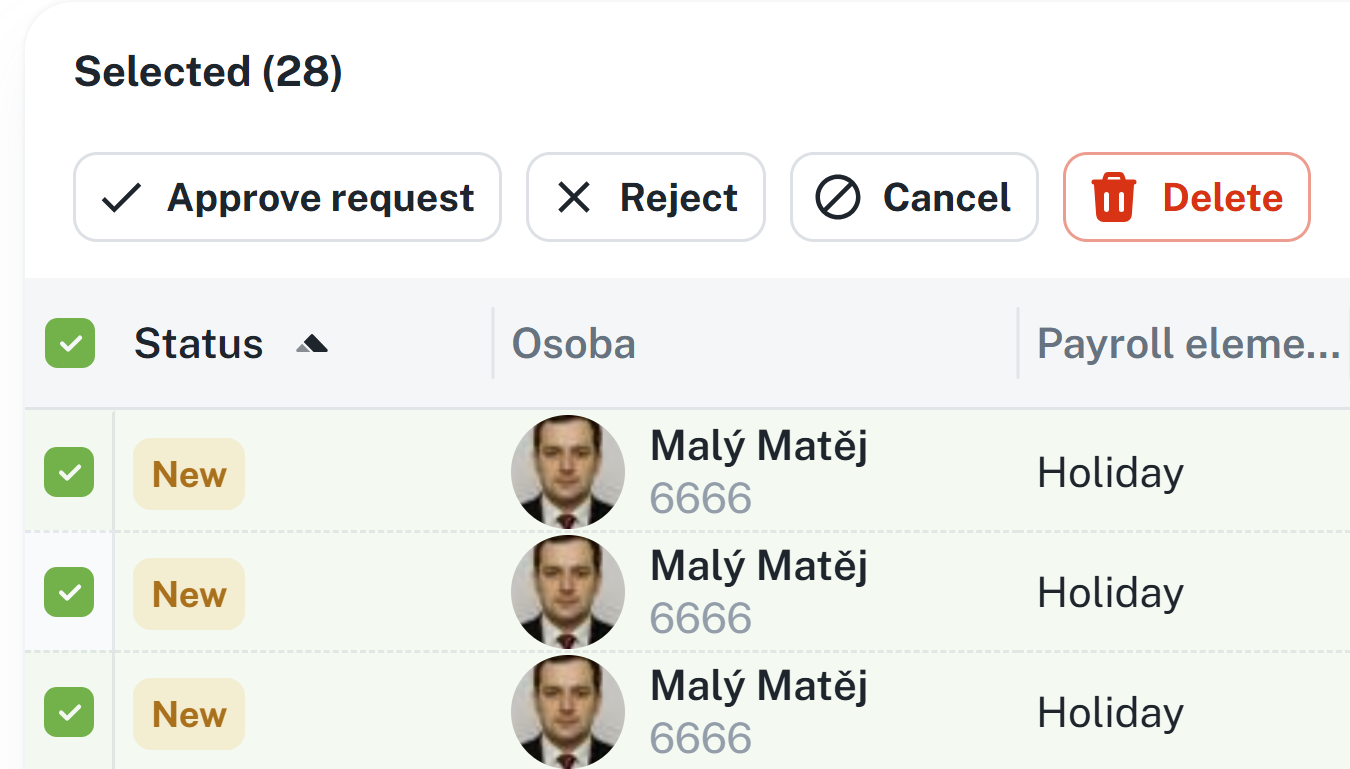
You may also process requests in bulk by checking the desired fields.
Status New is always assigned to newly created requests with no history.

A request that is New can be approved or rejected using the buttons in the Quick Actions column of the table.

You can also process the request with a single click on a specific request. A side panel will open with the request details, where you will see the basic information, identical to the Detail window.
A request changes its status to Approved / Rejected based on the performed action.

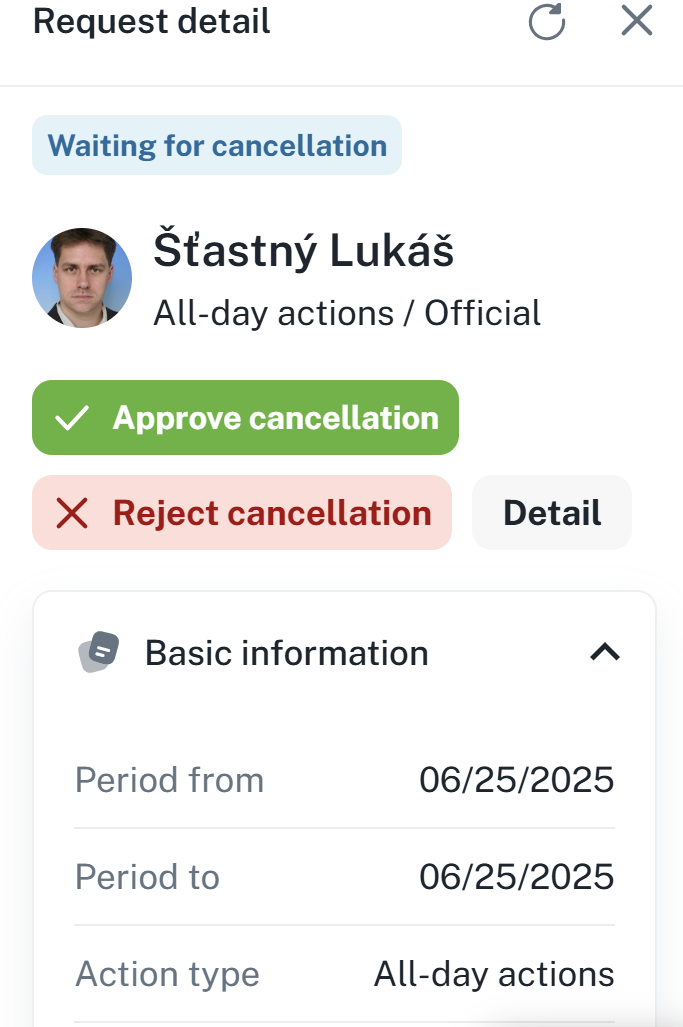
The request has the status Waiting for cancellation when the applicant requests to cancel the original request.

You process cancellation requests in the same way: using the buttons in the Quick Actions section of the table.

By clicking on a specific cancellation request, a side panel will open with the request details, where you will see basic information identical to the window Detail.
A request is marked as Cancelled either after the approval of its cancellation, or after cancelling the original request before it is approved.

You can delete a request after it is canceled or rejected.

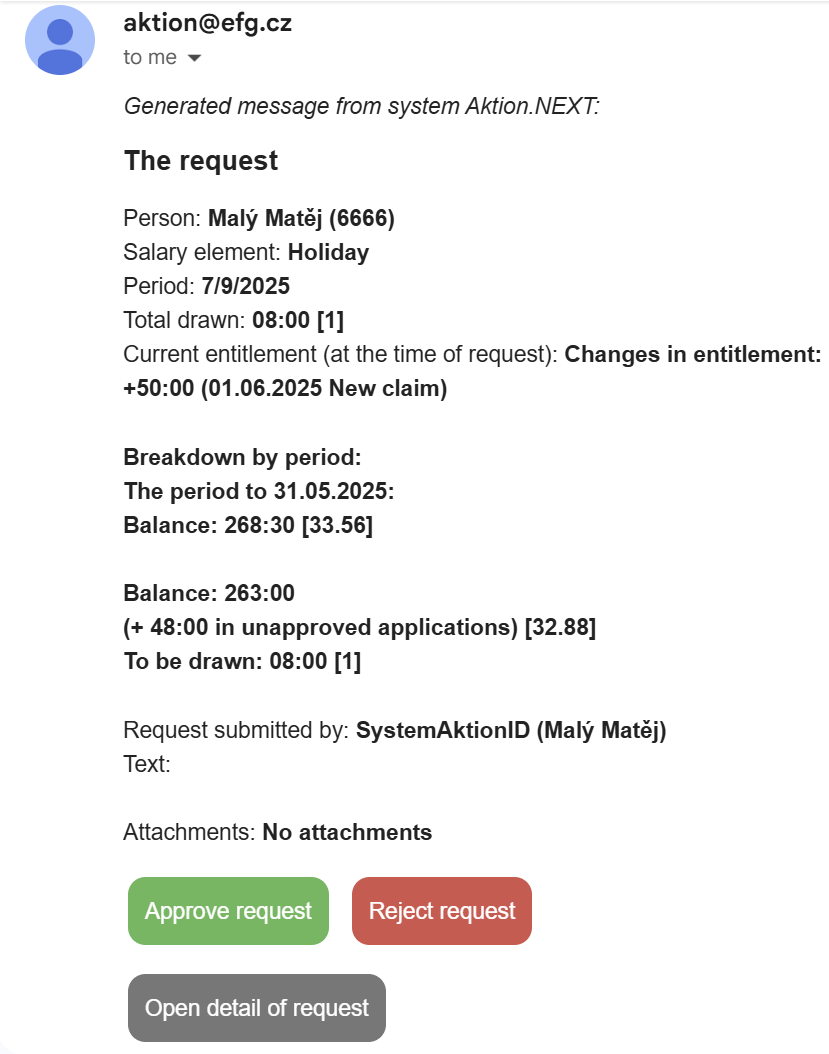
When submitting a request, an interactive email is sent to the approvers.
If the approver does not have an email address configured, the applicant will be notified.
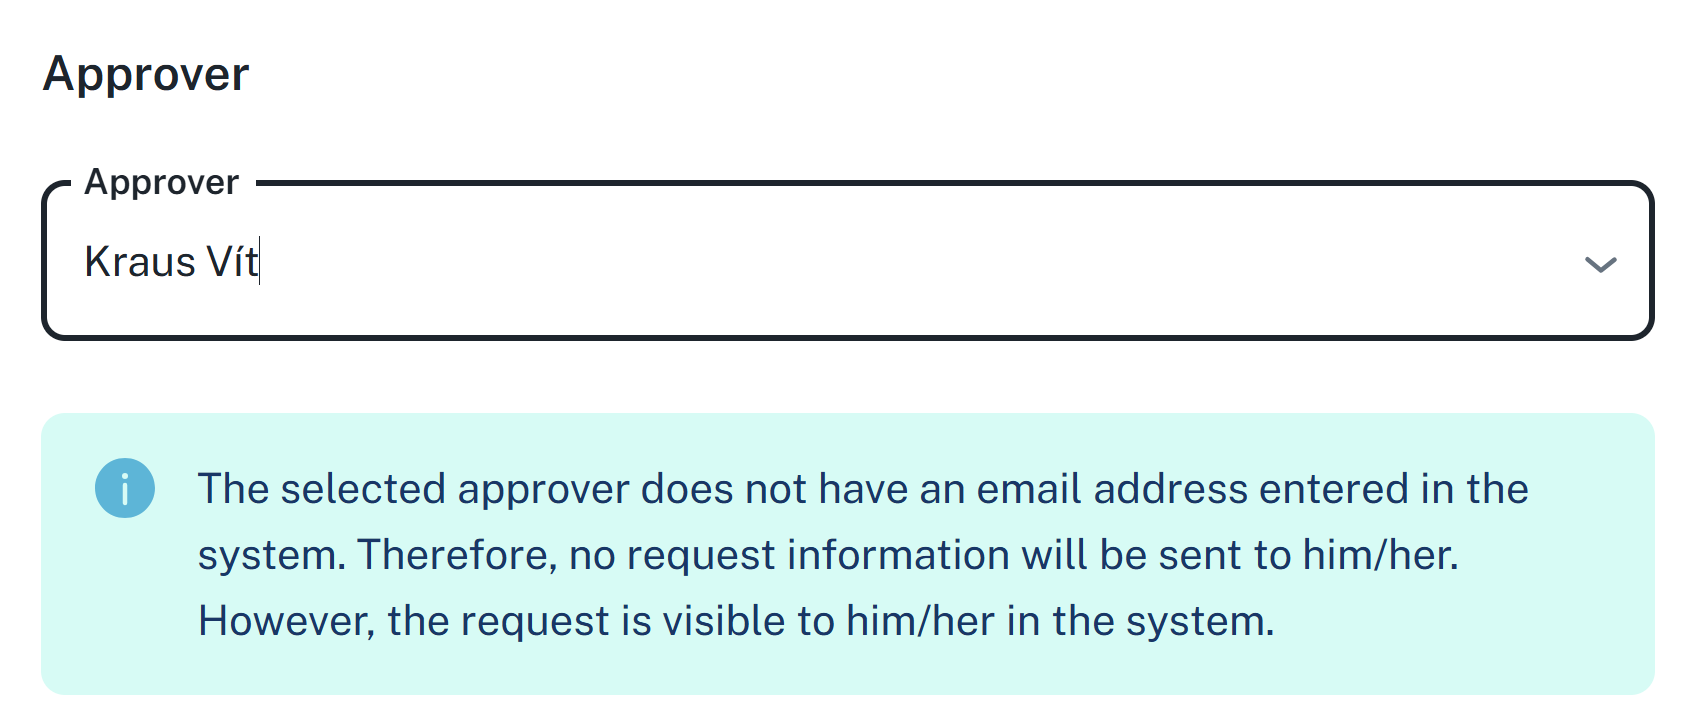
You can set the email in Person Detail → section Address and Contacts.

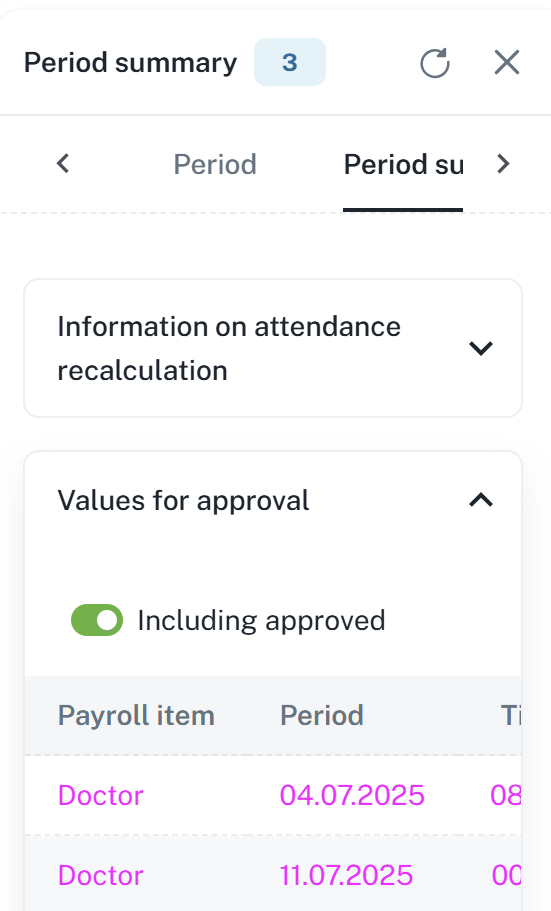
For certain payroll components, it is necessary to approve its value after the application is approved.
You can approve the value as follows:
Open Attendance report
Click on a specific employee
If this has not yet been done, open the side panel

Open the category Period summary and click on Values for approval and approve the required value
The value may also be approved in the side panel within the Personal report of the respective person.
A request on behalf of a subordinate employee can be submitted by a supervisor in two ways:
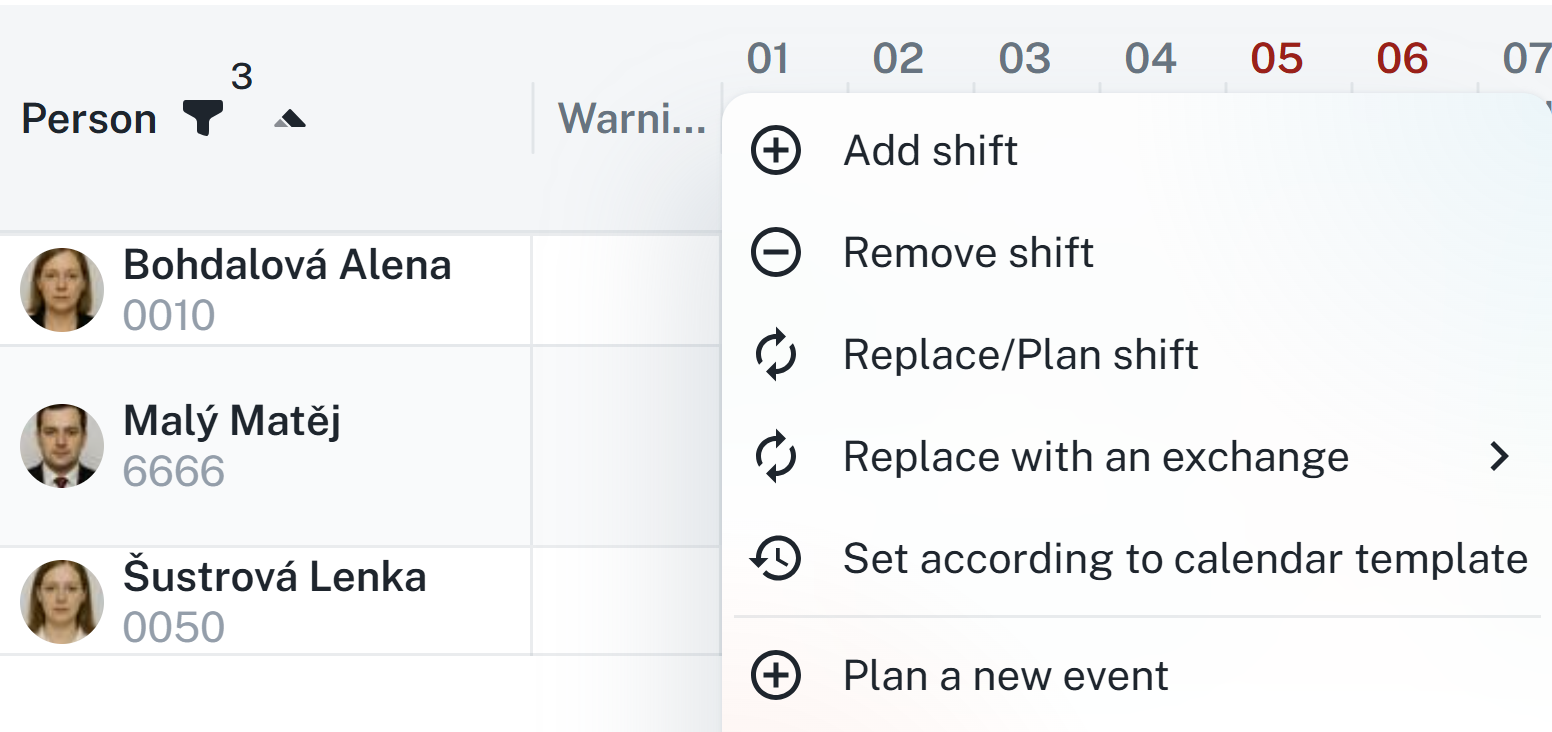
After selecting specific days by opening the context menu by right clicking and selecting the option Plan a new event.
It is possible to select multiple employees at once and assign an action in bulk, e.g., business trip, holiday or a different type of request
More information in the Shifts schedule manual:
Shifts schedule
This manual serves as a guide for planning employee shifts. It contains instructions for adding, removing, and replacing shifts, bulk management, event planning, and filtering.
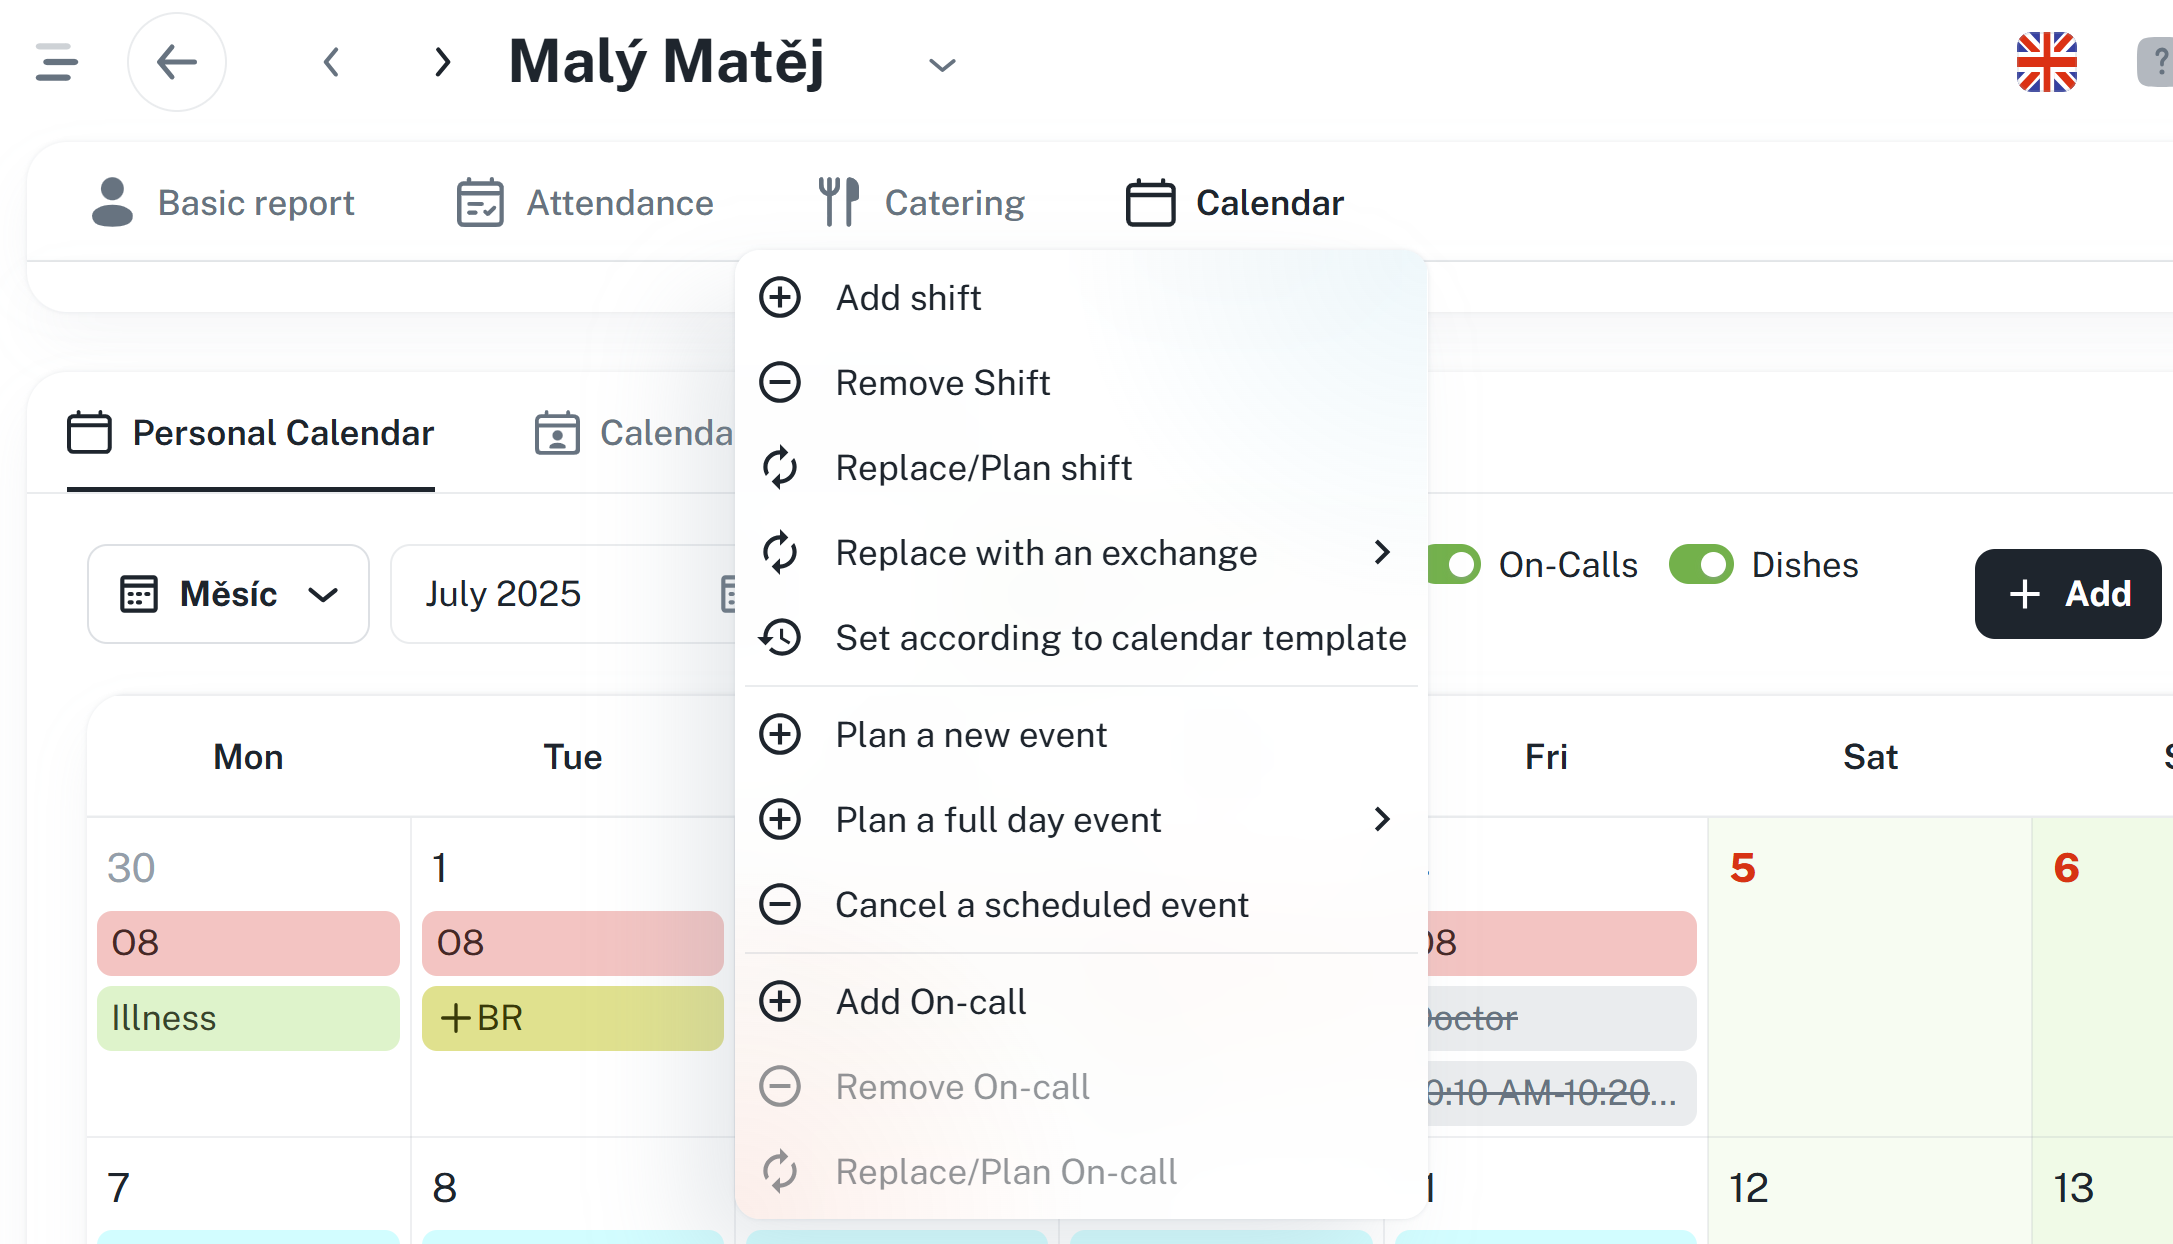
In the employee's personal card, on the Calendar tab, you can right-click on the selected day to bring up the context menu again and add the desired action or request.
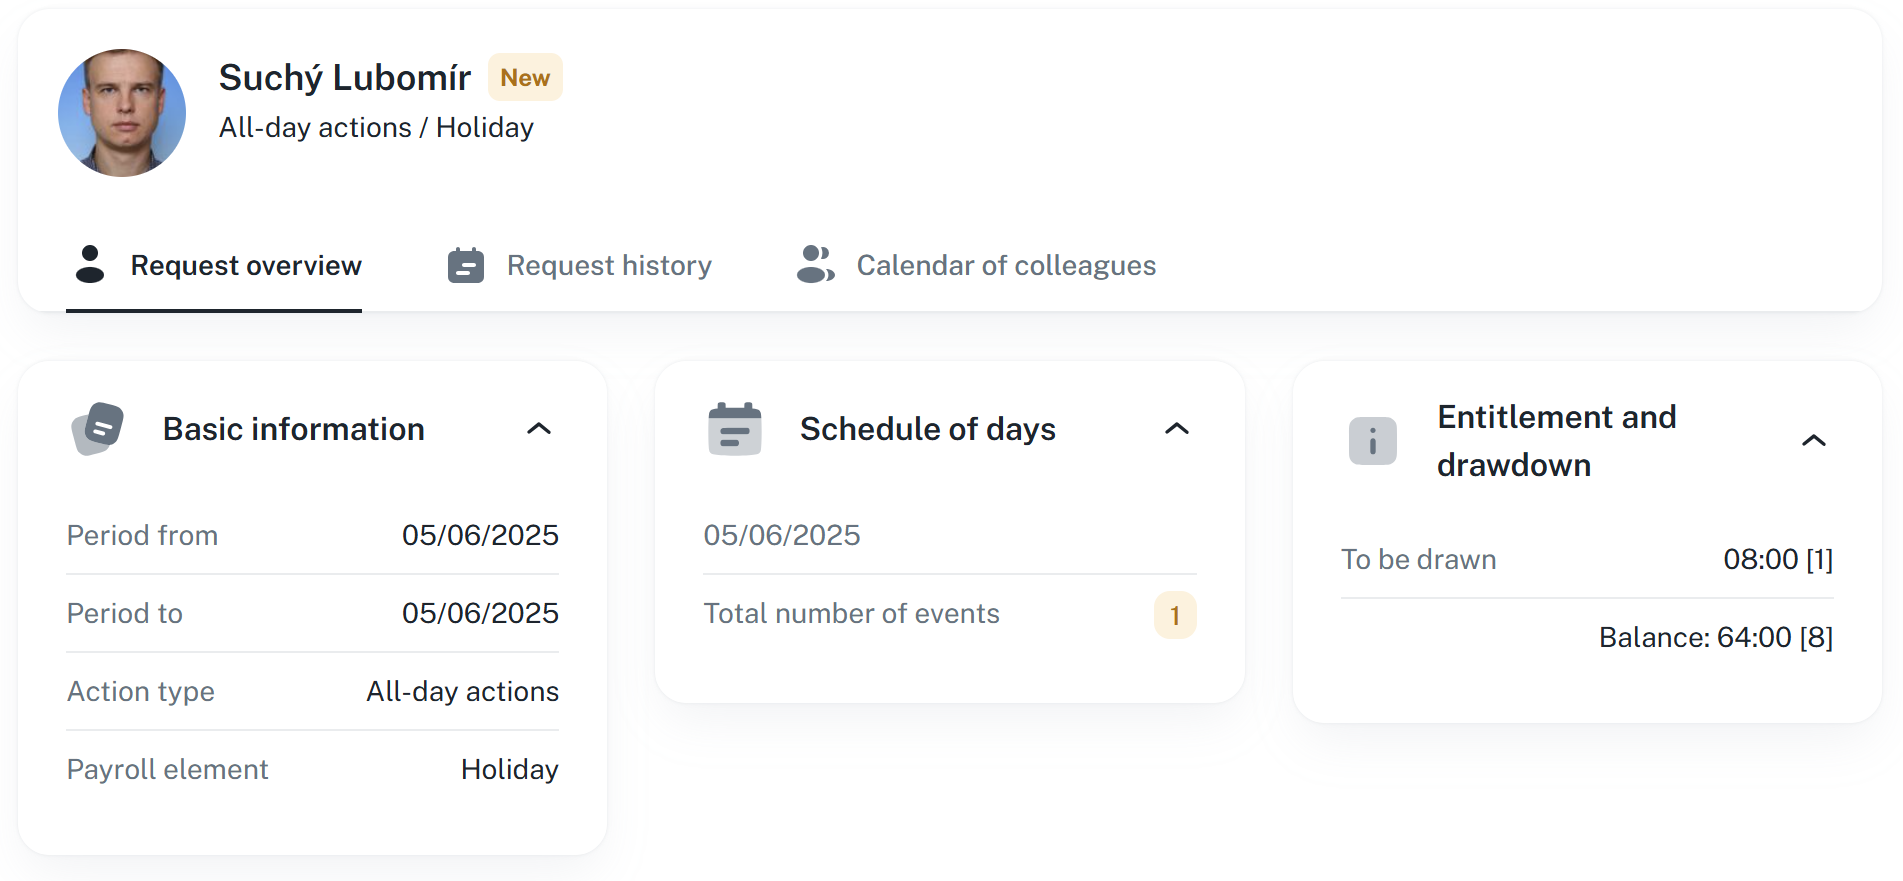
By clicking on a specific request in the calendar you can access the request details.
Basic information - Contains information about the application time period and wage component
Schedule of days - Contains information about the days on which the application is to take place
Entitlement and drawdown - Contains information regarding the usage of the remaining balance
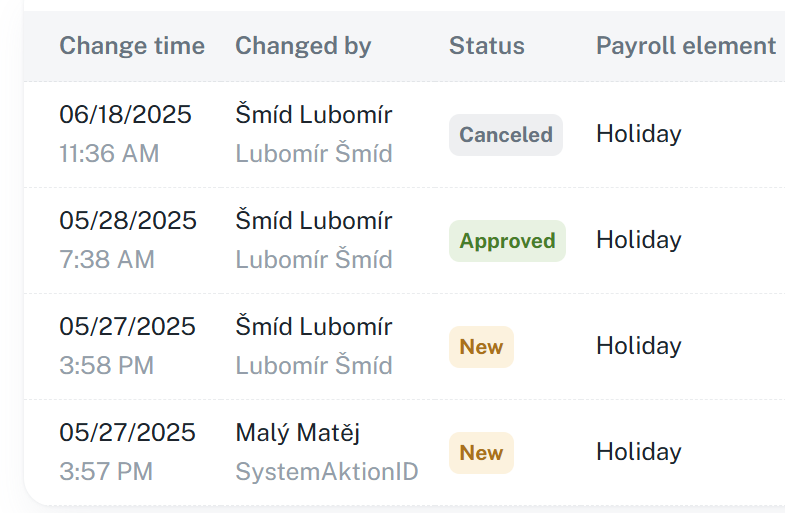
By clicking on Request history, the history of application statuses with the necessary details is available to you.
By clicking on Calendar of colleagues you can view the calendars of other individuals within your working unit.
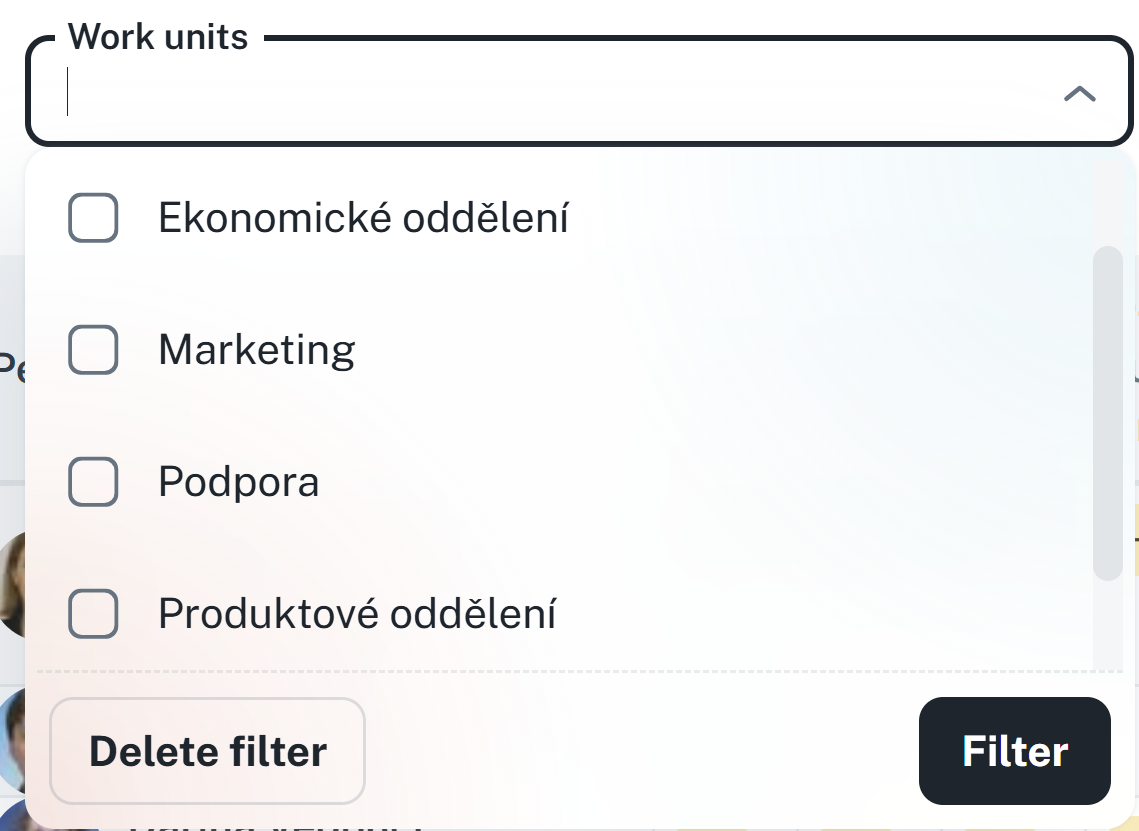
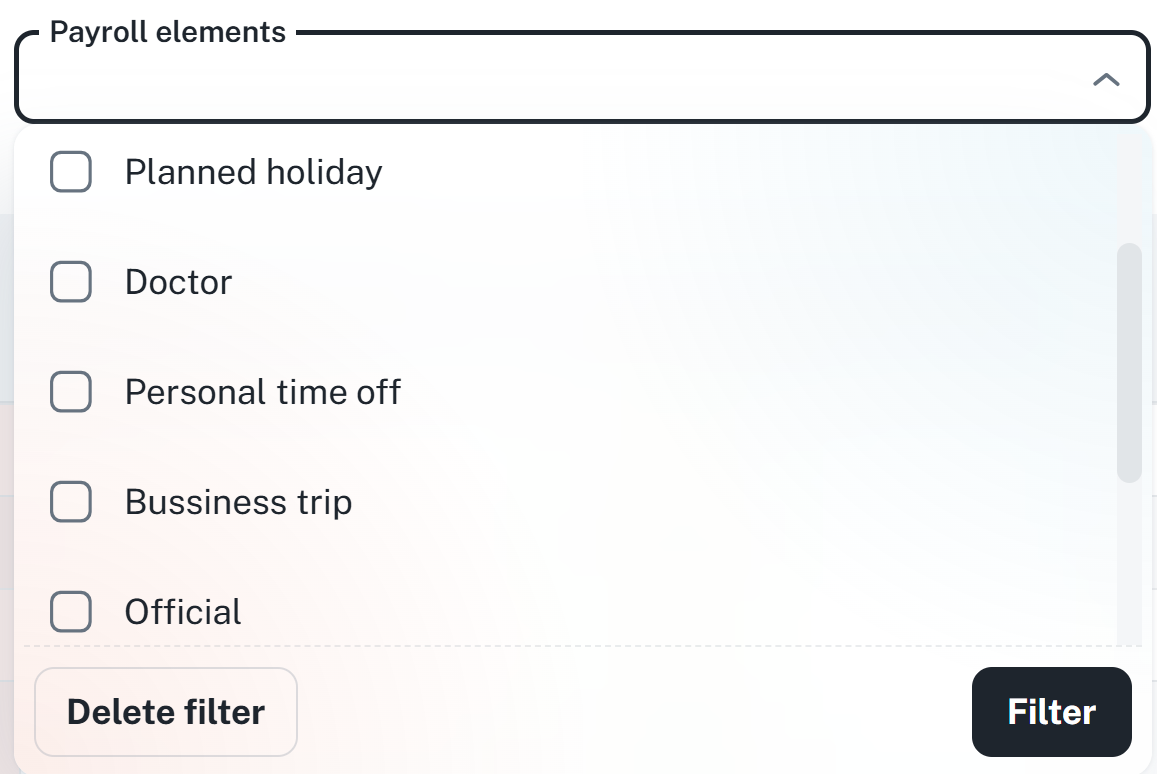
You also have access to advanced filtering. Click the Filter button to open a panel with filtering options.

It is possible to filter by work units and payroll elements.
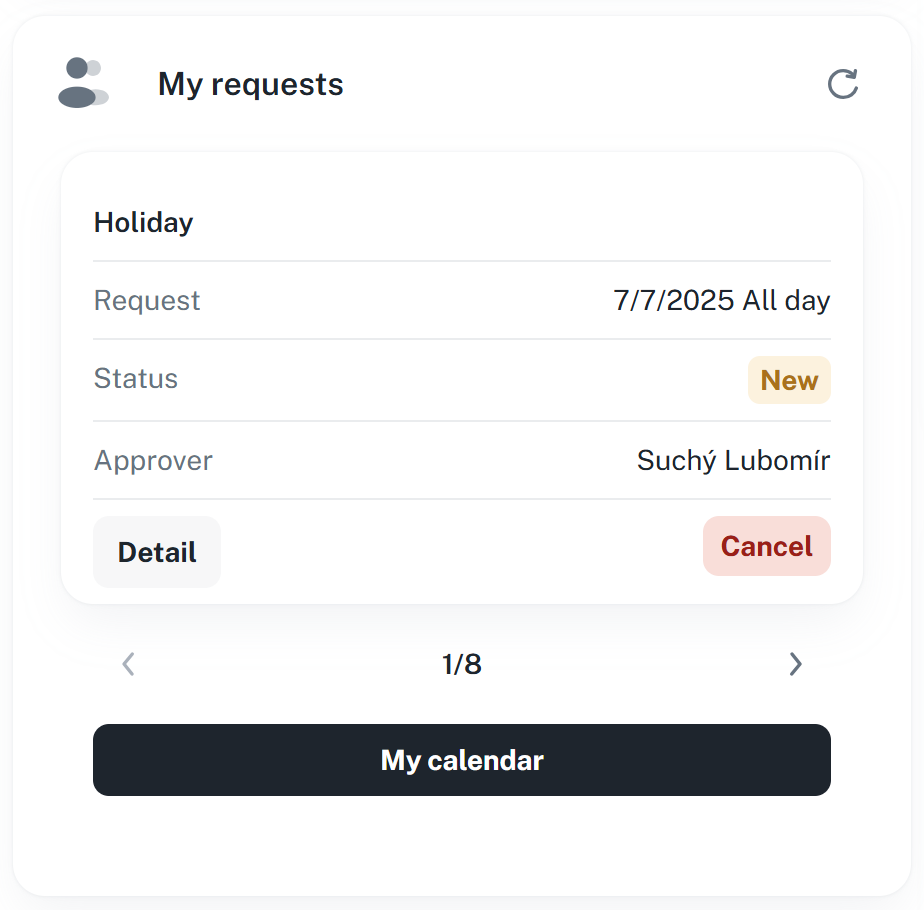
On the dashboard, you have two widgets available for managing requests:
My requests - Overview of your submitted requests, you can request cancellation or another option from here
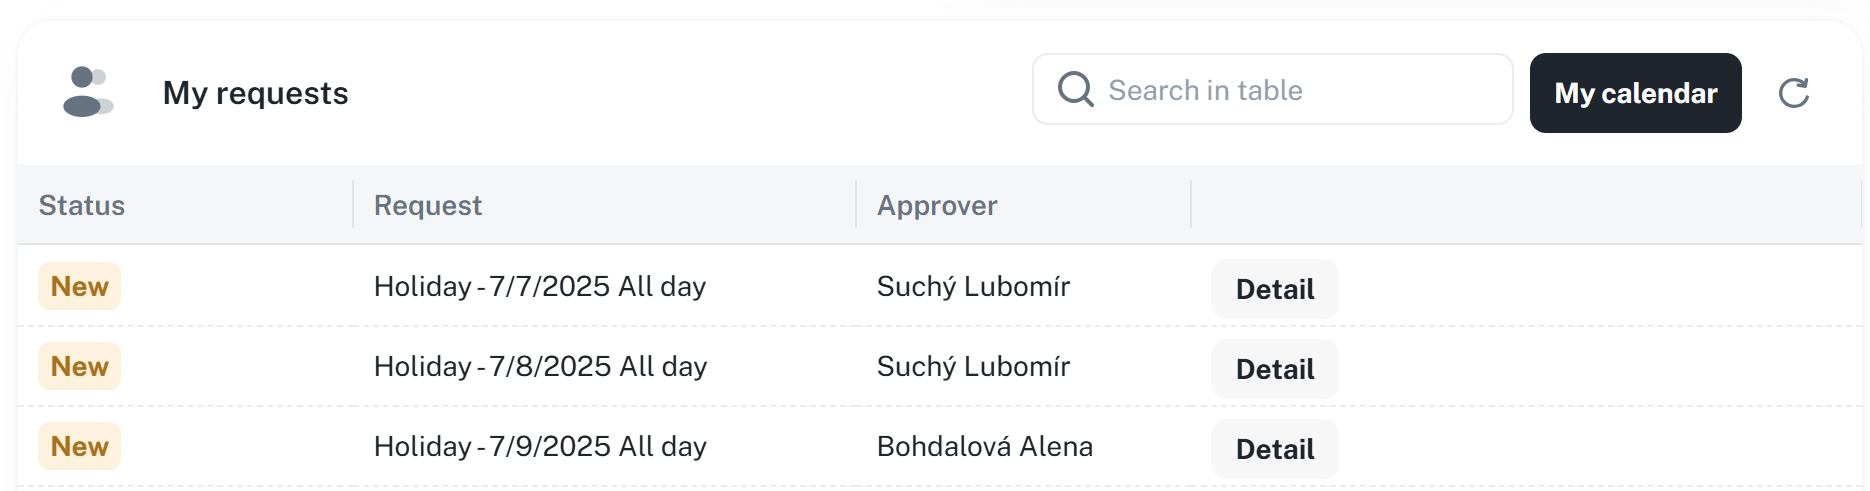
Request overview - Overview of requests from subordinates for processing
Requests in the calendar are marked in several ways:
A request pending approval is hatched

A request pending cancellation has a clock icon

A request that has been cancelled is struck through

A request that is approved is marked with a solid color

A request can be submitted from the calendar by clicking the Add button in the upper right corner.

For more information, please refer to the manual Calendar Management:
Calendar Management
This manual serves as a user guide for working with the calendar, allowing management of events, requests, shifts, etc. It contains instructions for managing requests and filtering data.
